Canvas Preparation
Table of Contents
Date and Time:
2016.February.15, 1:00pm
Location: Chandler 260Subject: Preparing the cloth (stitching)
Canvas Materials
16 small pins (4 each side), 1 medium needle, 1 thick needle, 1 square piece of canvas cloth (approx. 17x17 cm), 1 smaller piece of scrap cloth to harvest thin threads for stitching, wooden frame / stretcher (4 pre-formatted frame pieces), thicker yarn
Method
Canvas Cloth Preparation
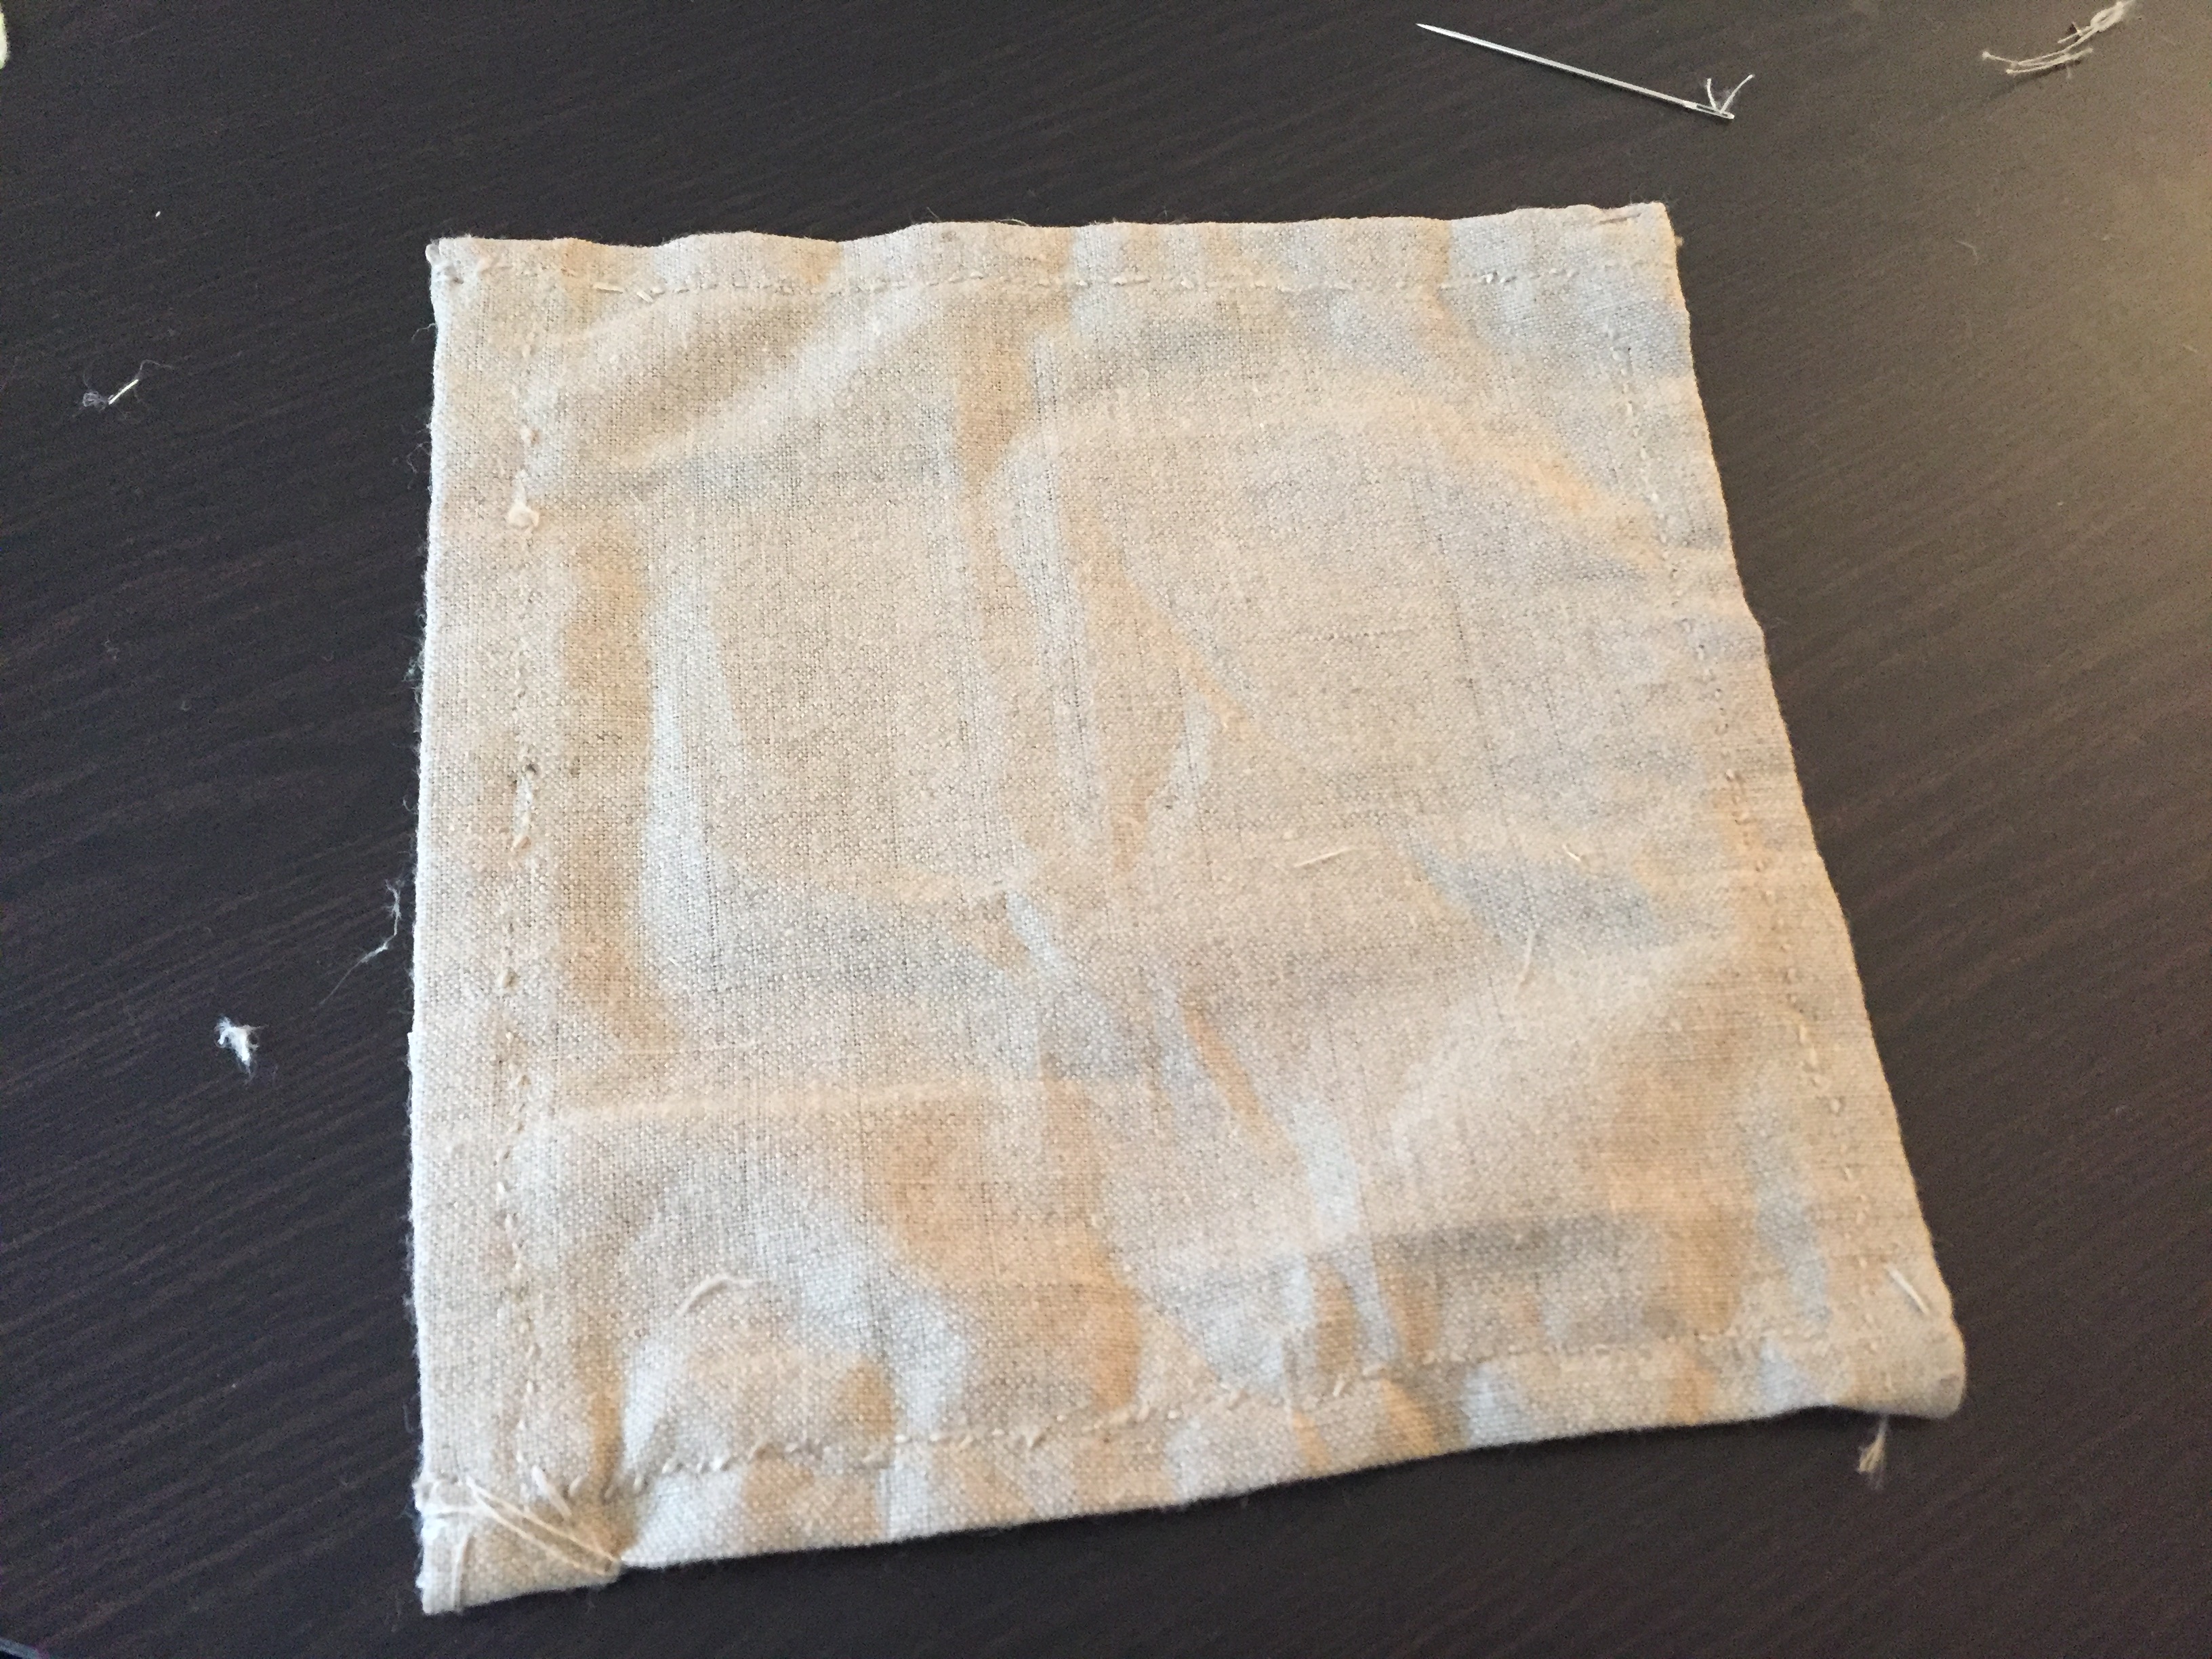
--> starting by laying yard string at one side of the canvas cloth, then folding the edge over it (ca. 1cm), fold it again (ca. 1 cm), fix the entire side with pins (4 pins)
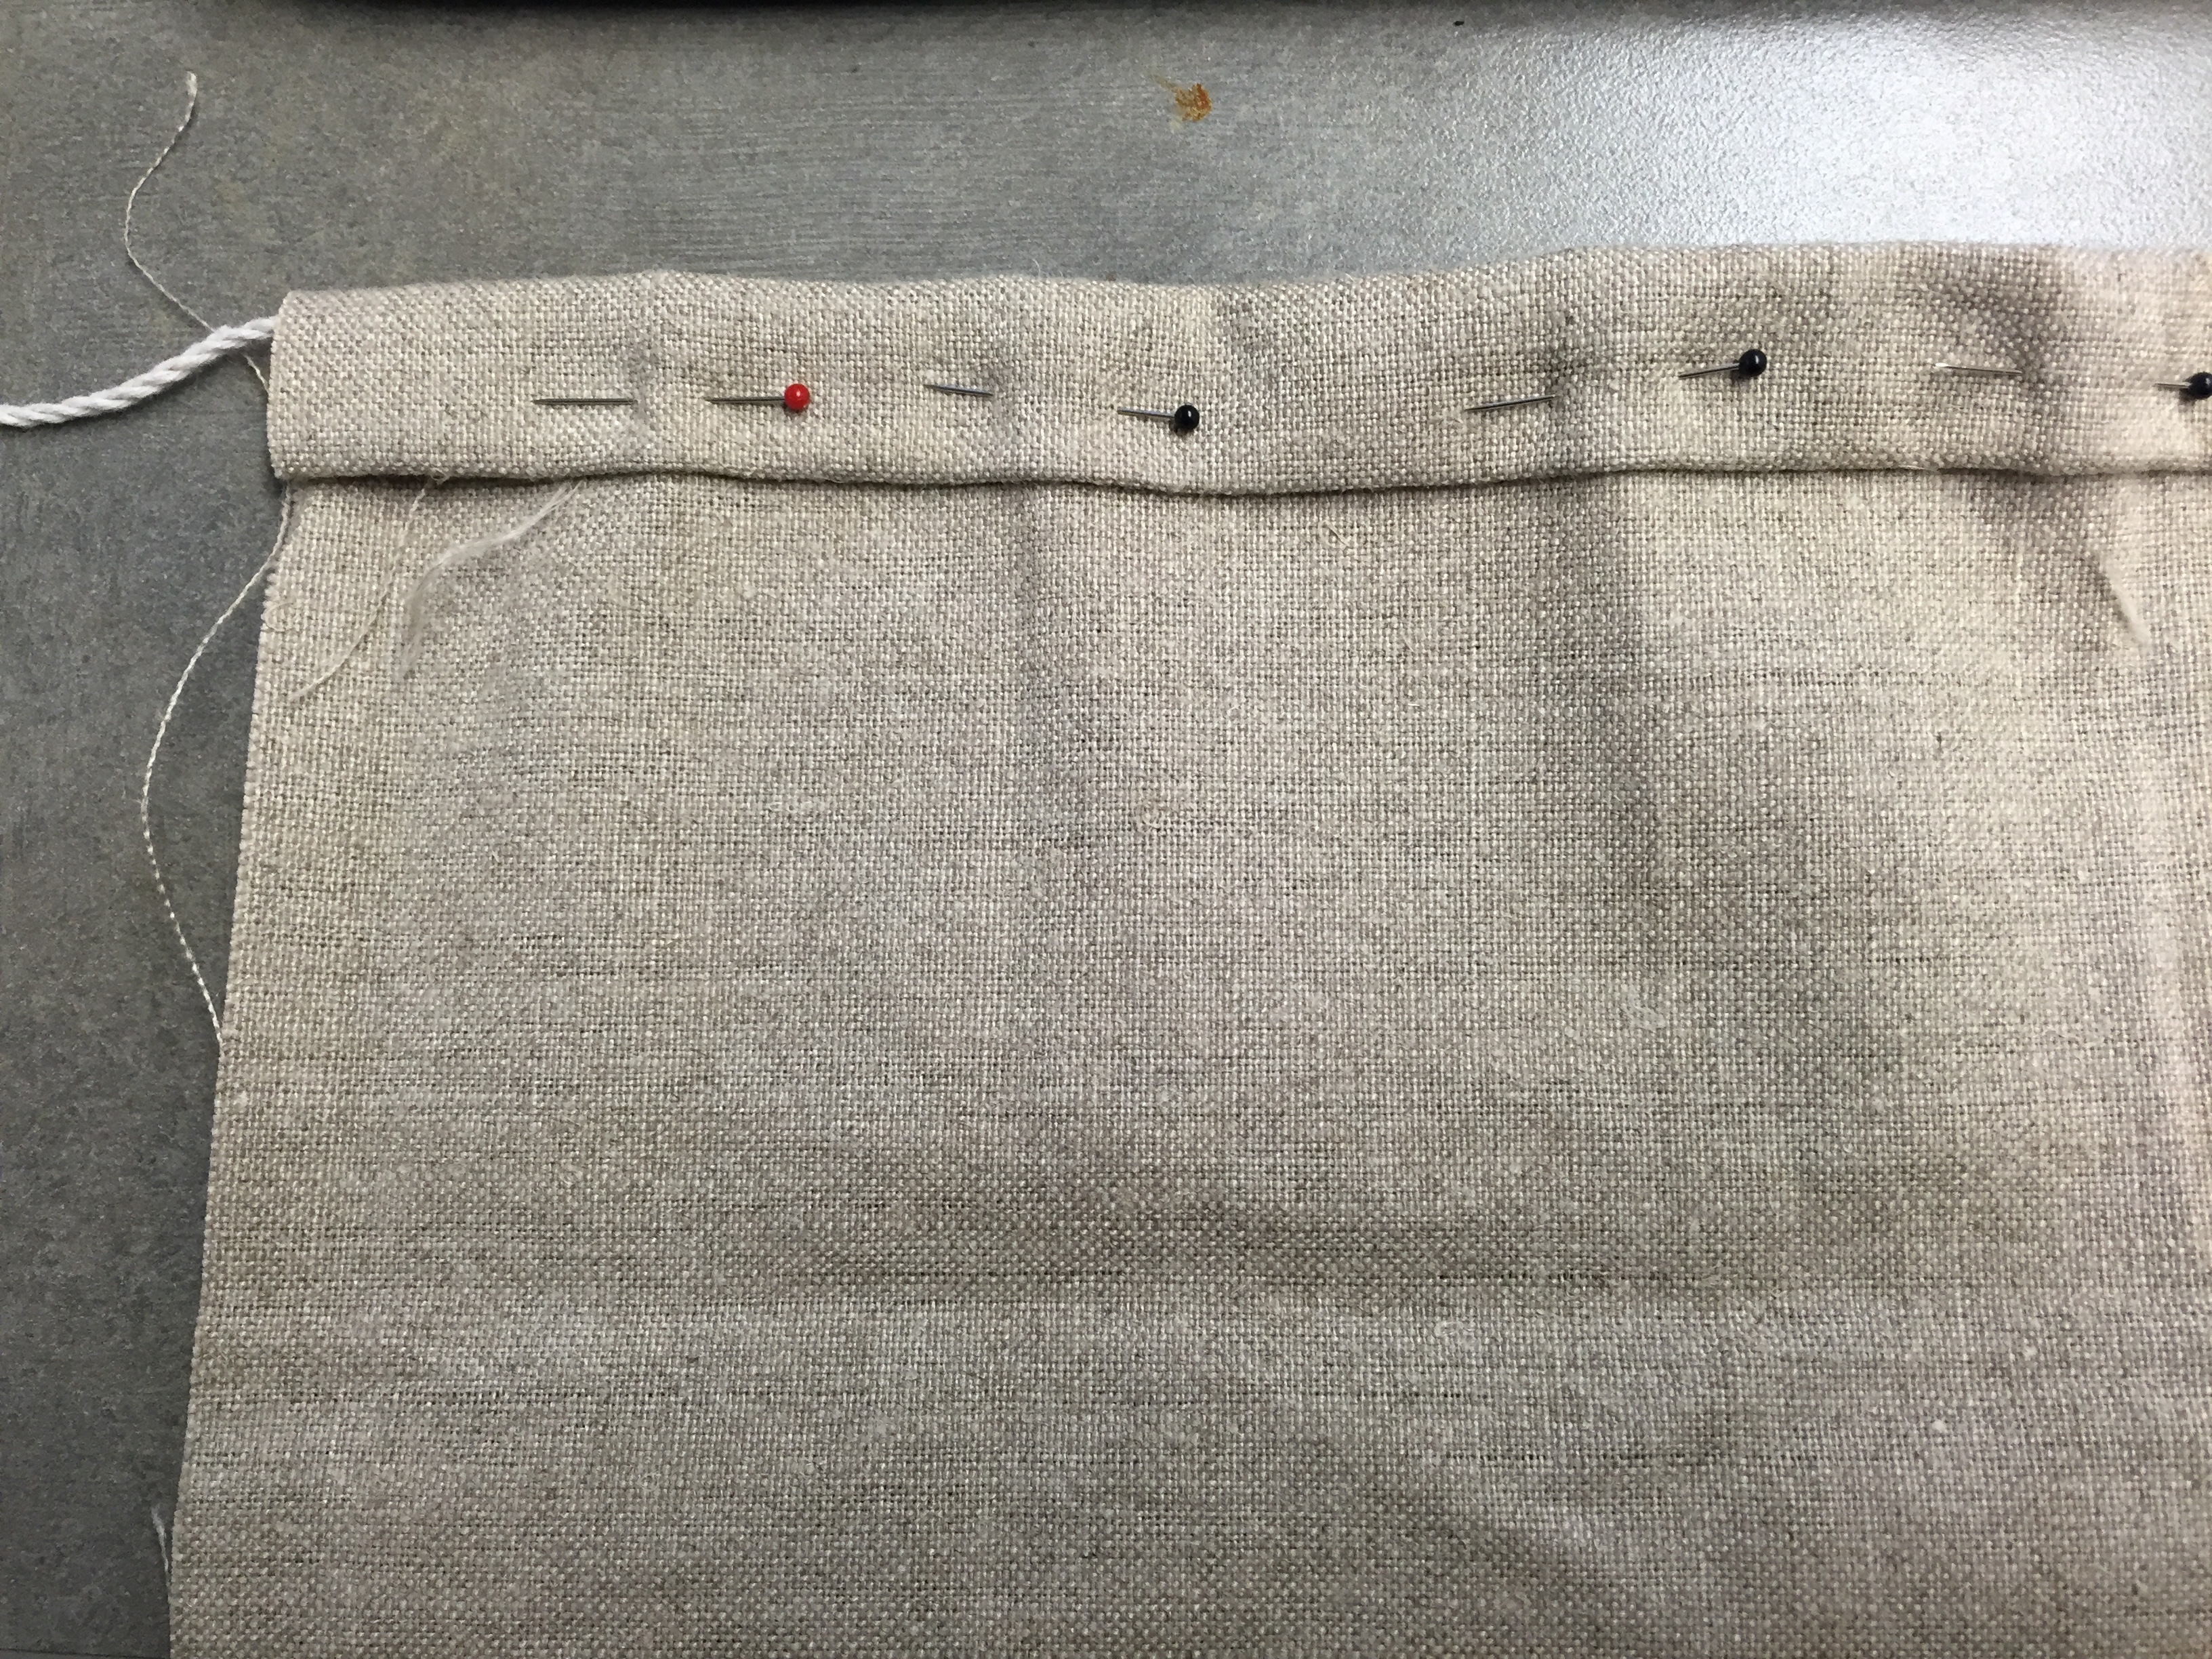
Stitching the side
--> use medium needle and thin thread that is harvested from the additional scrap piece of cloth (so that the stitch has the same color and texture as the canvas, guess the color is the more important thing here)
Stitching Pattern
--> according to Jenny I did the slow and fussy method (damn you Prussian heritage)
In lack of the technical terms, or my knowledge thereof, a comparison of Jenny's and my method in the sketch is below
--> Quality: I would not say my stitch looks elegant (had to use several thin strings and the ends, where I made the knots, stick out everywhere, making it look messy) but the stitch is firm and otherwise even
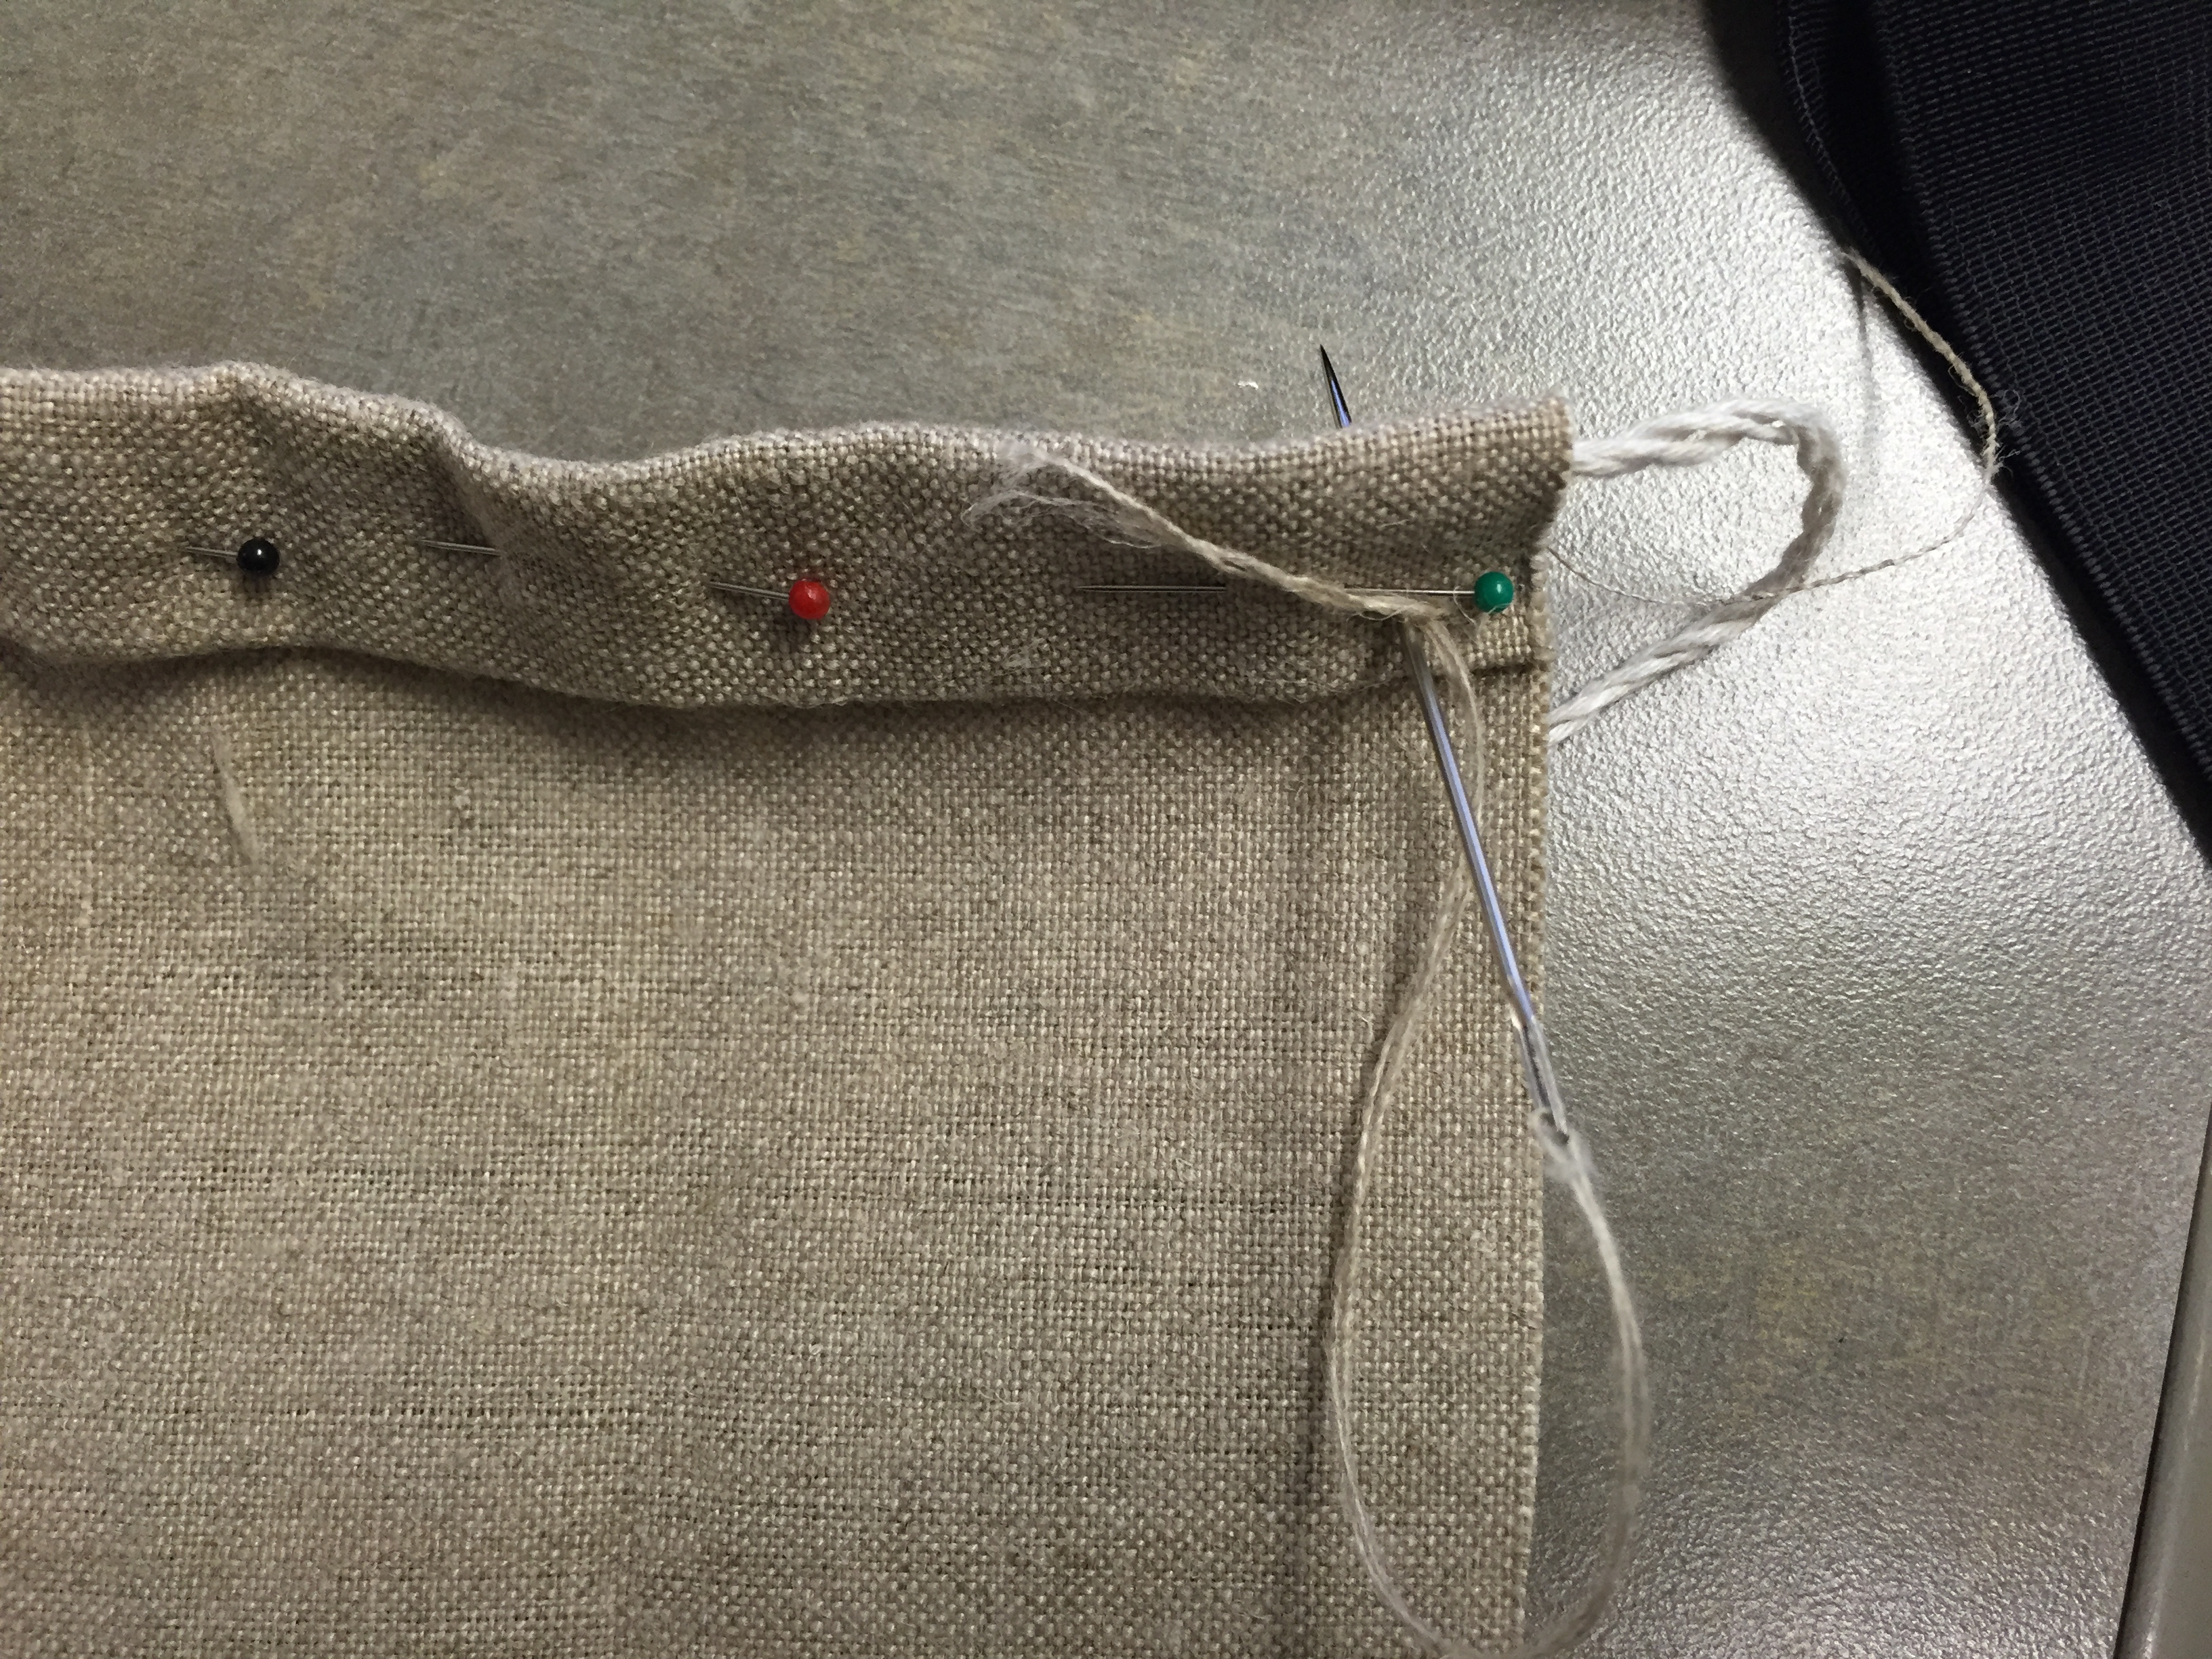
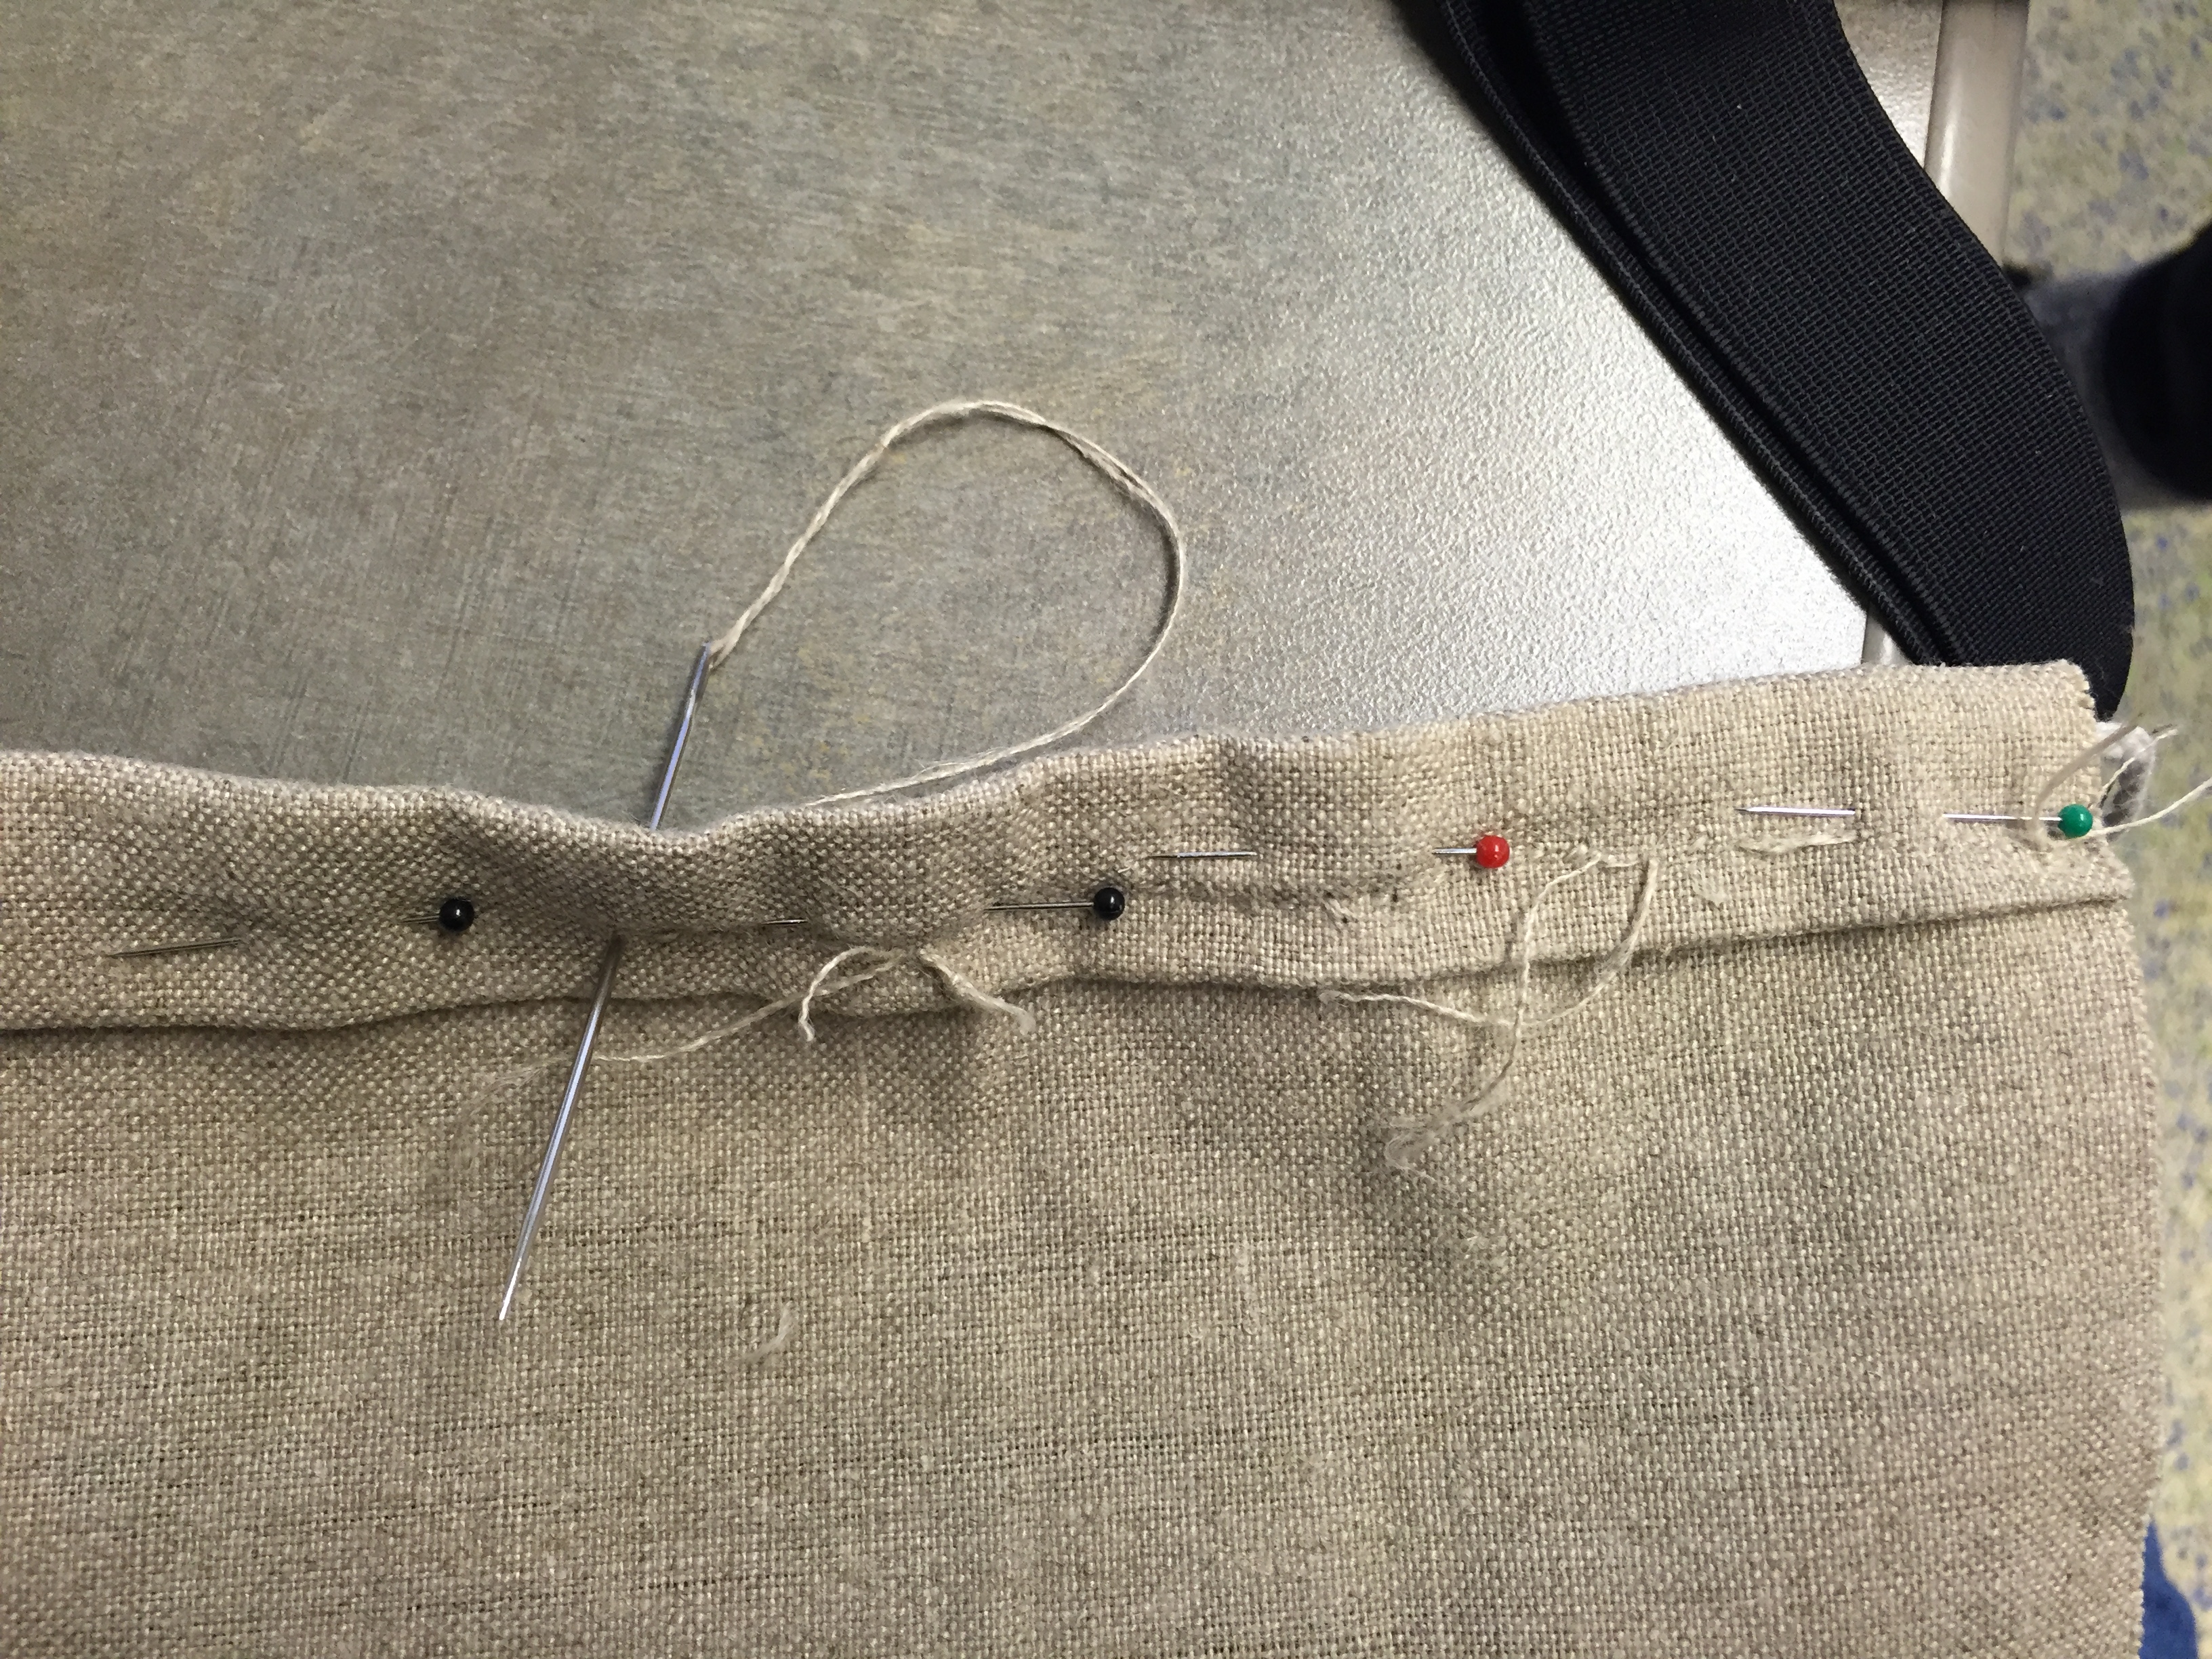
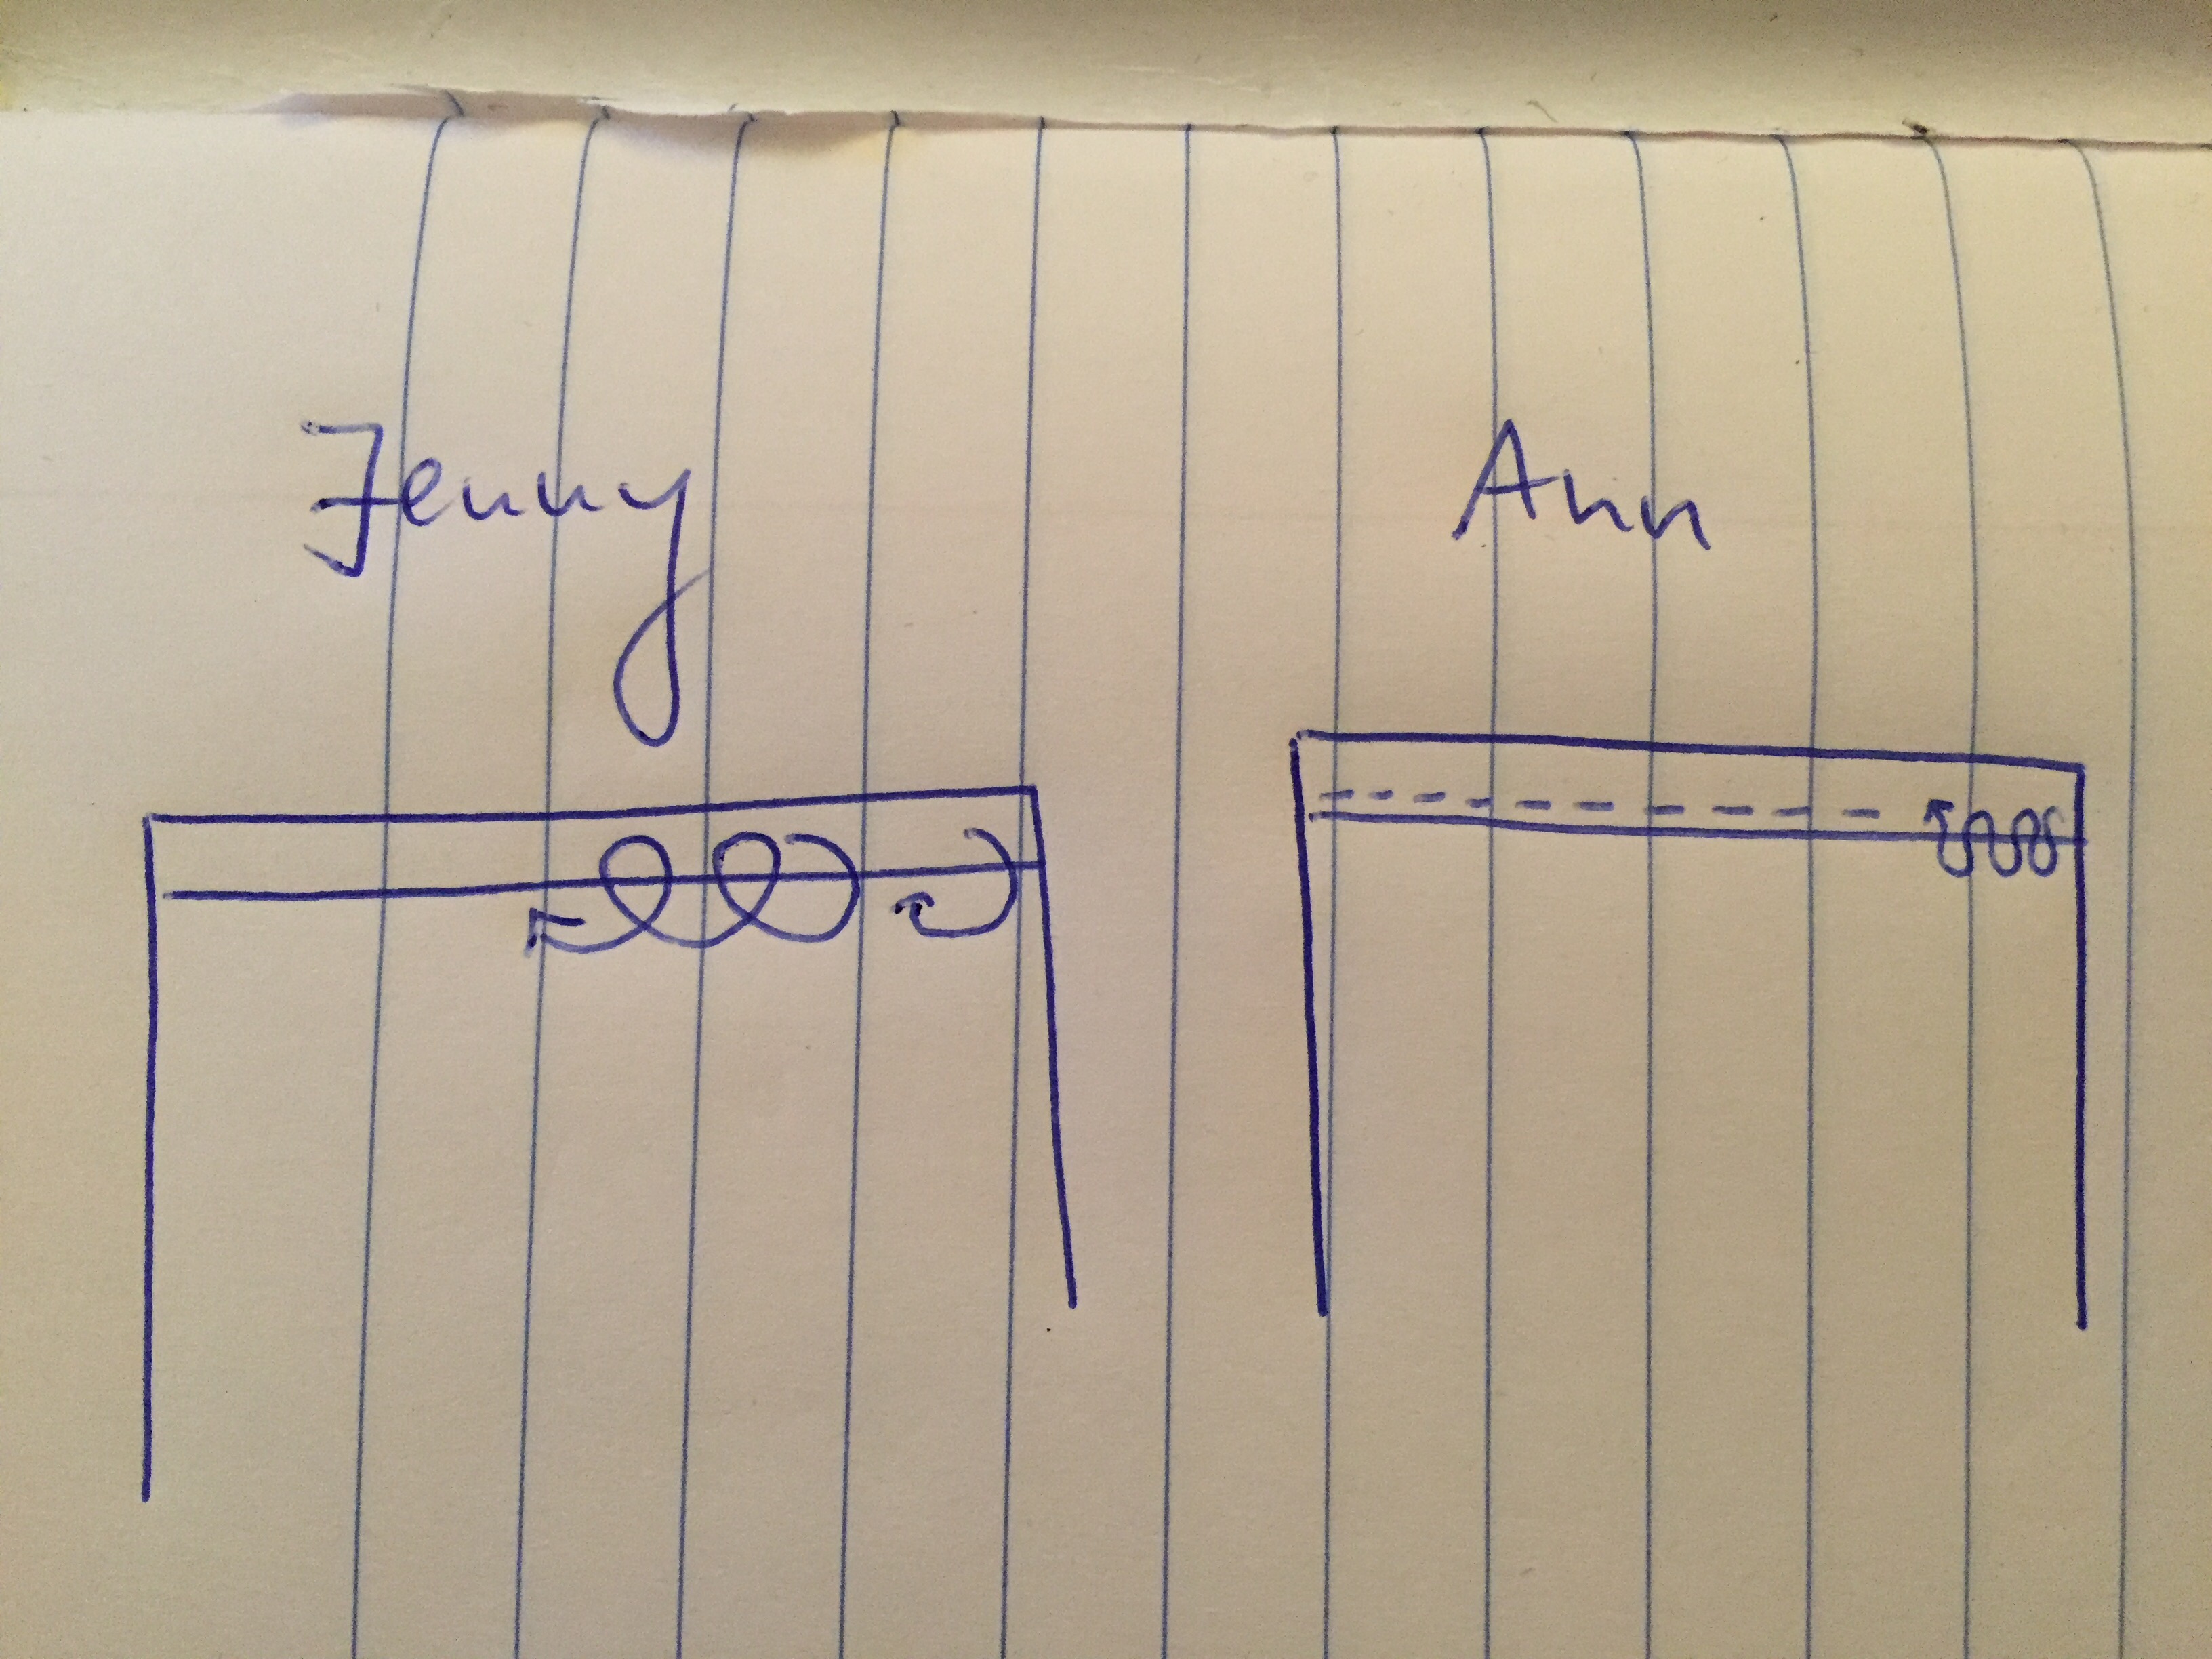
--> after finishing one side, fold edge on one side over and proceed with the neighboring side, same method (I decided against adopting Jenny's less time consuming stitching method, OCD kicked in and I found it needed to be the same style)
--> note to self: careful not to pinch your fingers on the pins, lost count of how often that happened to me
--> repeating the procedure for all four sides
I did not finish the canvas cloth in class and proceeded to finish the stitching at home (see below)
Outlook: Rabbit Glue
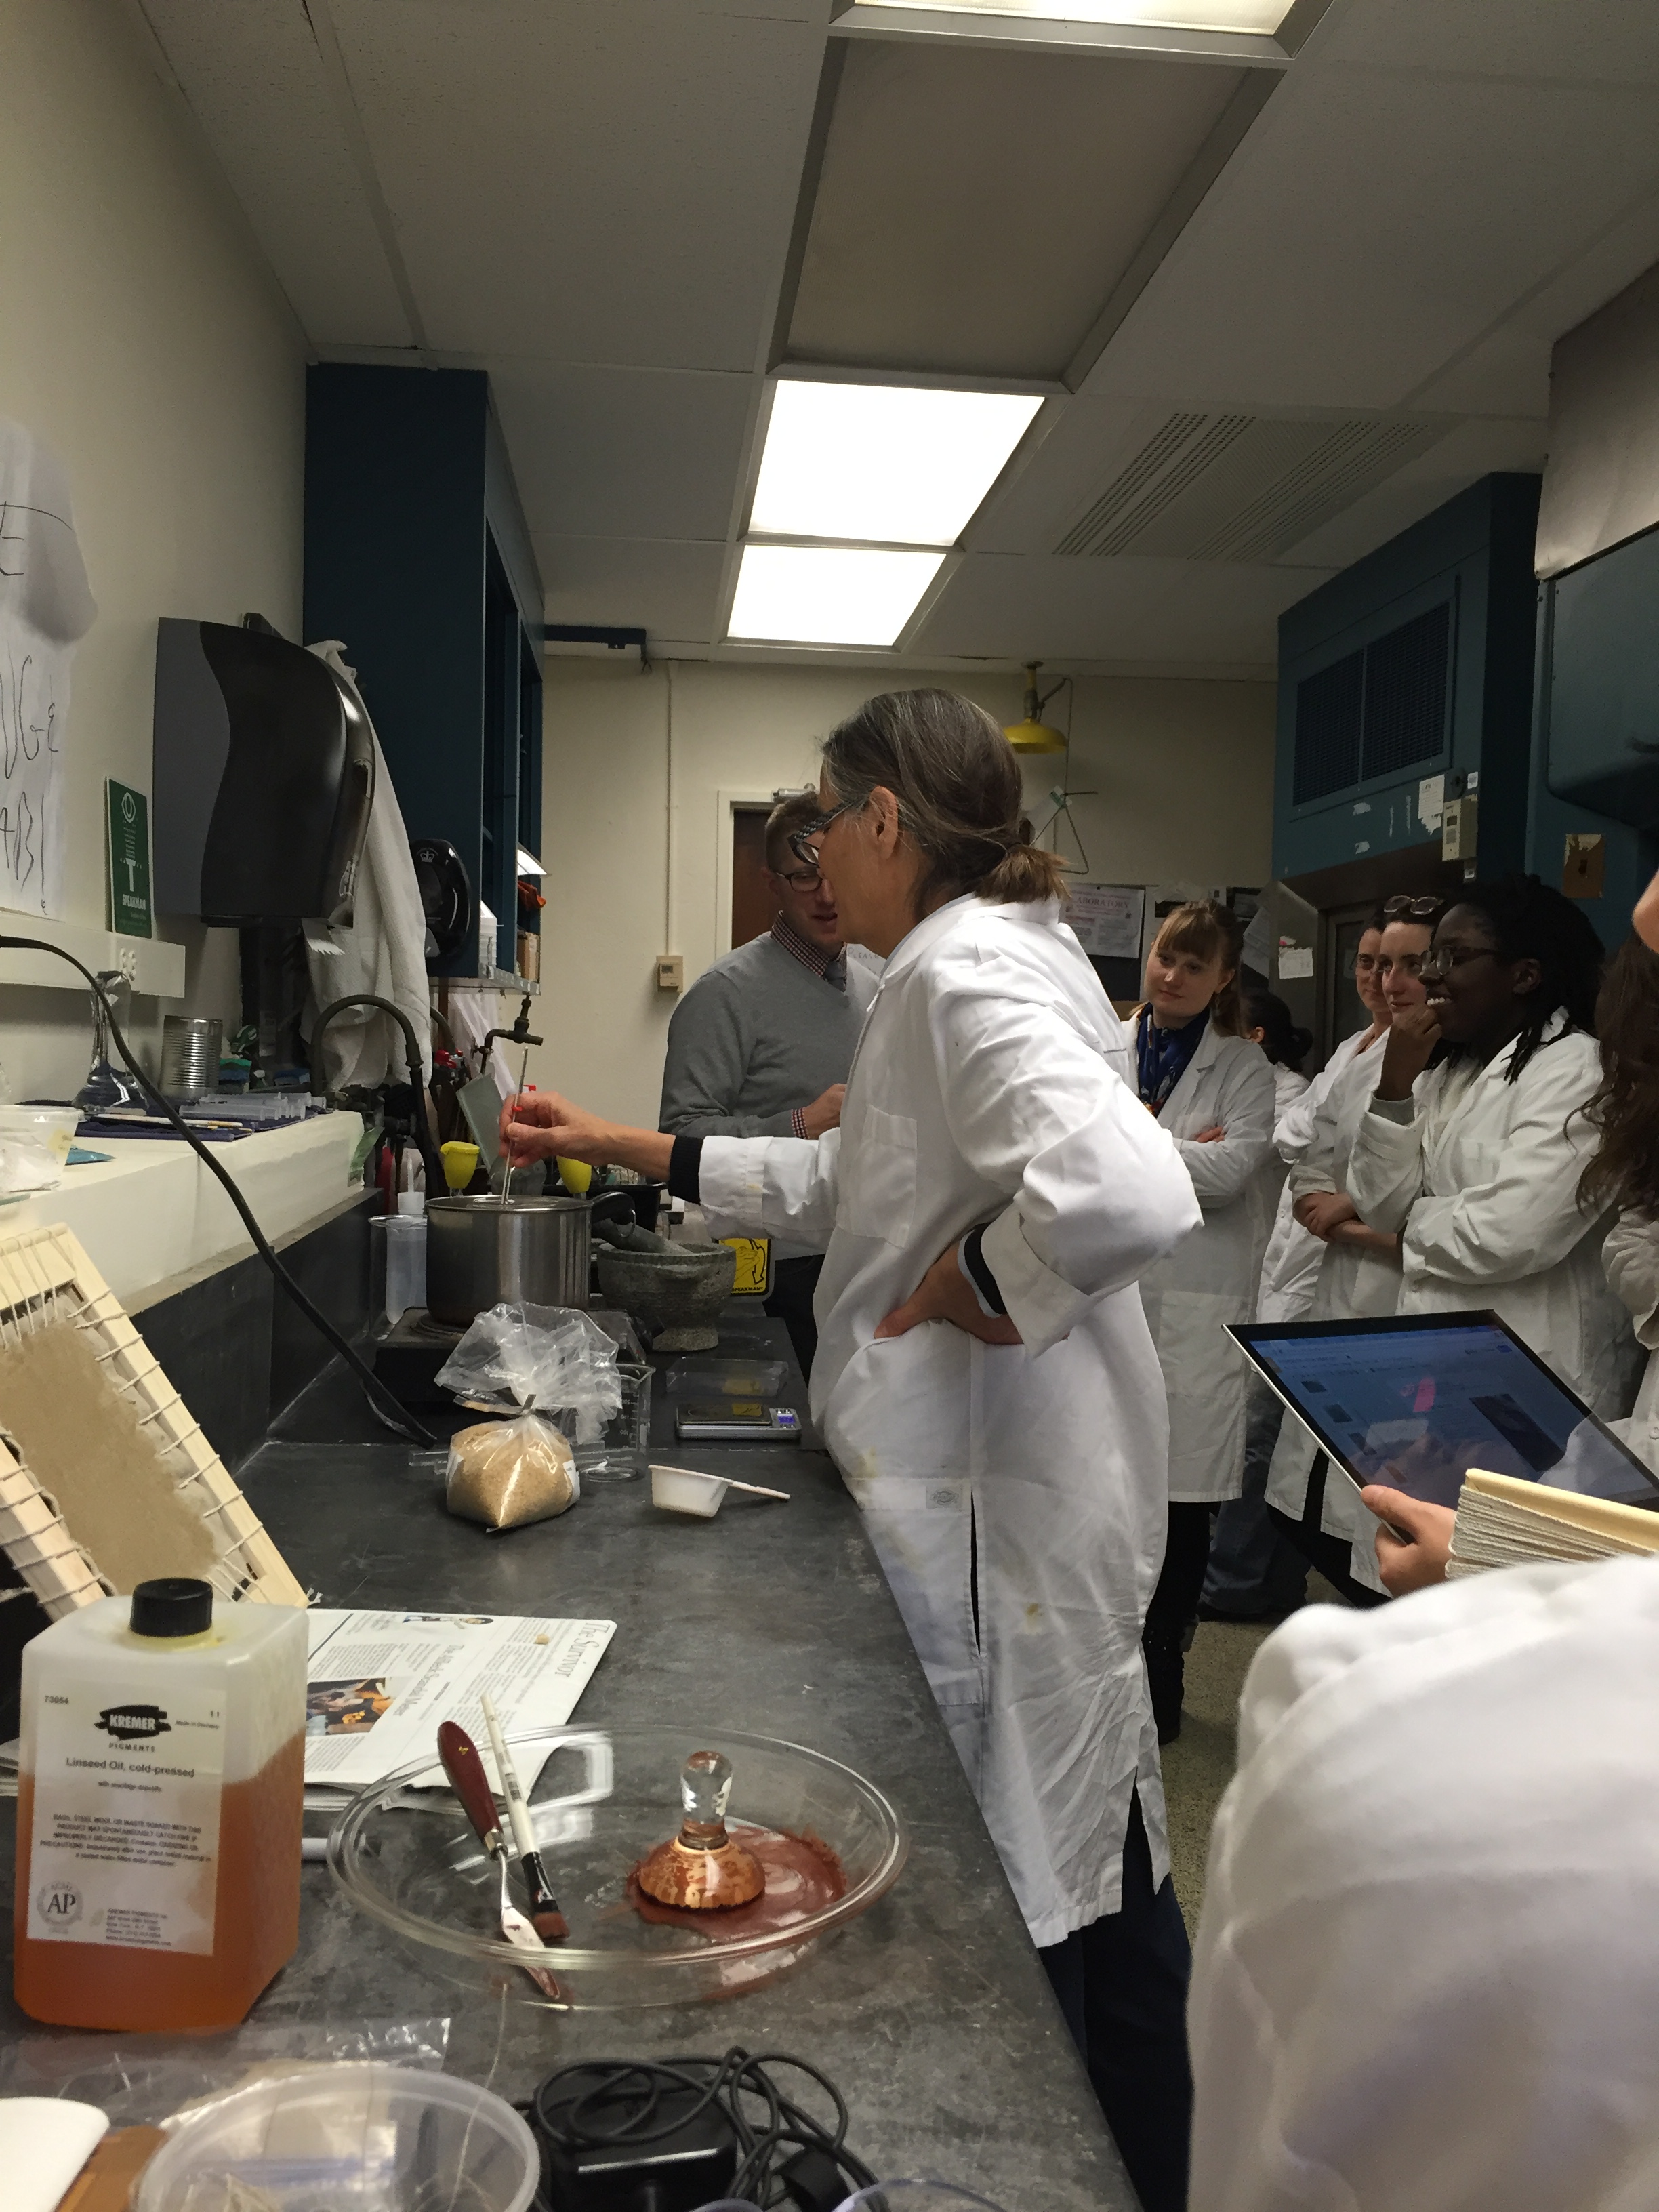
Pamela shows us how rabbit glue is prepared
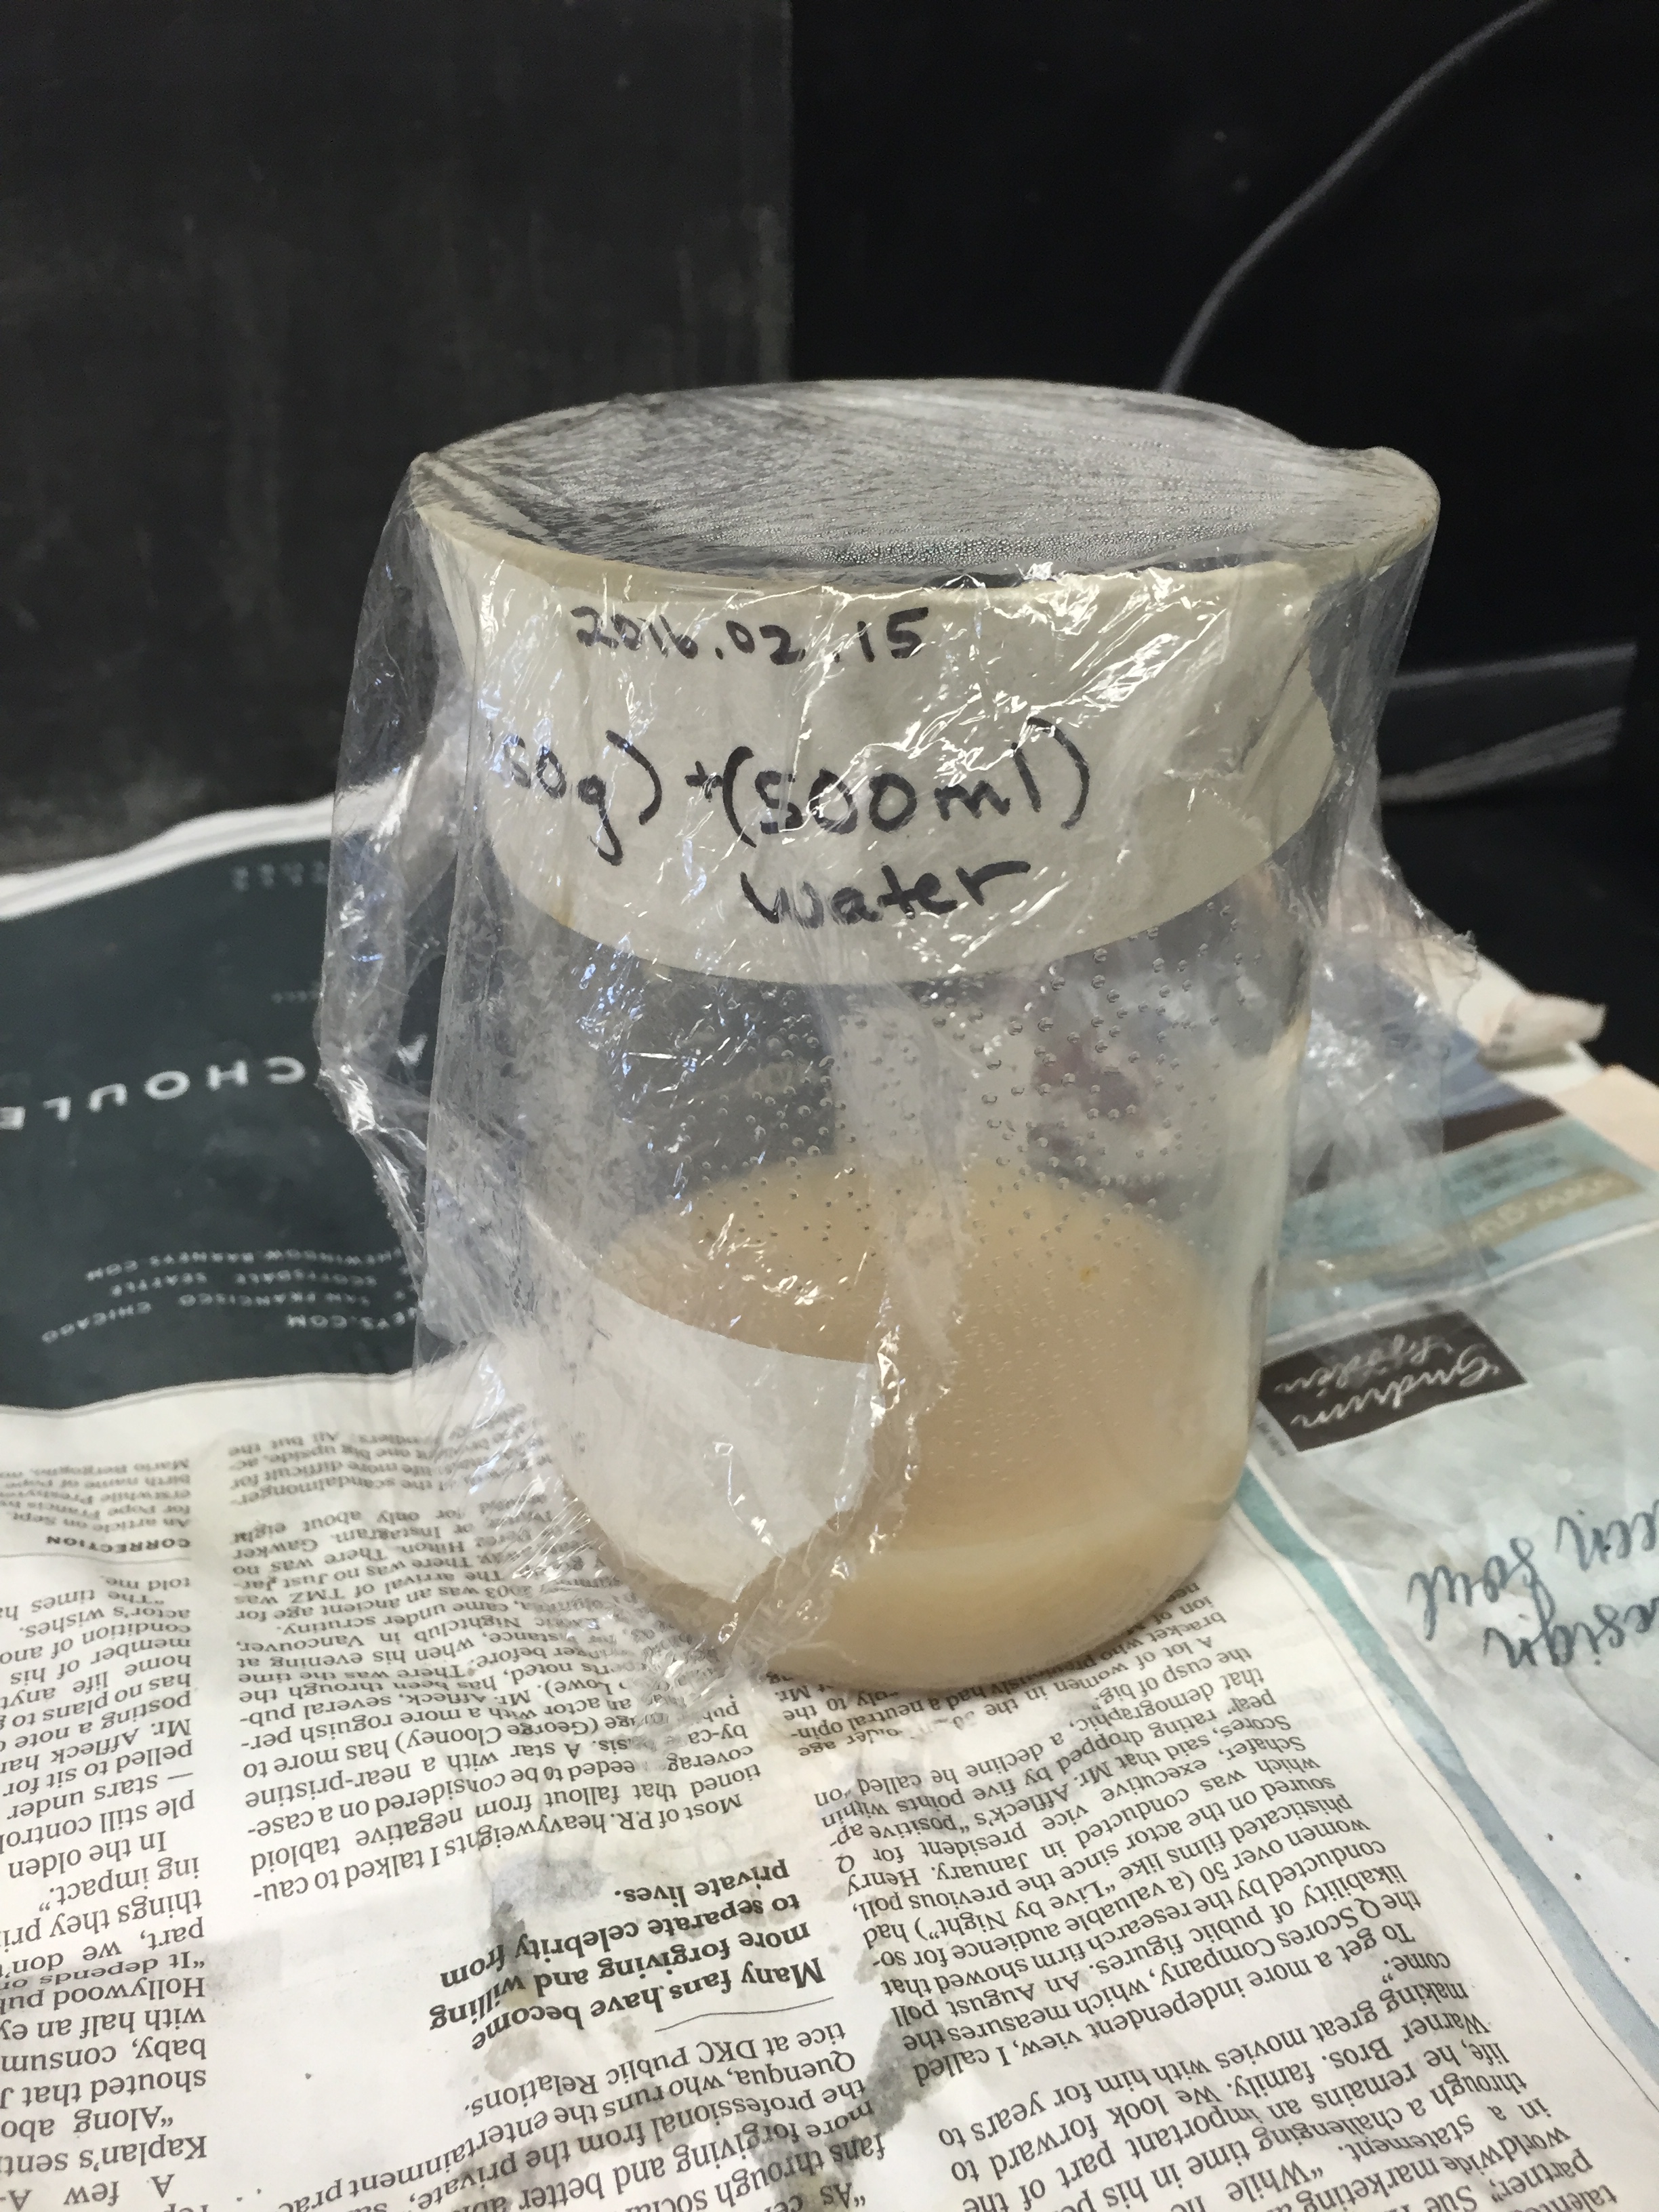
--> mix dried rabbit skin (note to self: did not hear quantity, need to check label of fridge glue!) with water (500ml)
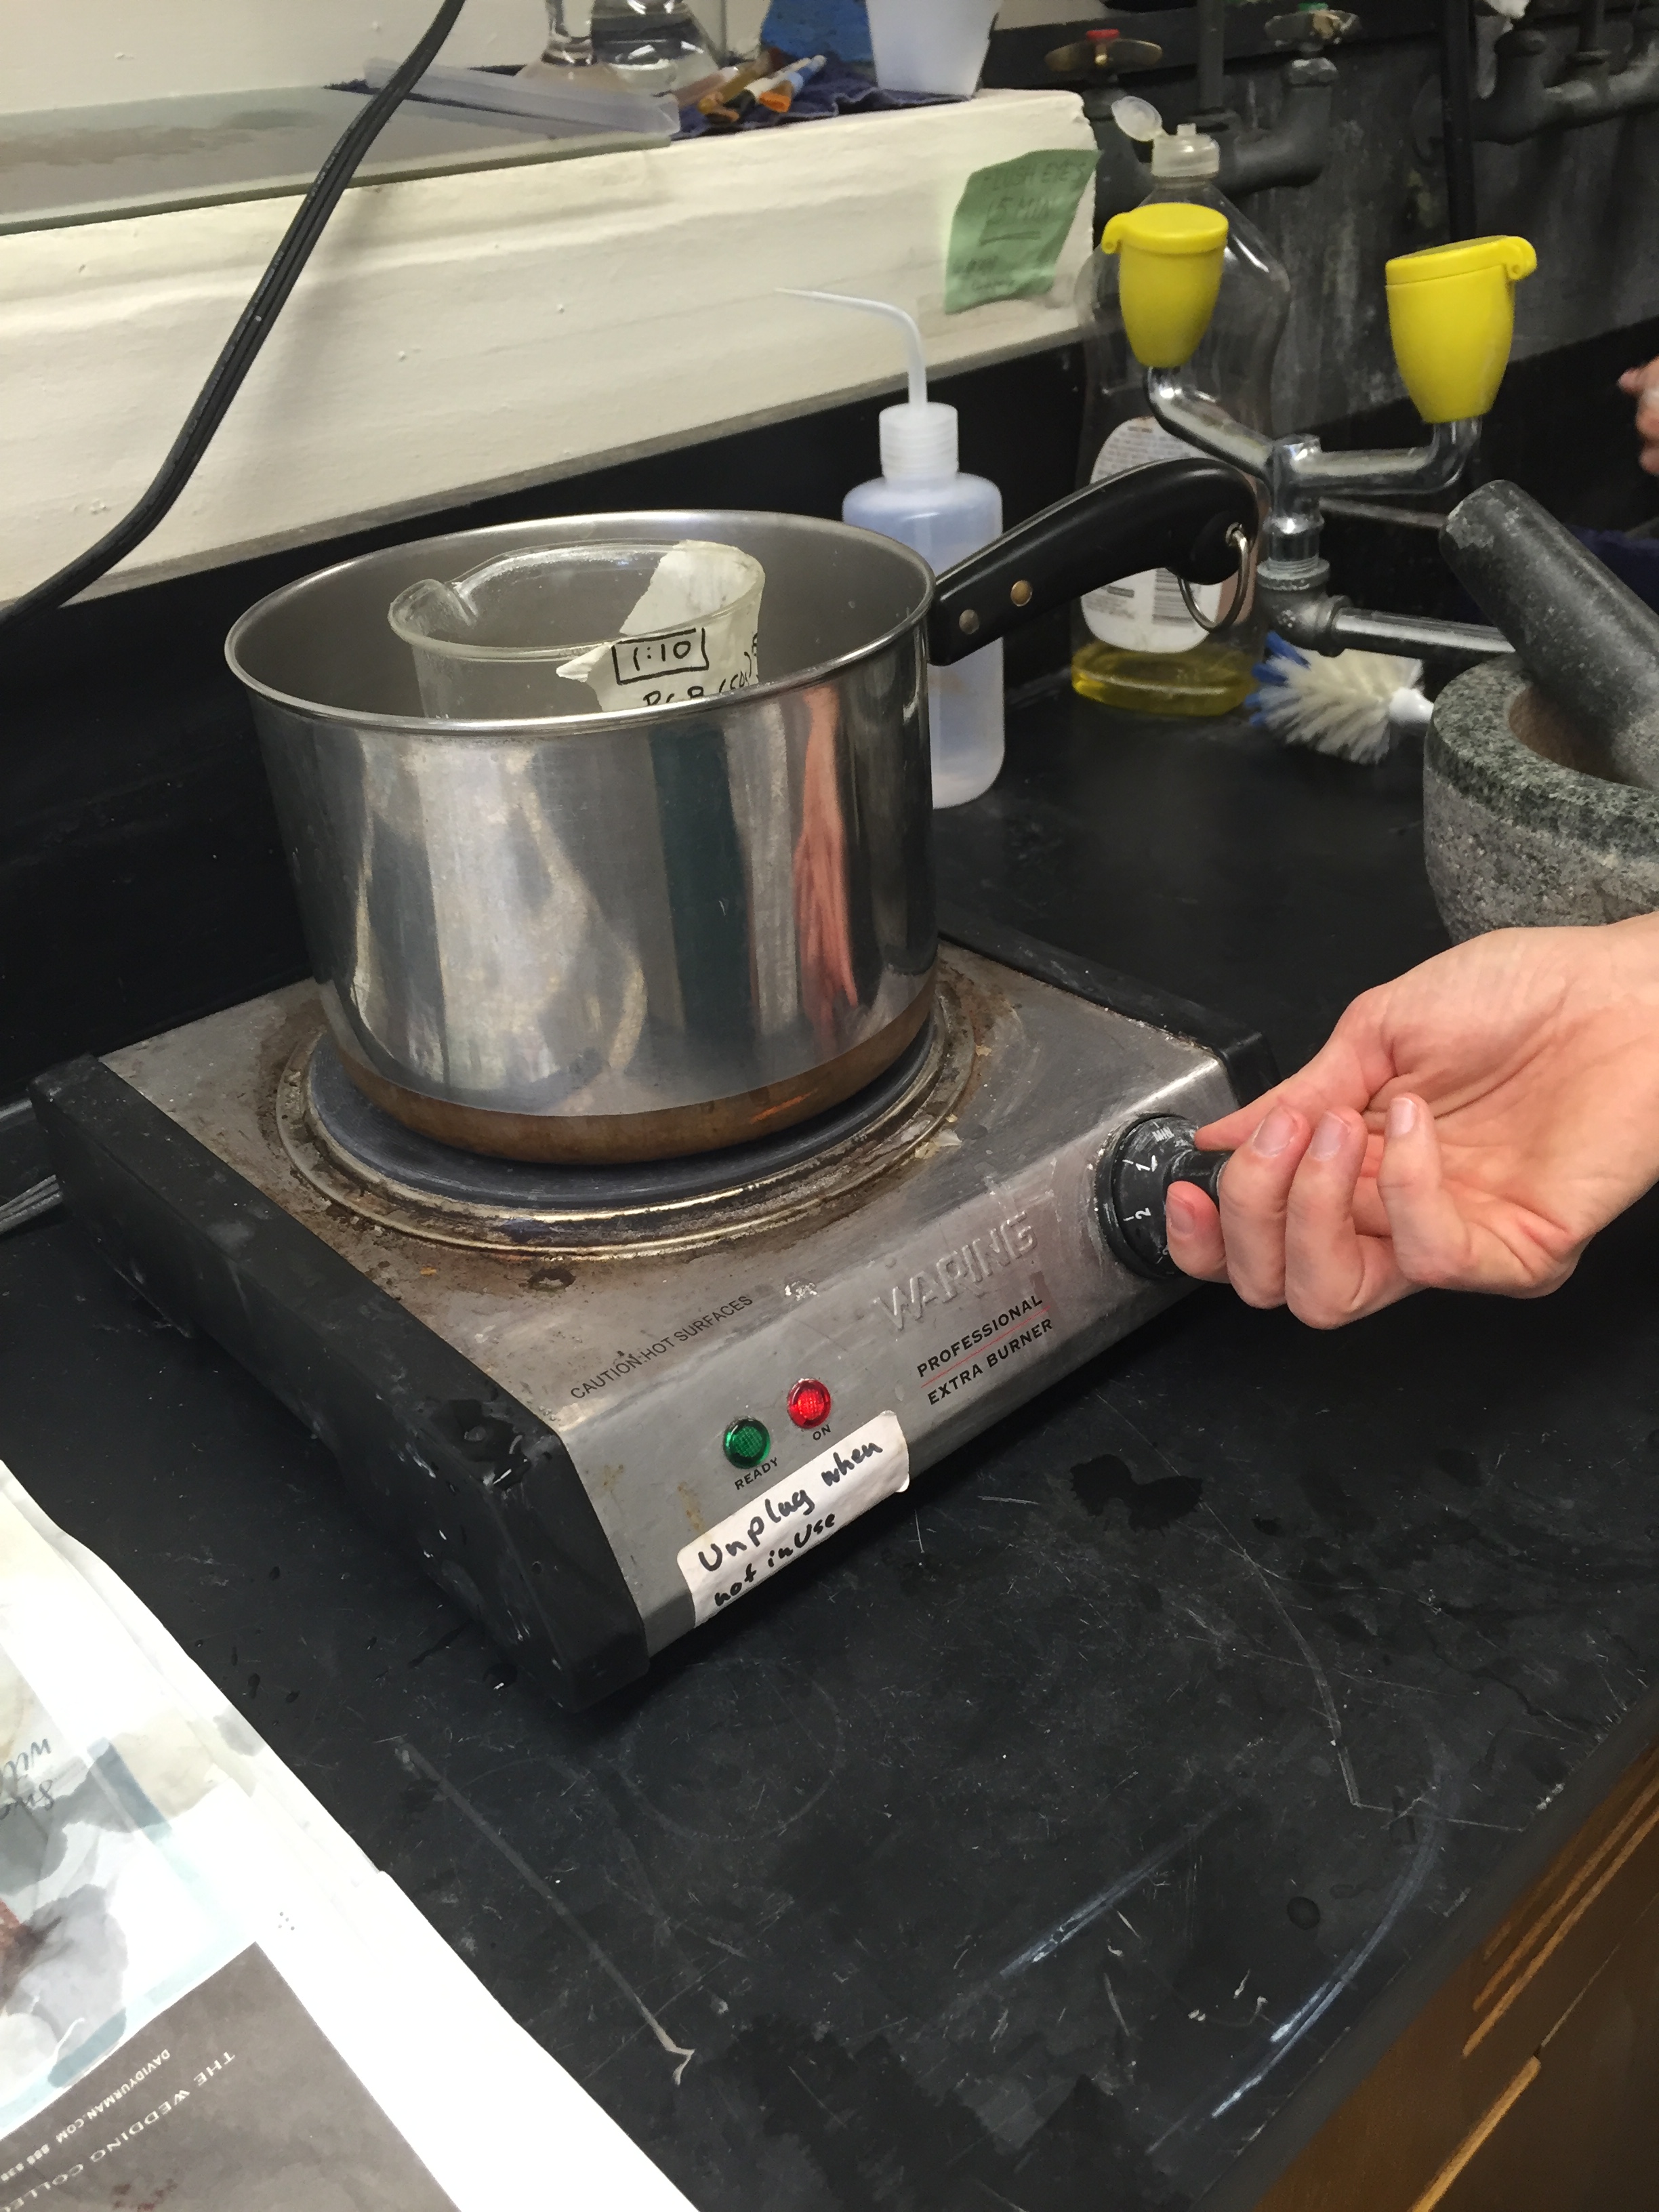
--> heat slowly (not over 60Fahrenheit!), stir constantly
--> dried rabbit skin smells like Joseph Beuys (this is not a joke, it really smelled like the reconstruction of Beuys body odor as in Dietmut Strebe's art exhibition: http://diemutstrebe.altervista.org/ ) -- afraid heated rabbit skin glue smells just the same, I find it an intrusive and thick odor
Name: Ann-Sophie Barwich
Date and Time:
2016.February.15, 9:00am
Location: Home, deskSubject: Stitching (finishing) and Making a Drum (Fixing Cloth into Wooden Frame)
Finishing (Stitching)
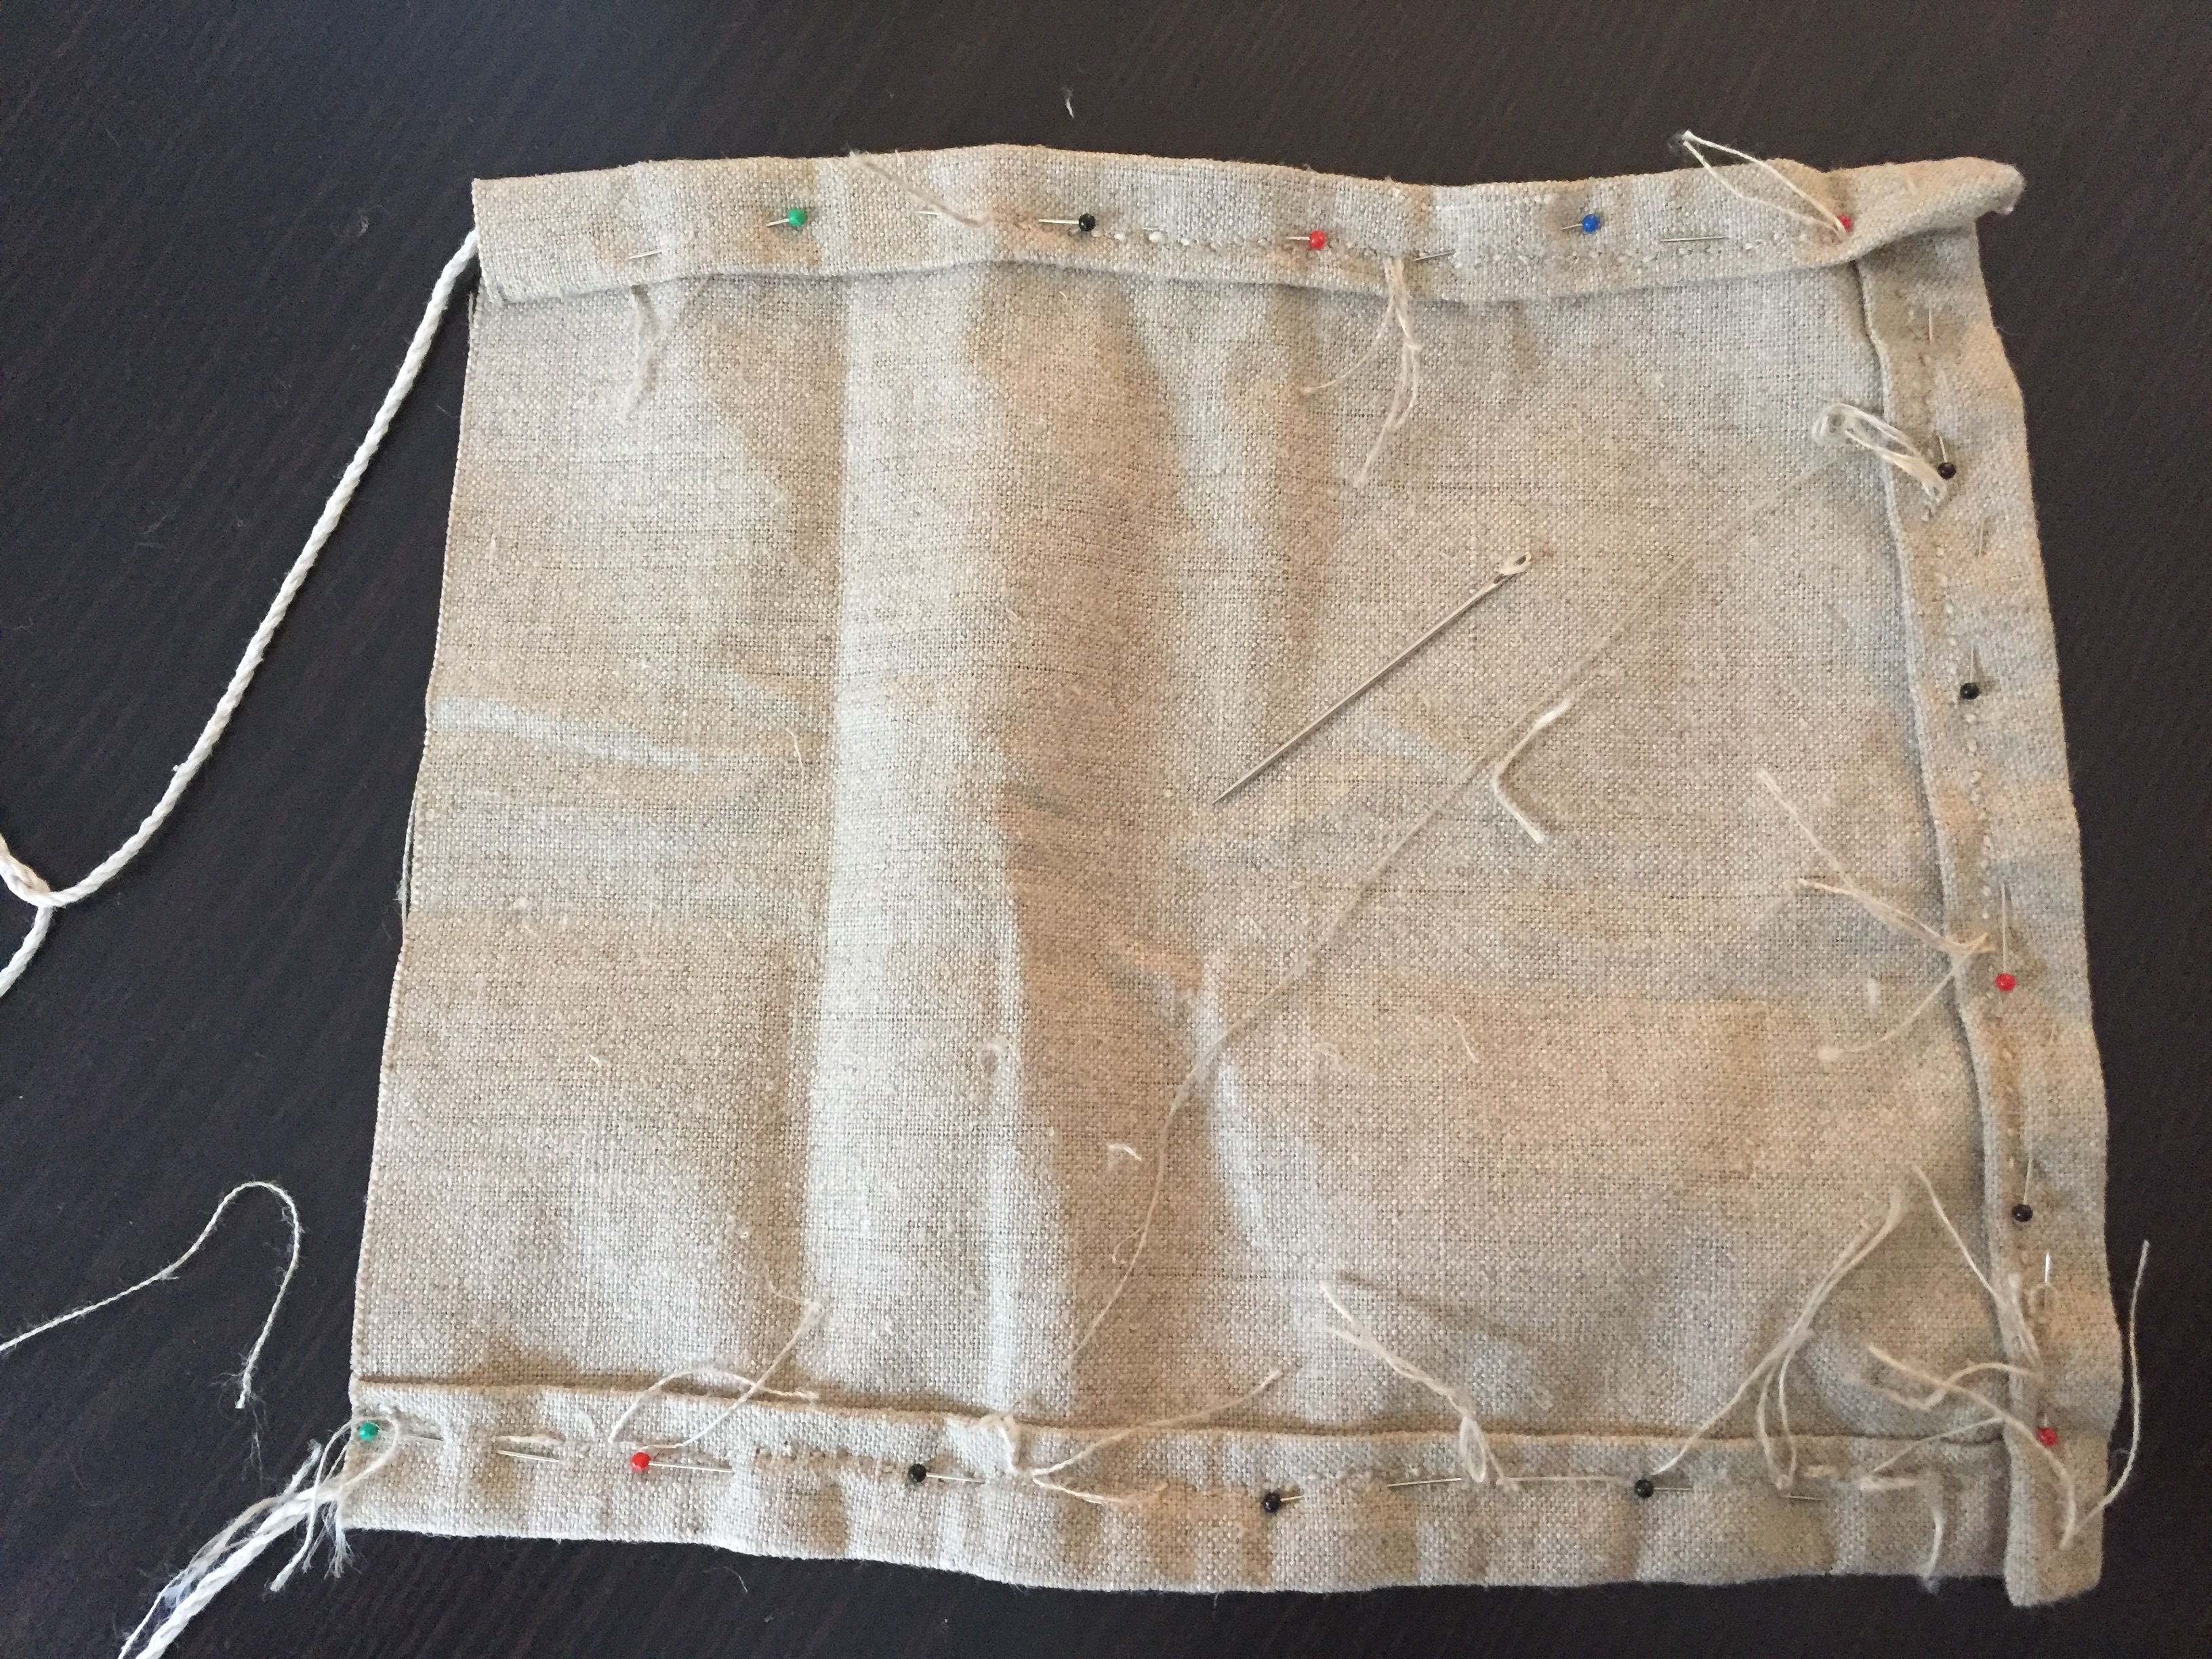
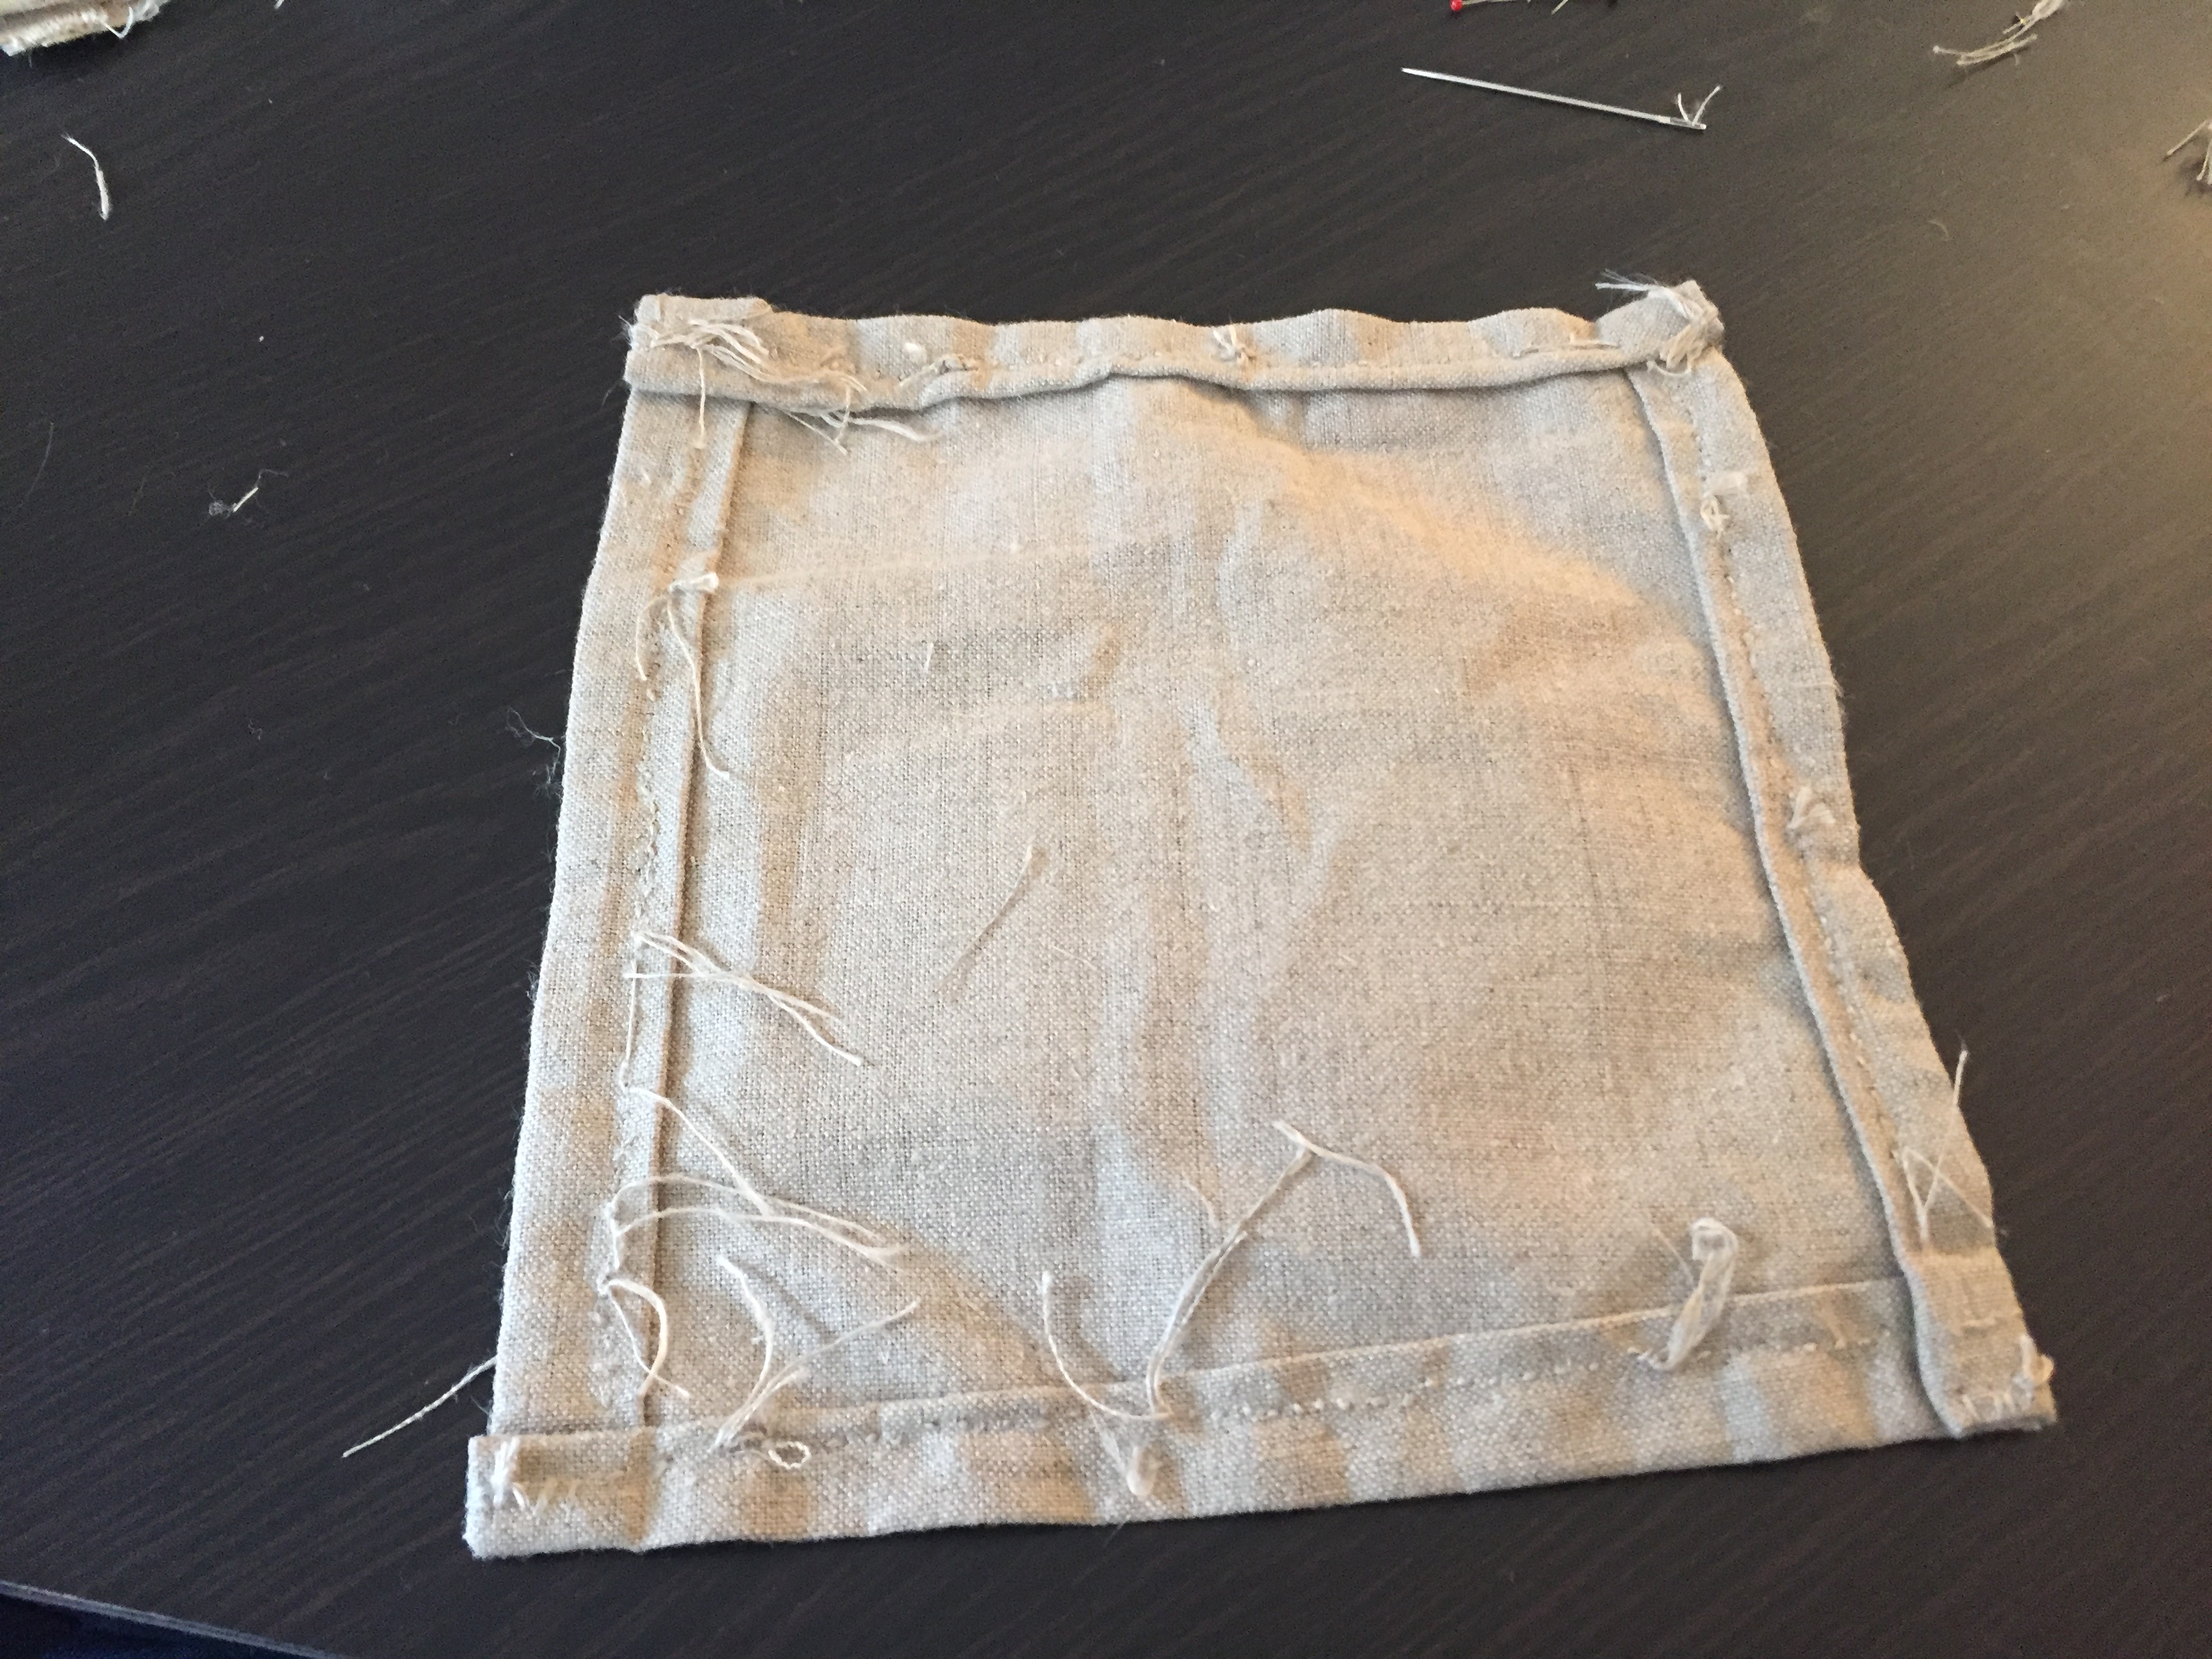
... the stitching according to the description above
--> after all is stitched I am cutting the lose ends (where the knotted ends of the strings stick out)
Preparing Frame / Stretcher
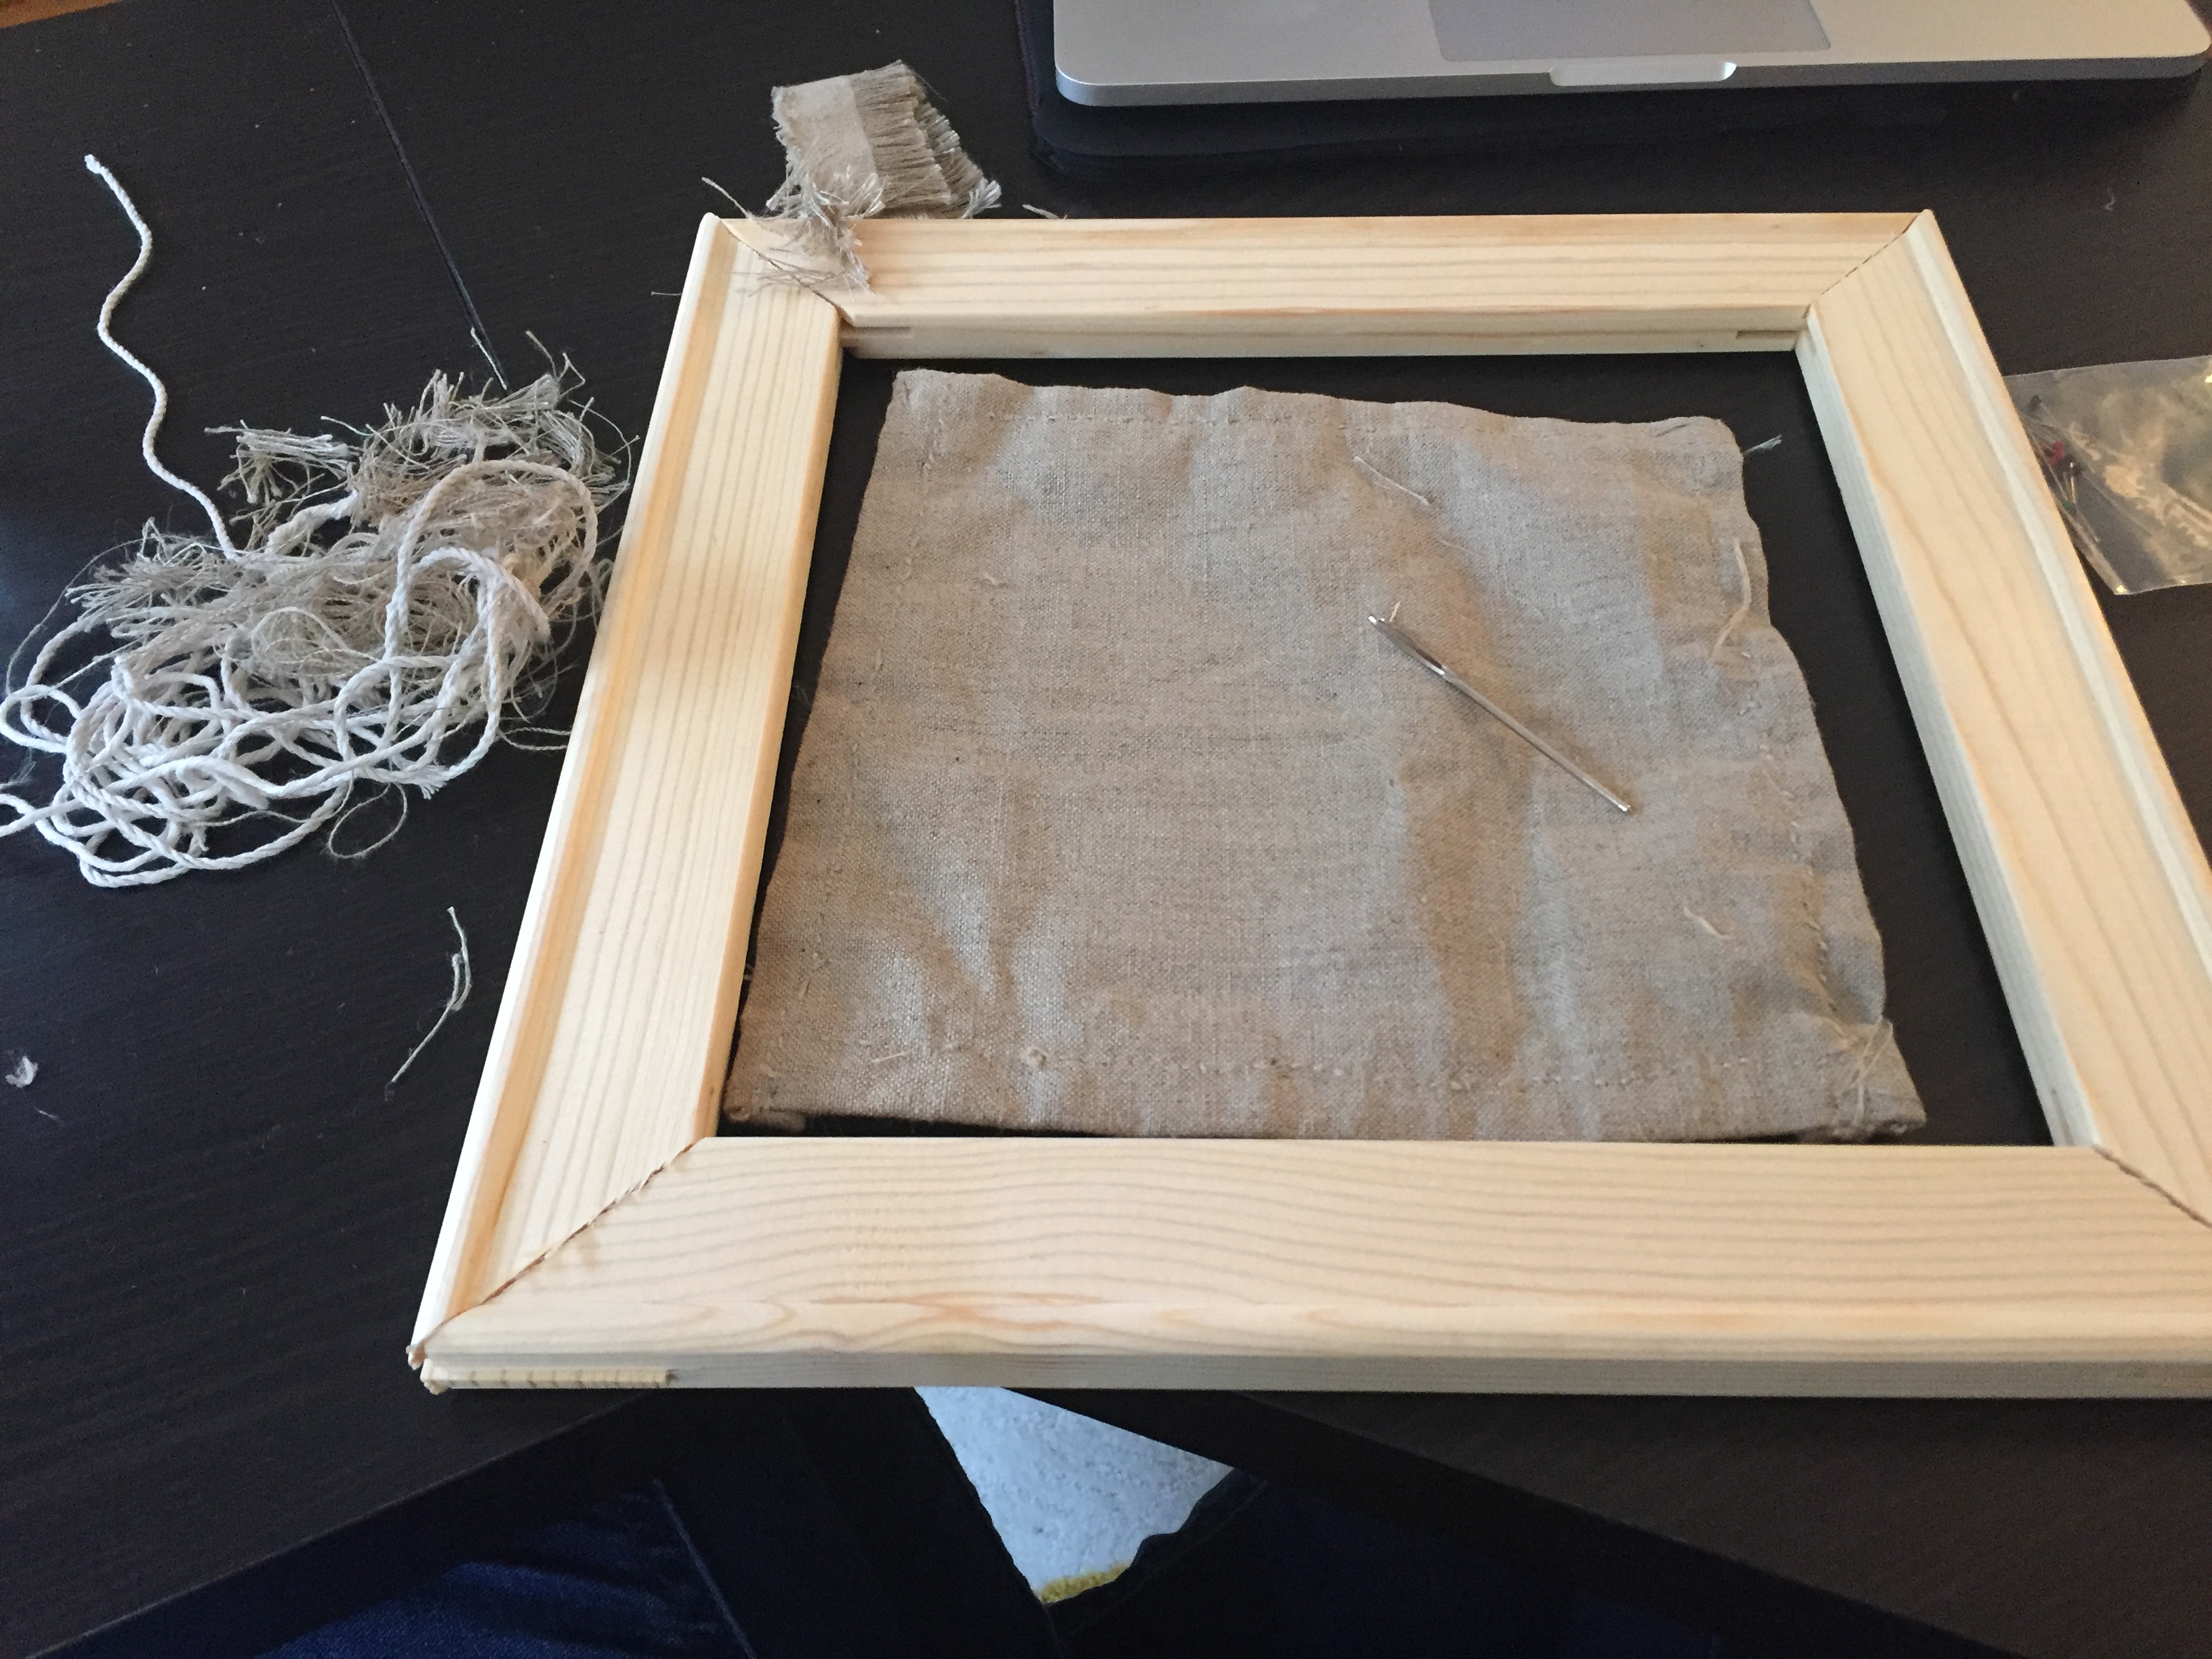
--> sticking pre-formatted wooden pieces together)
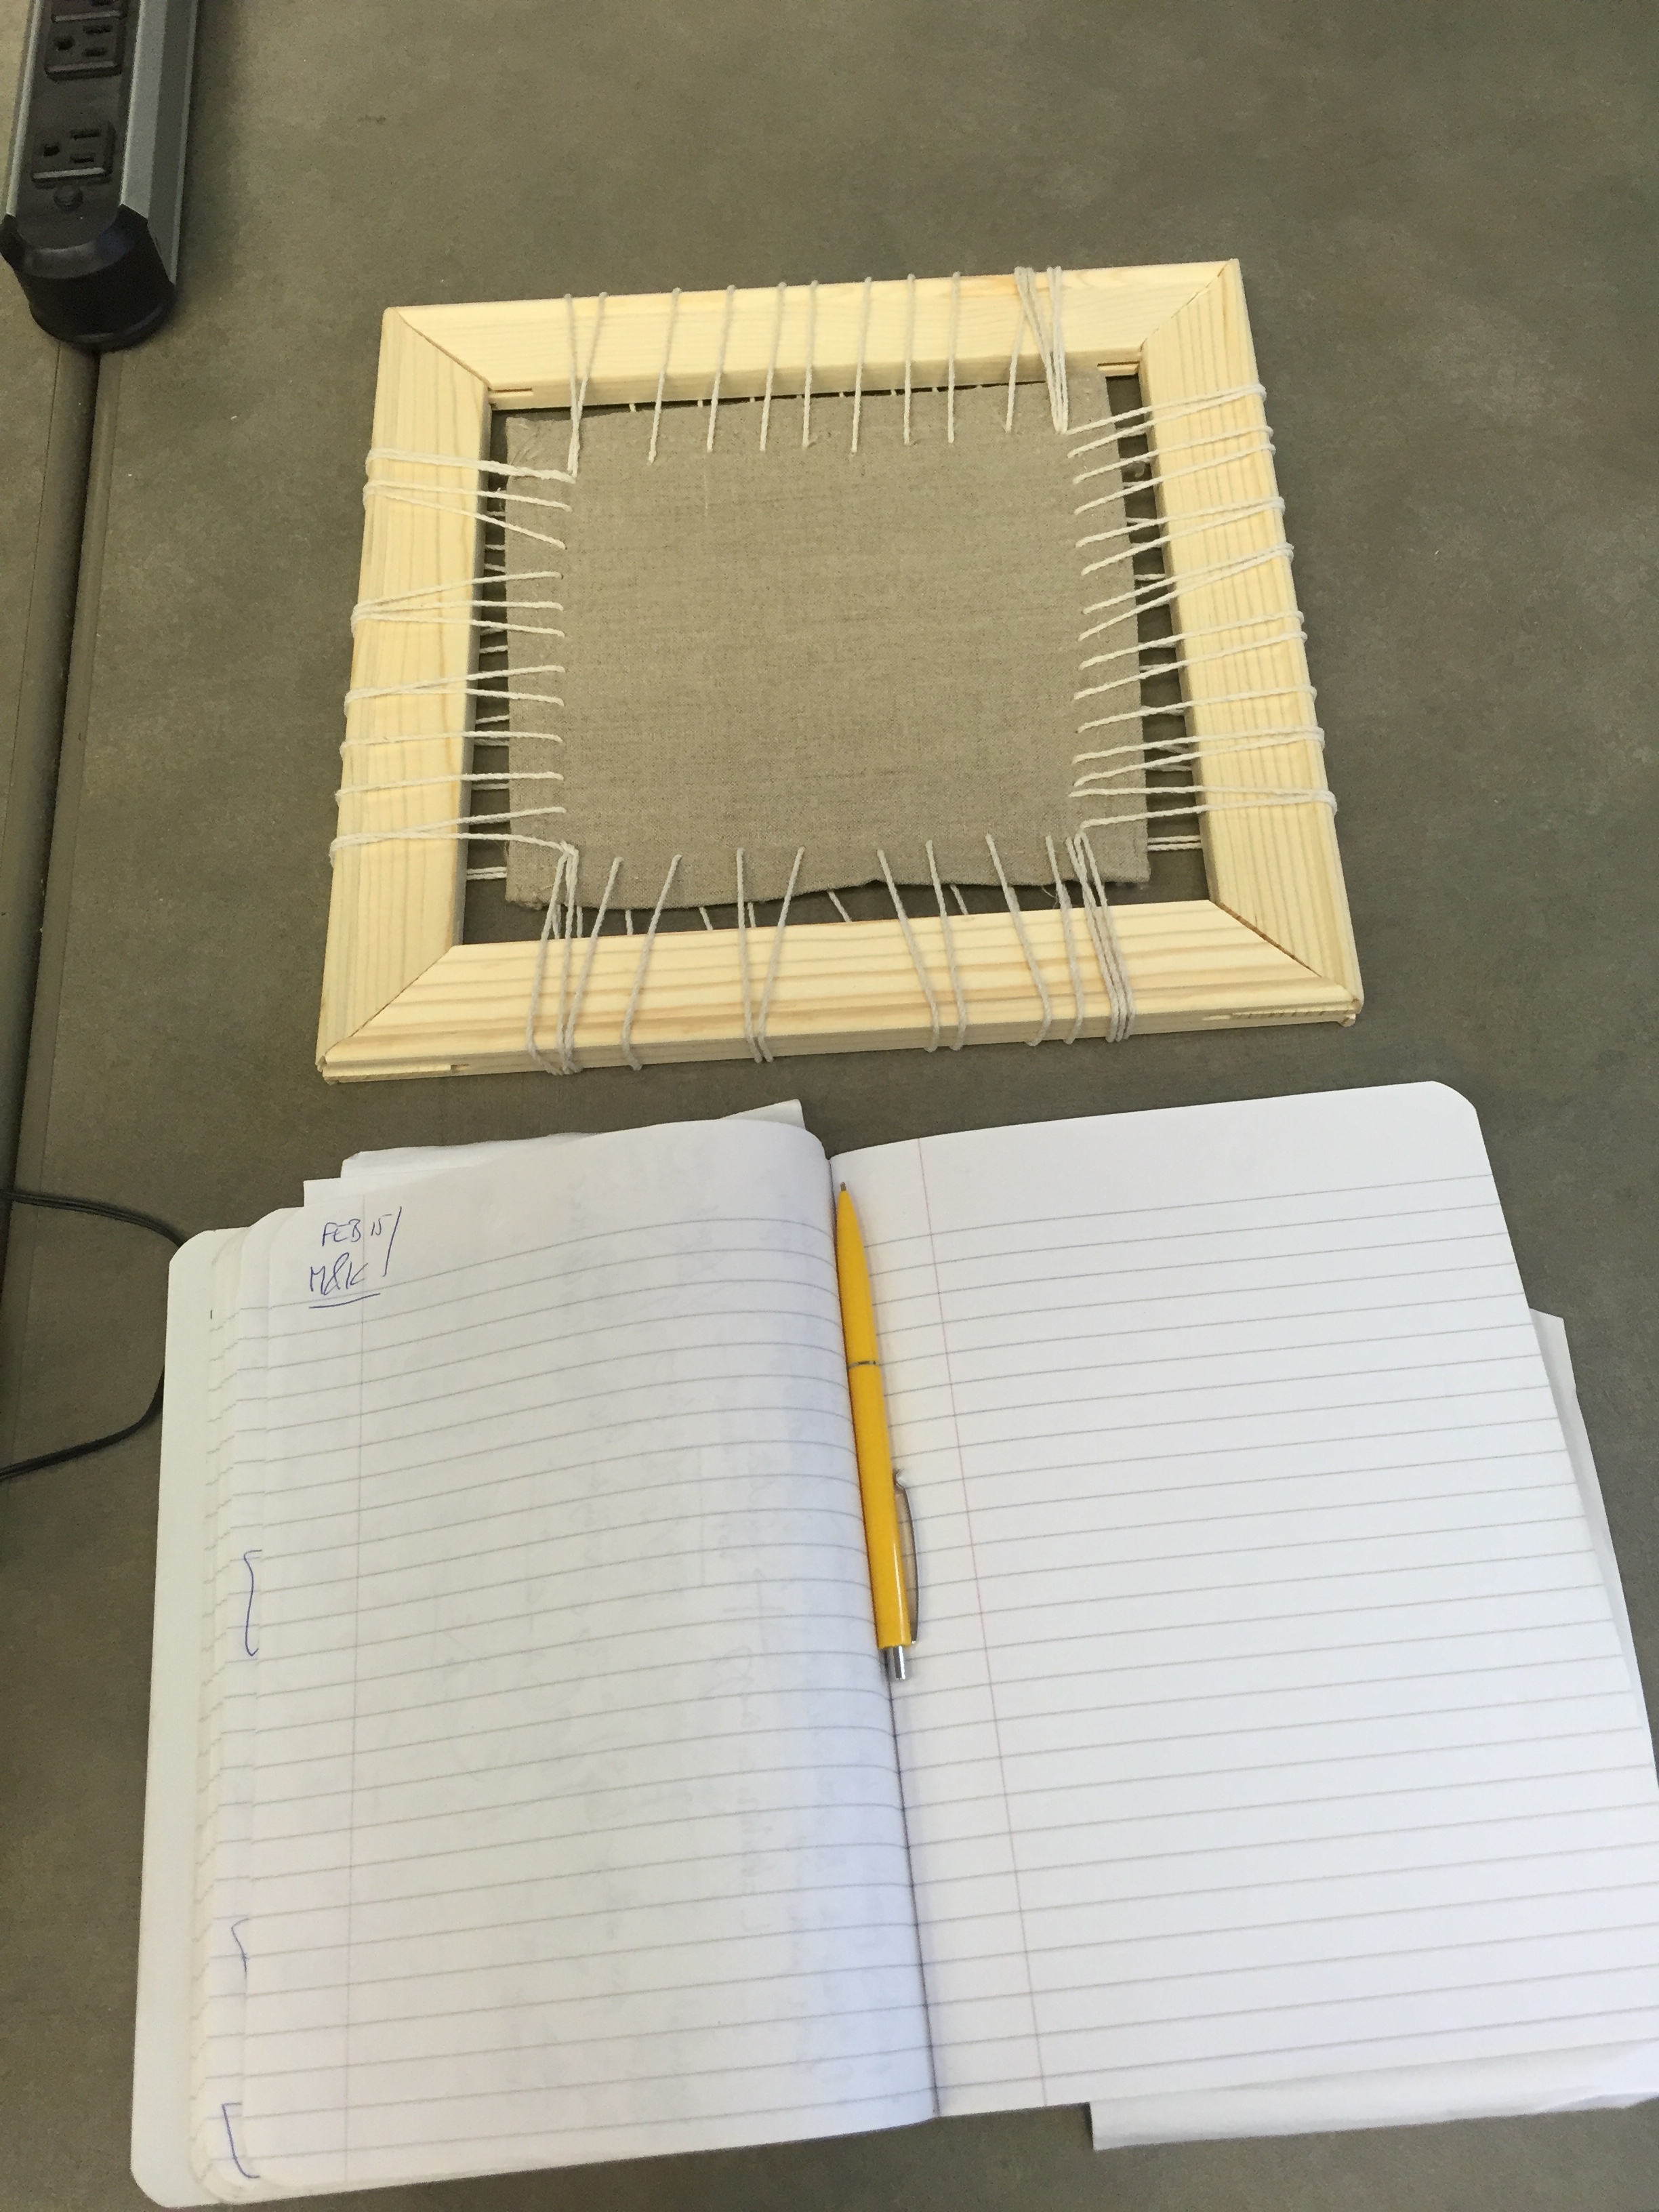
--> arranging materials (frame, canvas cloth, thick yarn and thick needle)
Fixing the Canvas in the Frame / Stretcher
In Theory
--> to arrange the canvas in the stretcher leave ca. 3 cm between cloth and frame on each side
--> measure yarn (to fix cloth in frame) by using approx. 4-5 times of the frame length per side
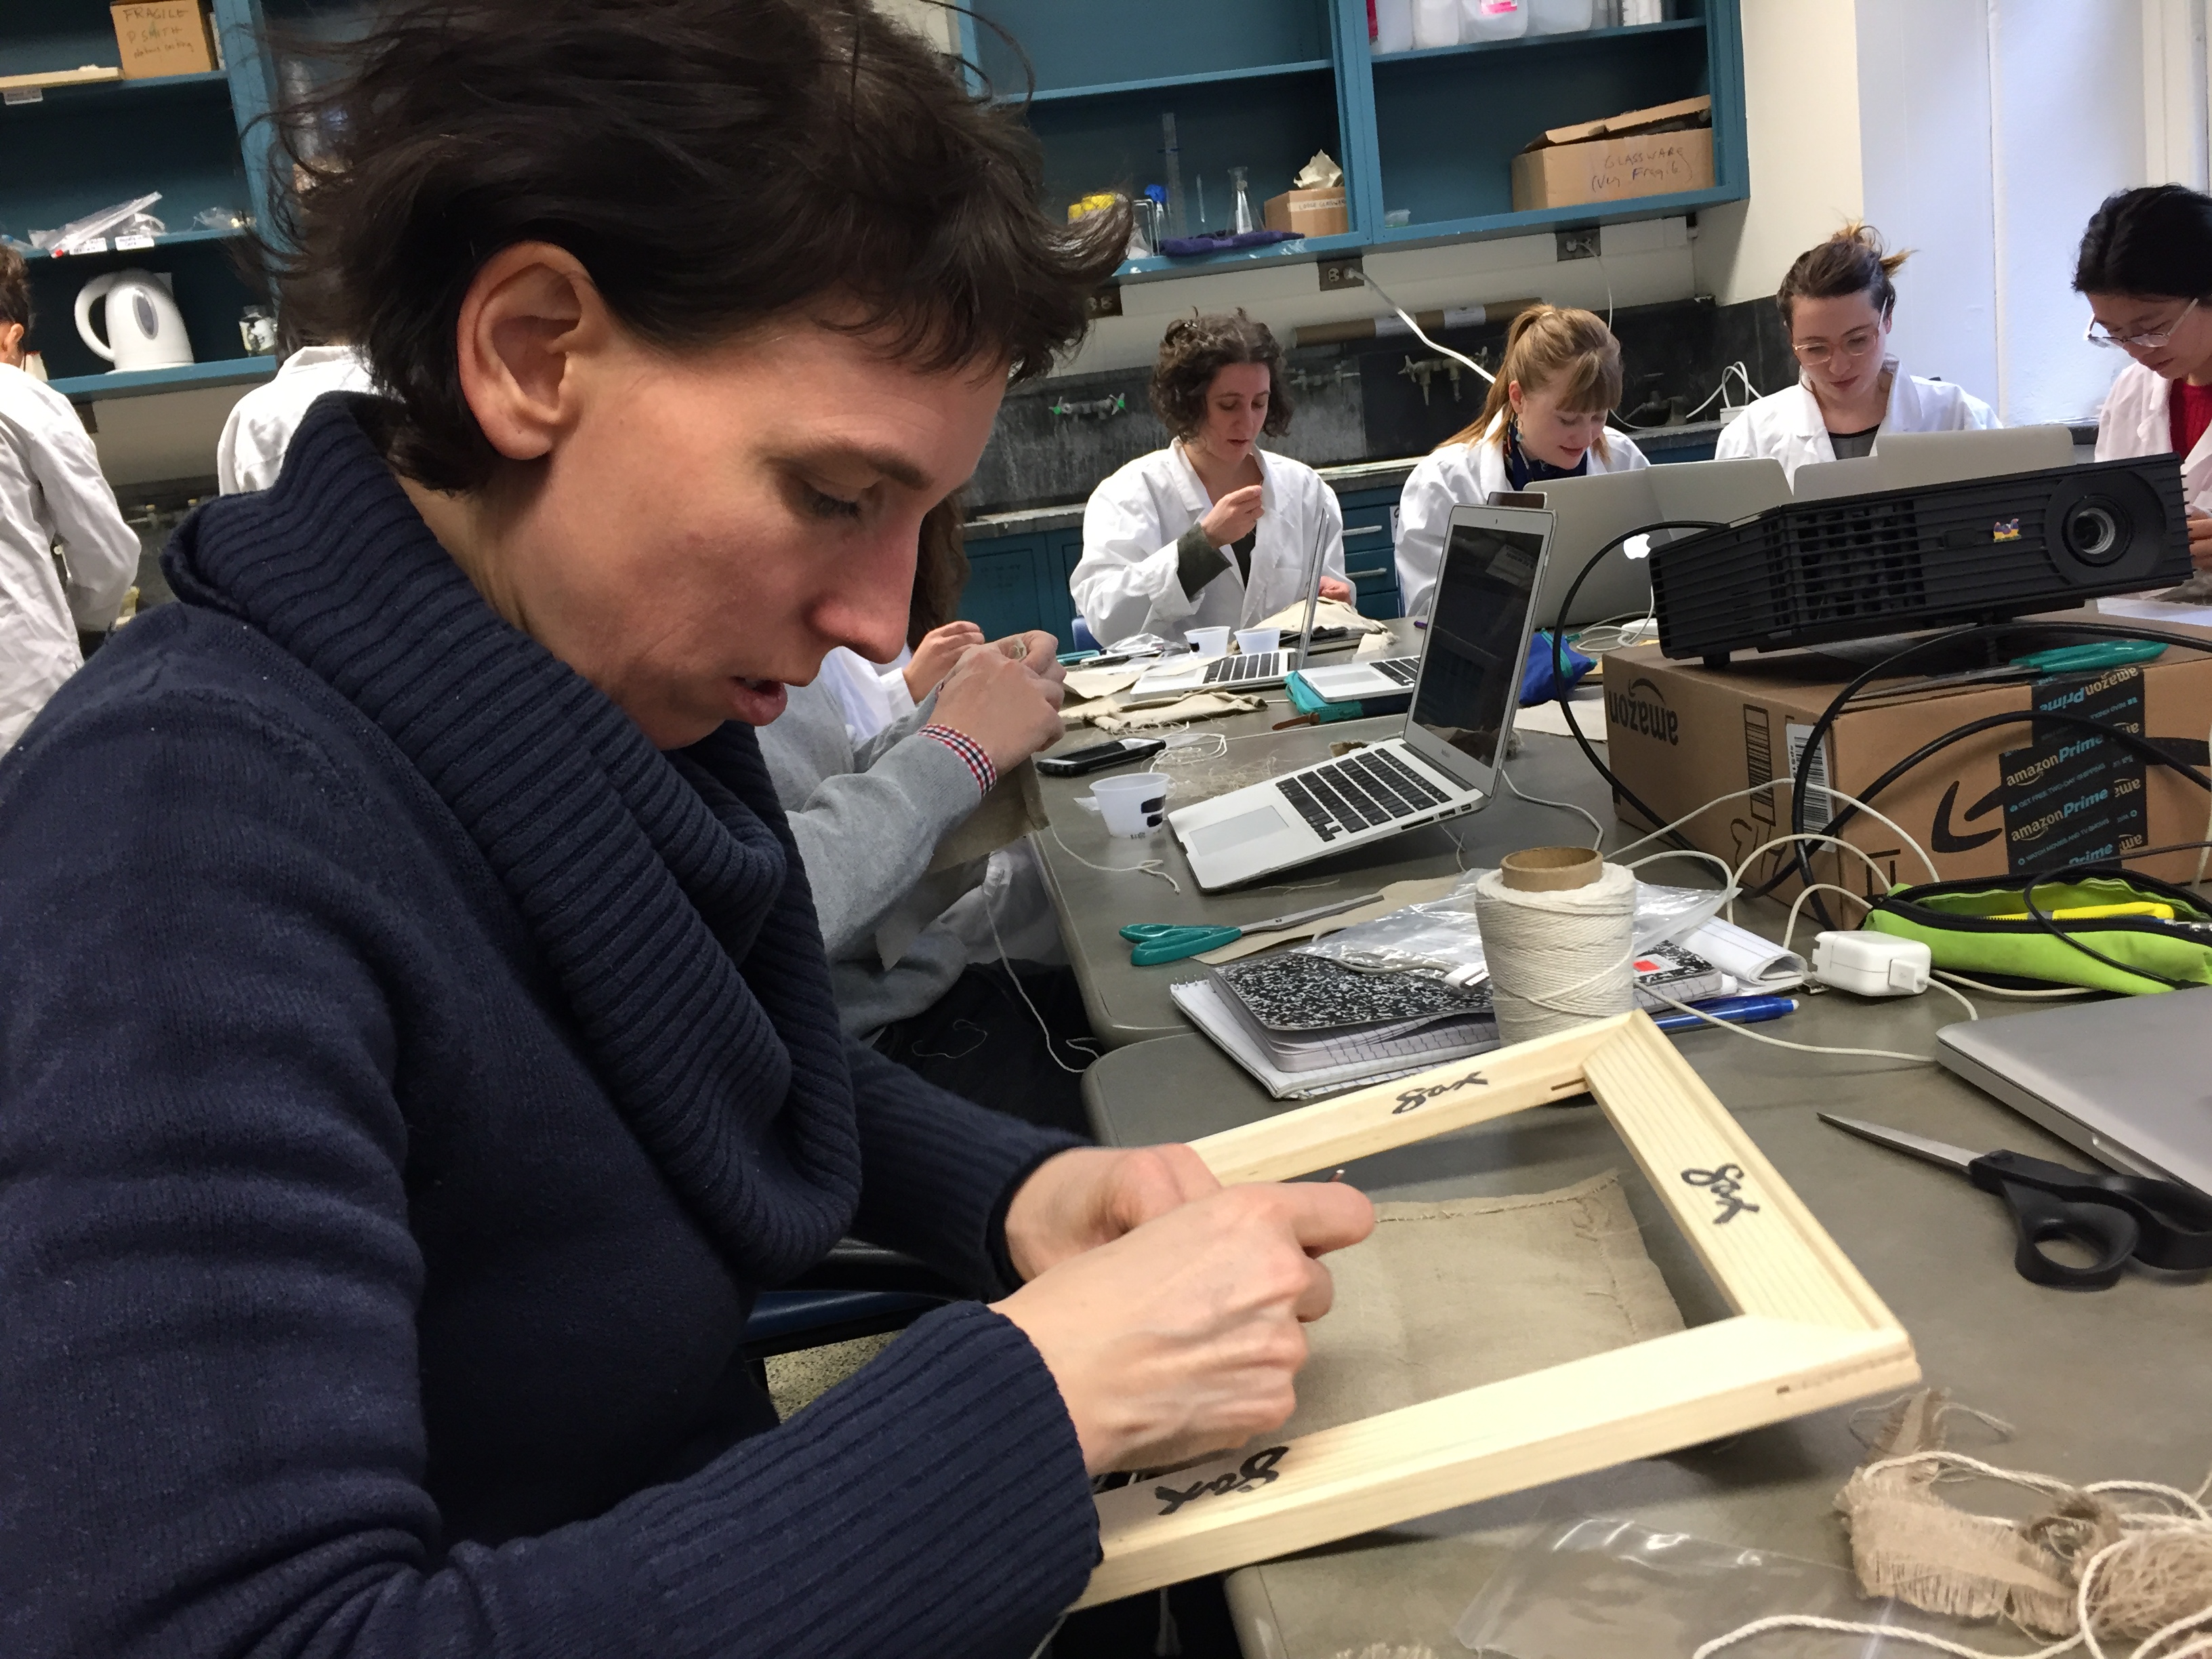
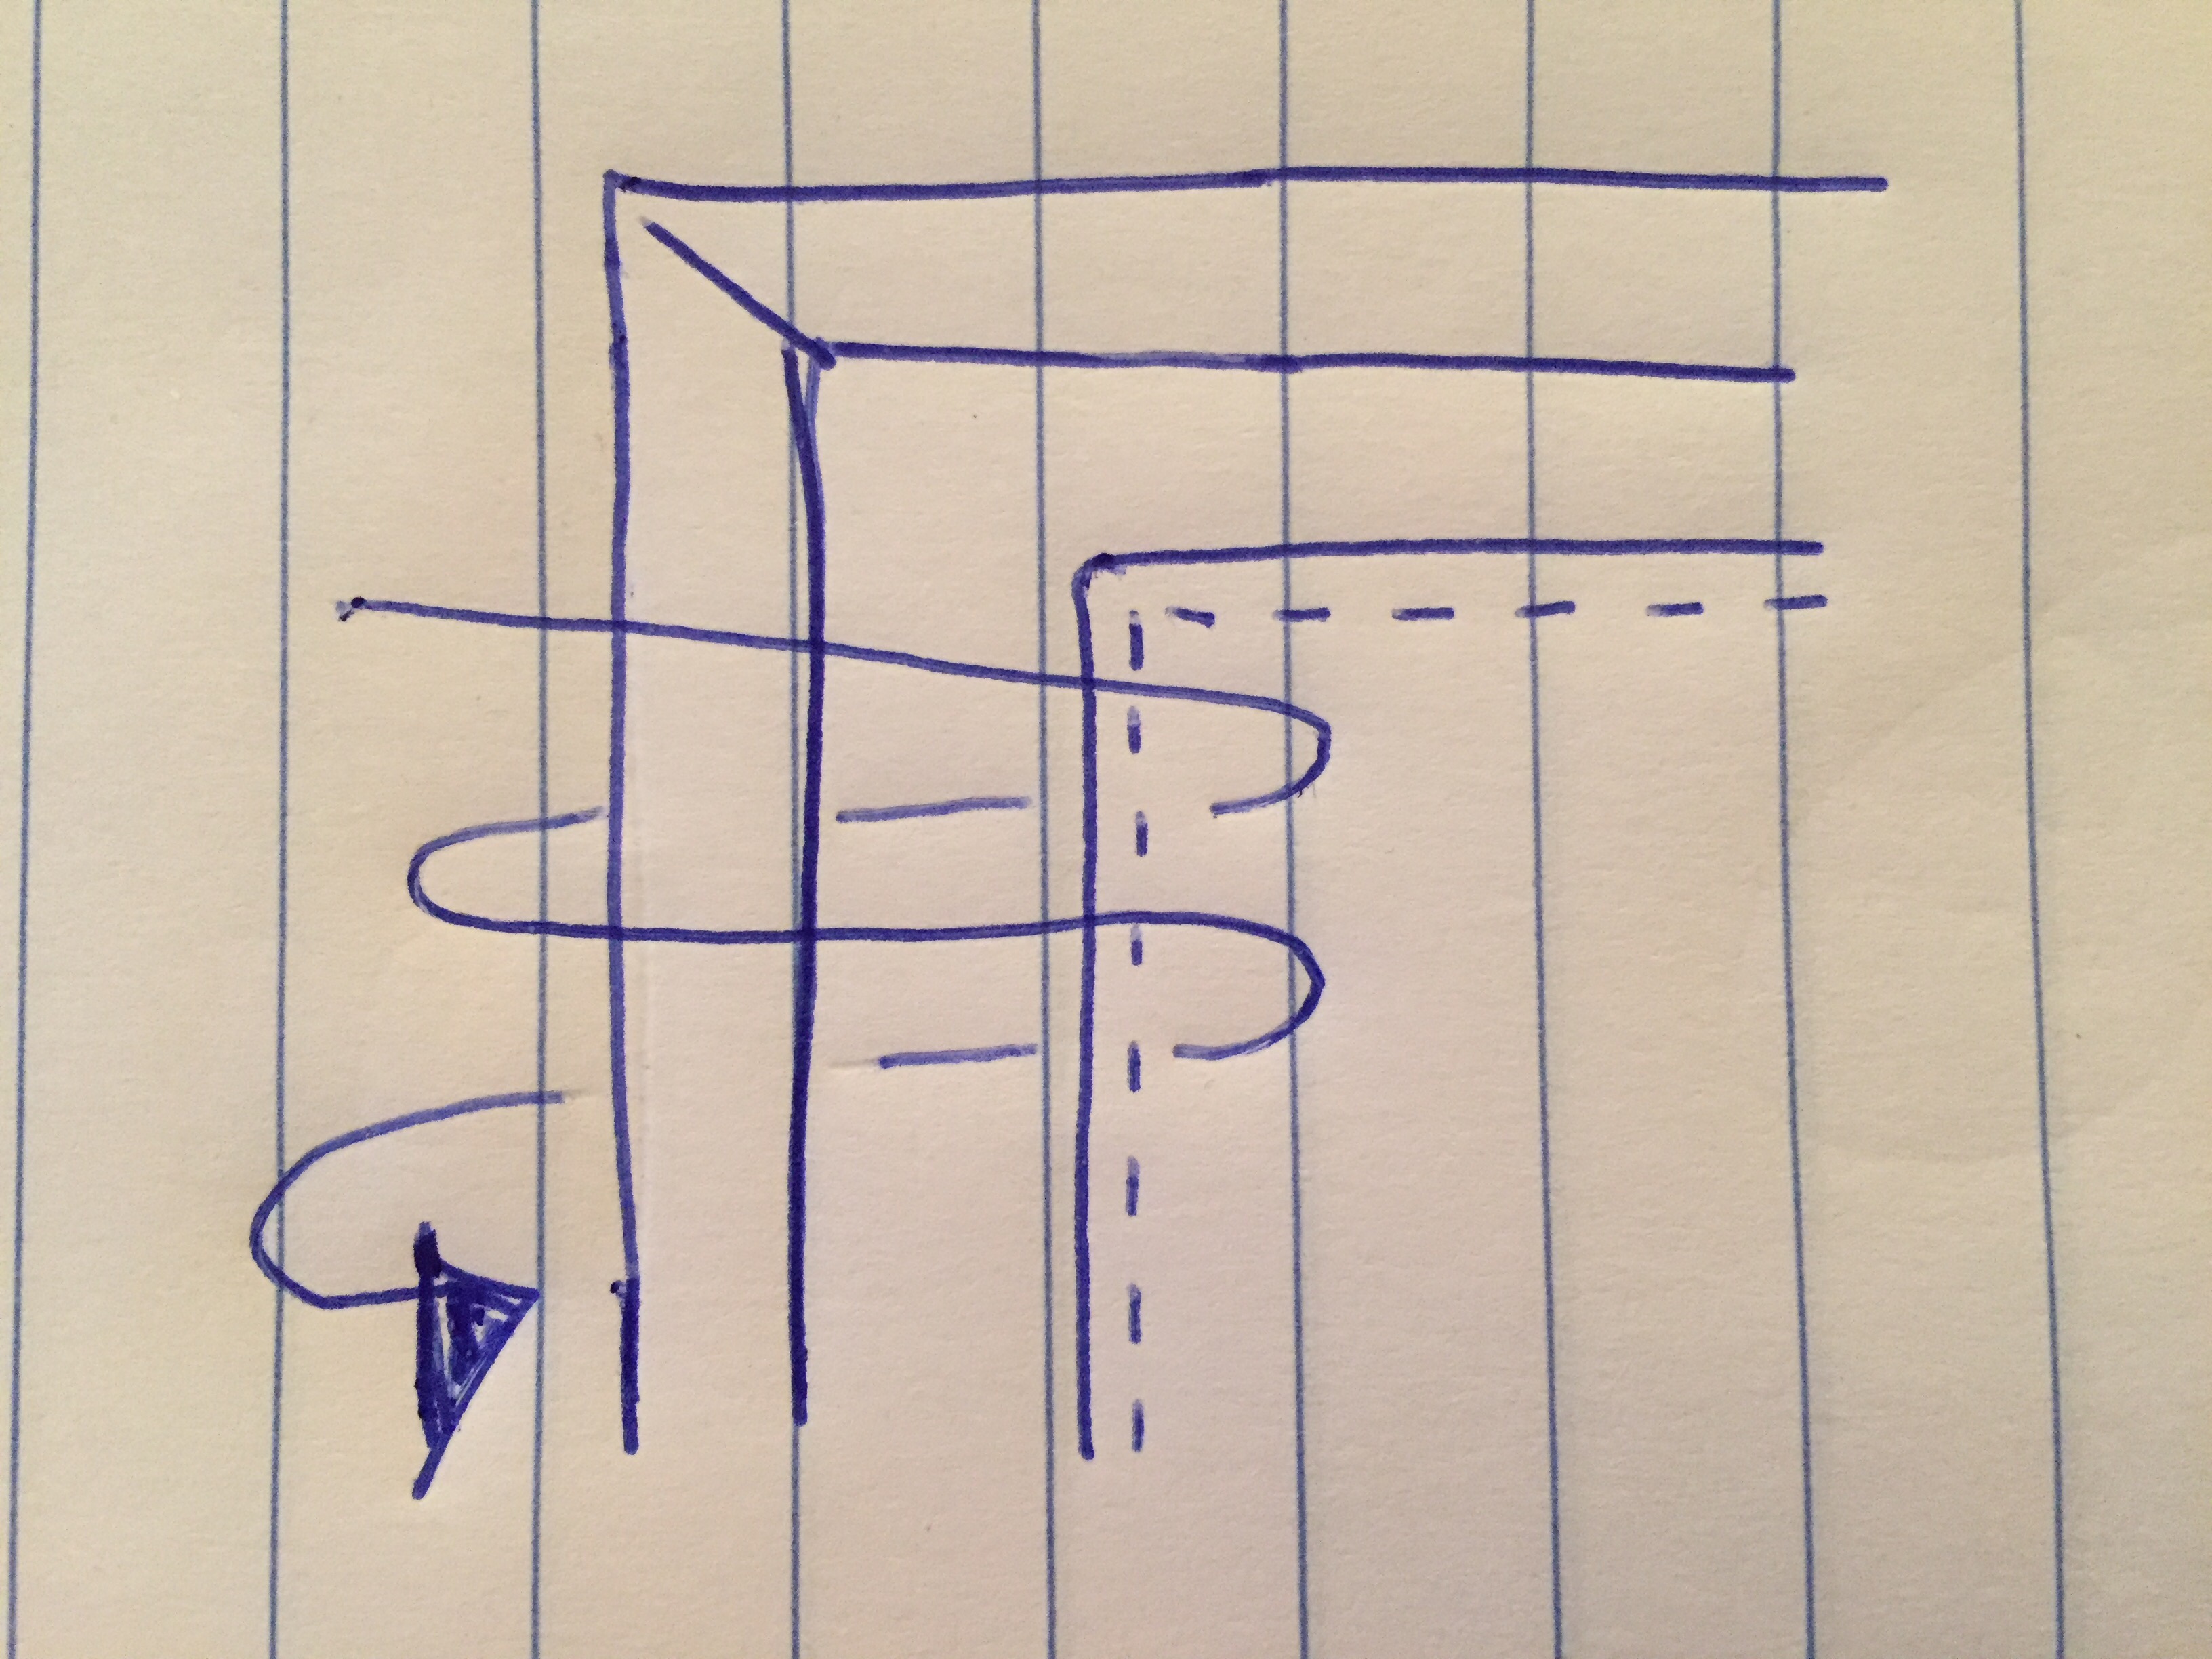
--> lace canvas into stretcher (see sketch below) with thick needle, starting with one side, proceeding the next, all four
--> make sure the lacing is evenly leveled
--> pull yarn tight, but not too tight as the next step (rabbit glue) will cause the canvas to shrink
In Practice
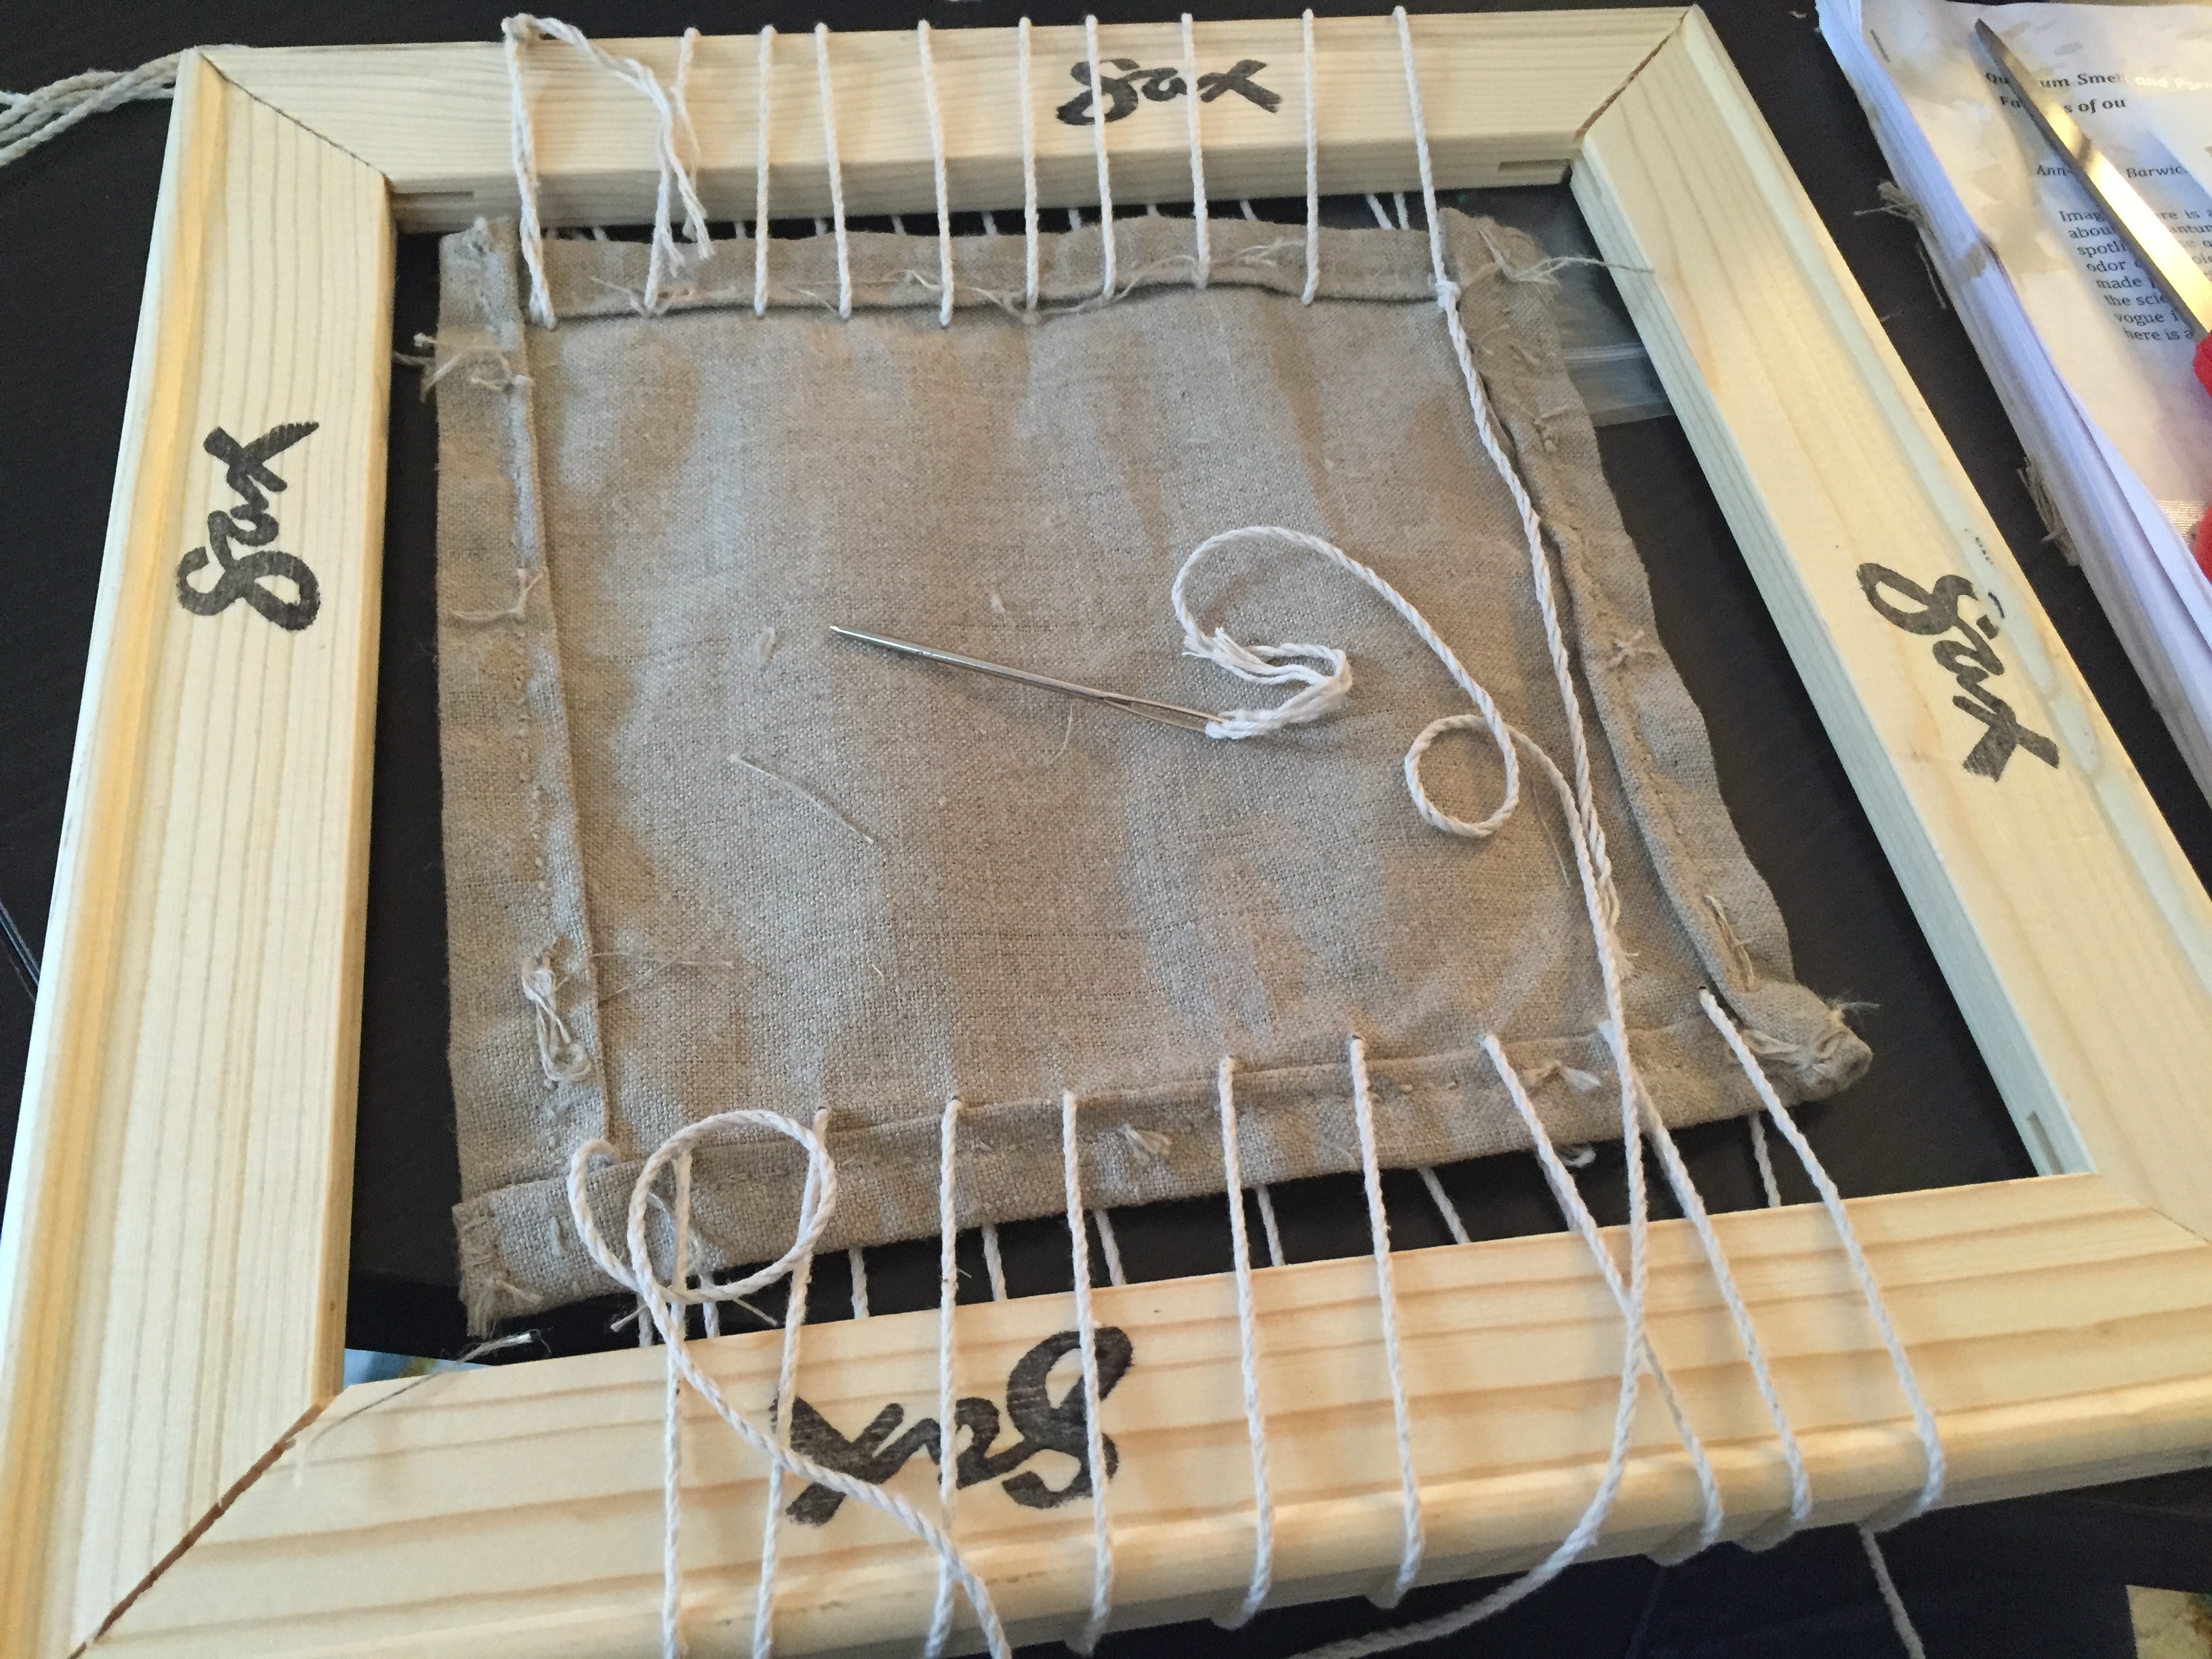
--> Distance: not 3 cm between stretcher and canvas, the canvas cloth is not even (at some point it'll be more than 3cm and others less than 3cm)
--> I measured the yarn by using 5 times the length of the frame per size, could have used less
--> lacing according to the sketch above, thick needle
--> lacing level on canvas is not even, partly because the sewed edged are uneven
--> I did not measure how long it took as I went for the occasional breaks to make coffee or read the news at times: all in all, however, it as about 3 hours (finishing the stitching above was really keeping me occupied for most of this period)
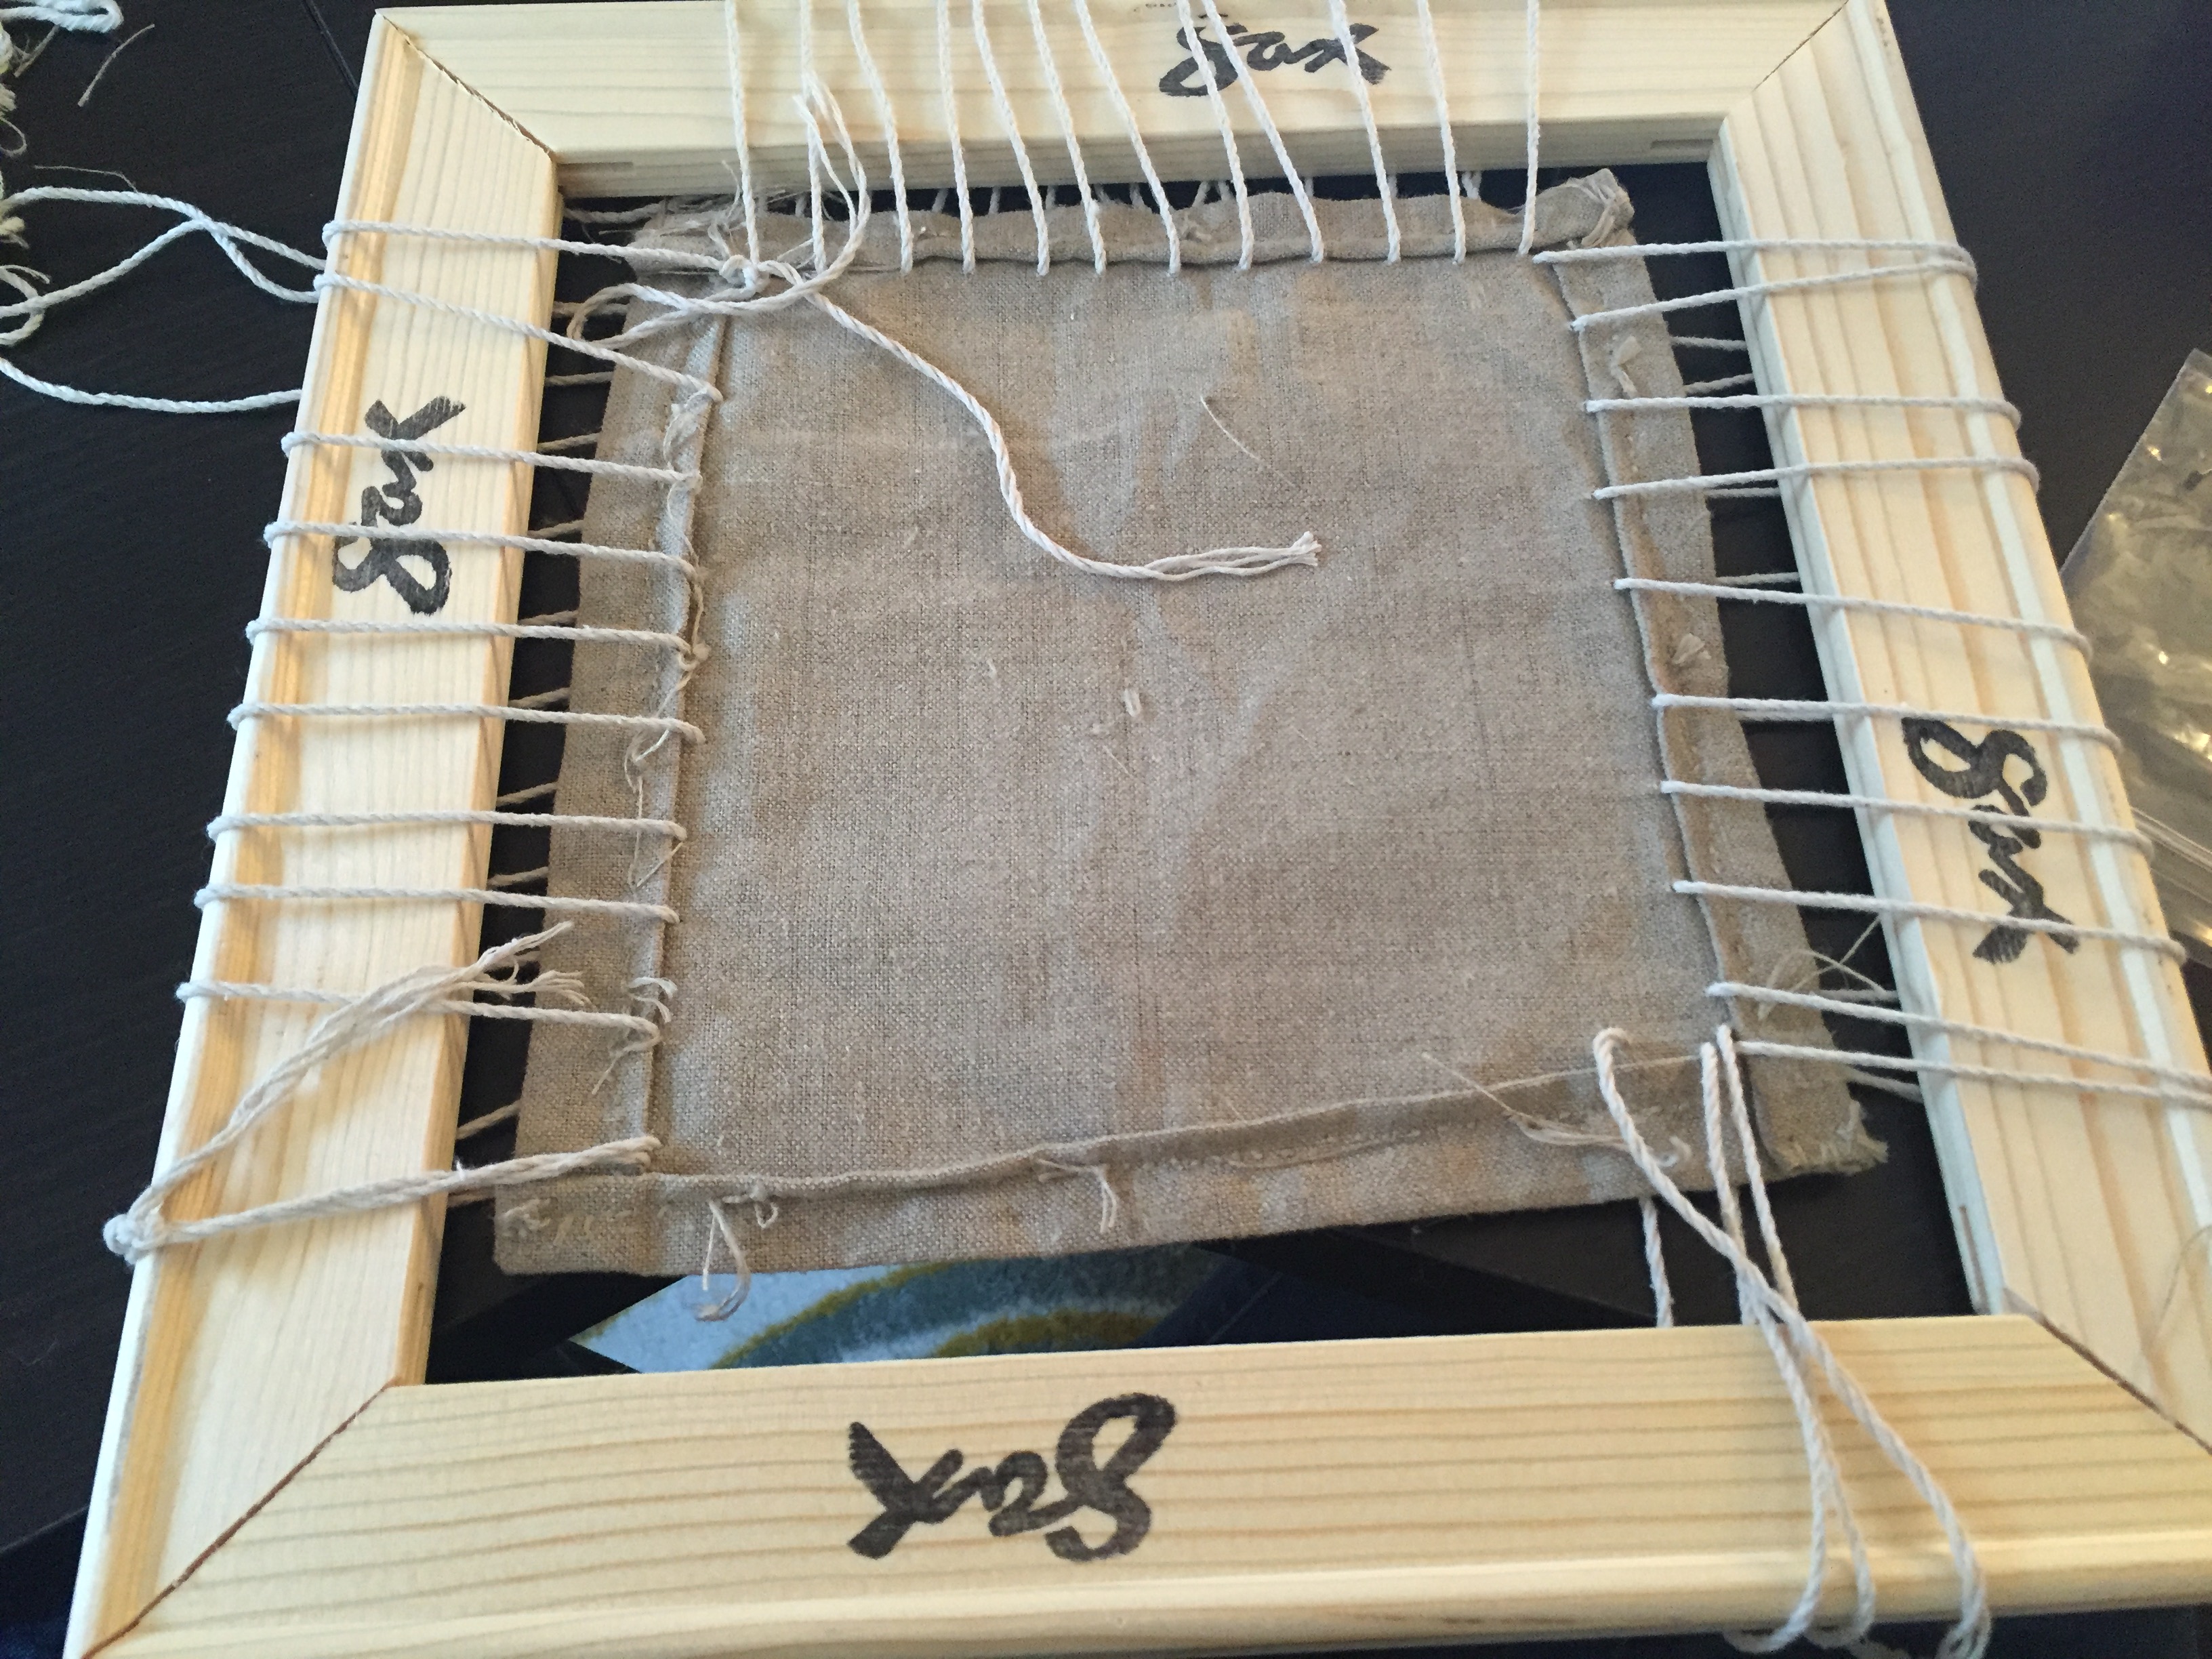
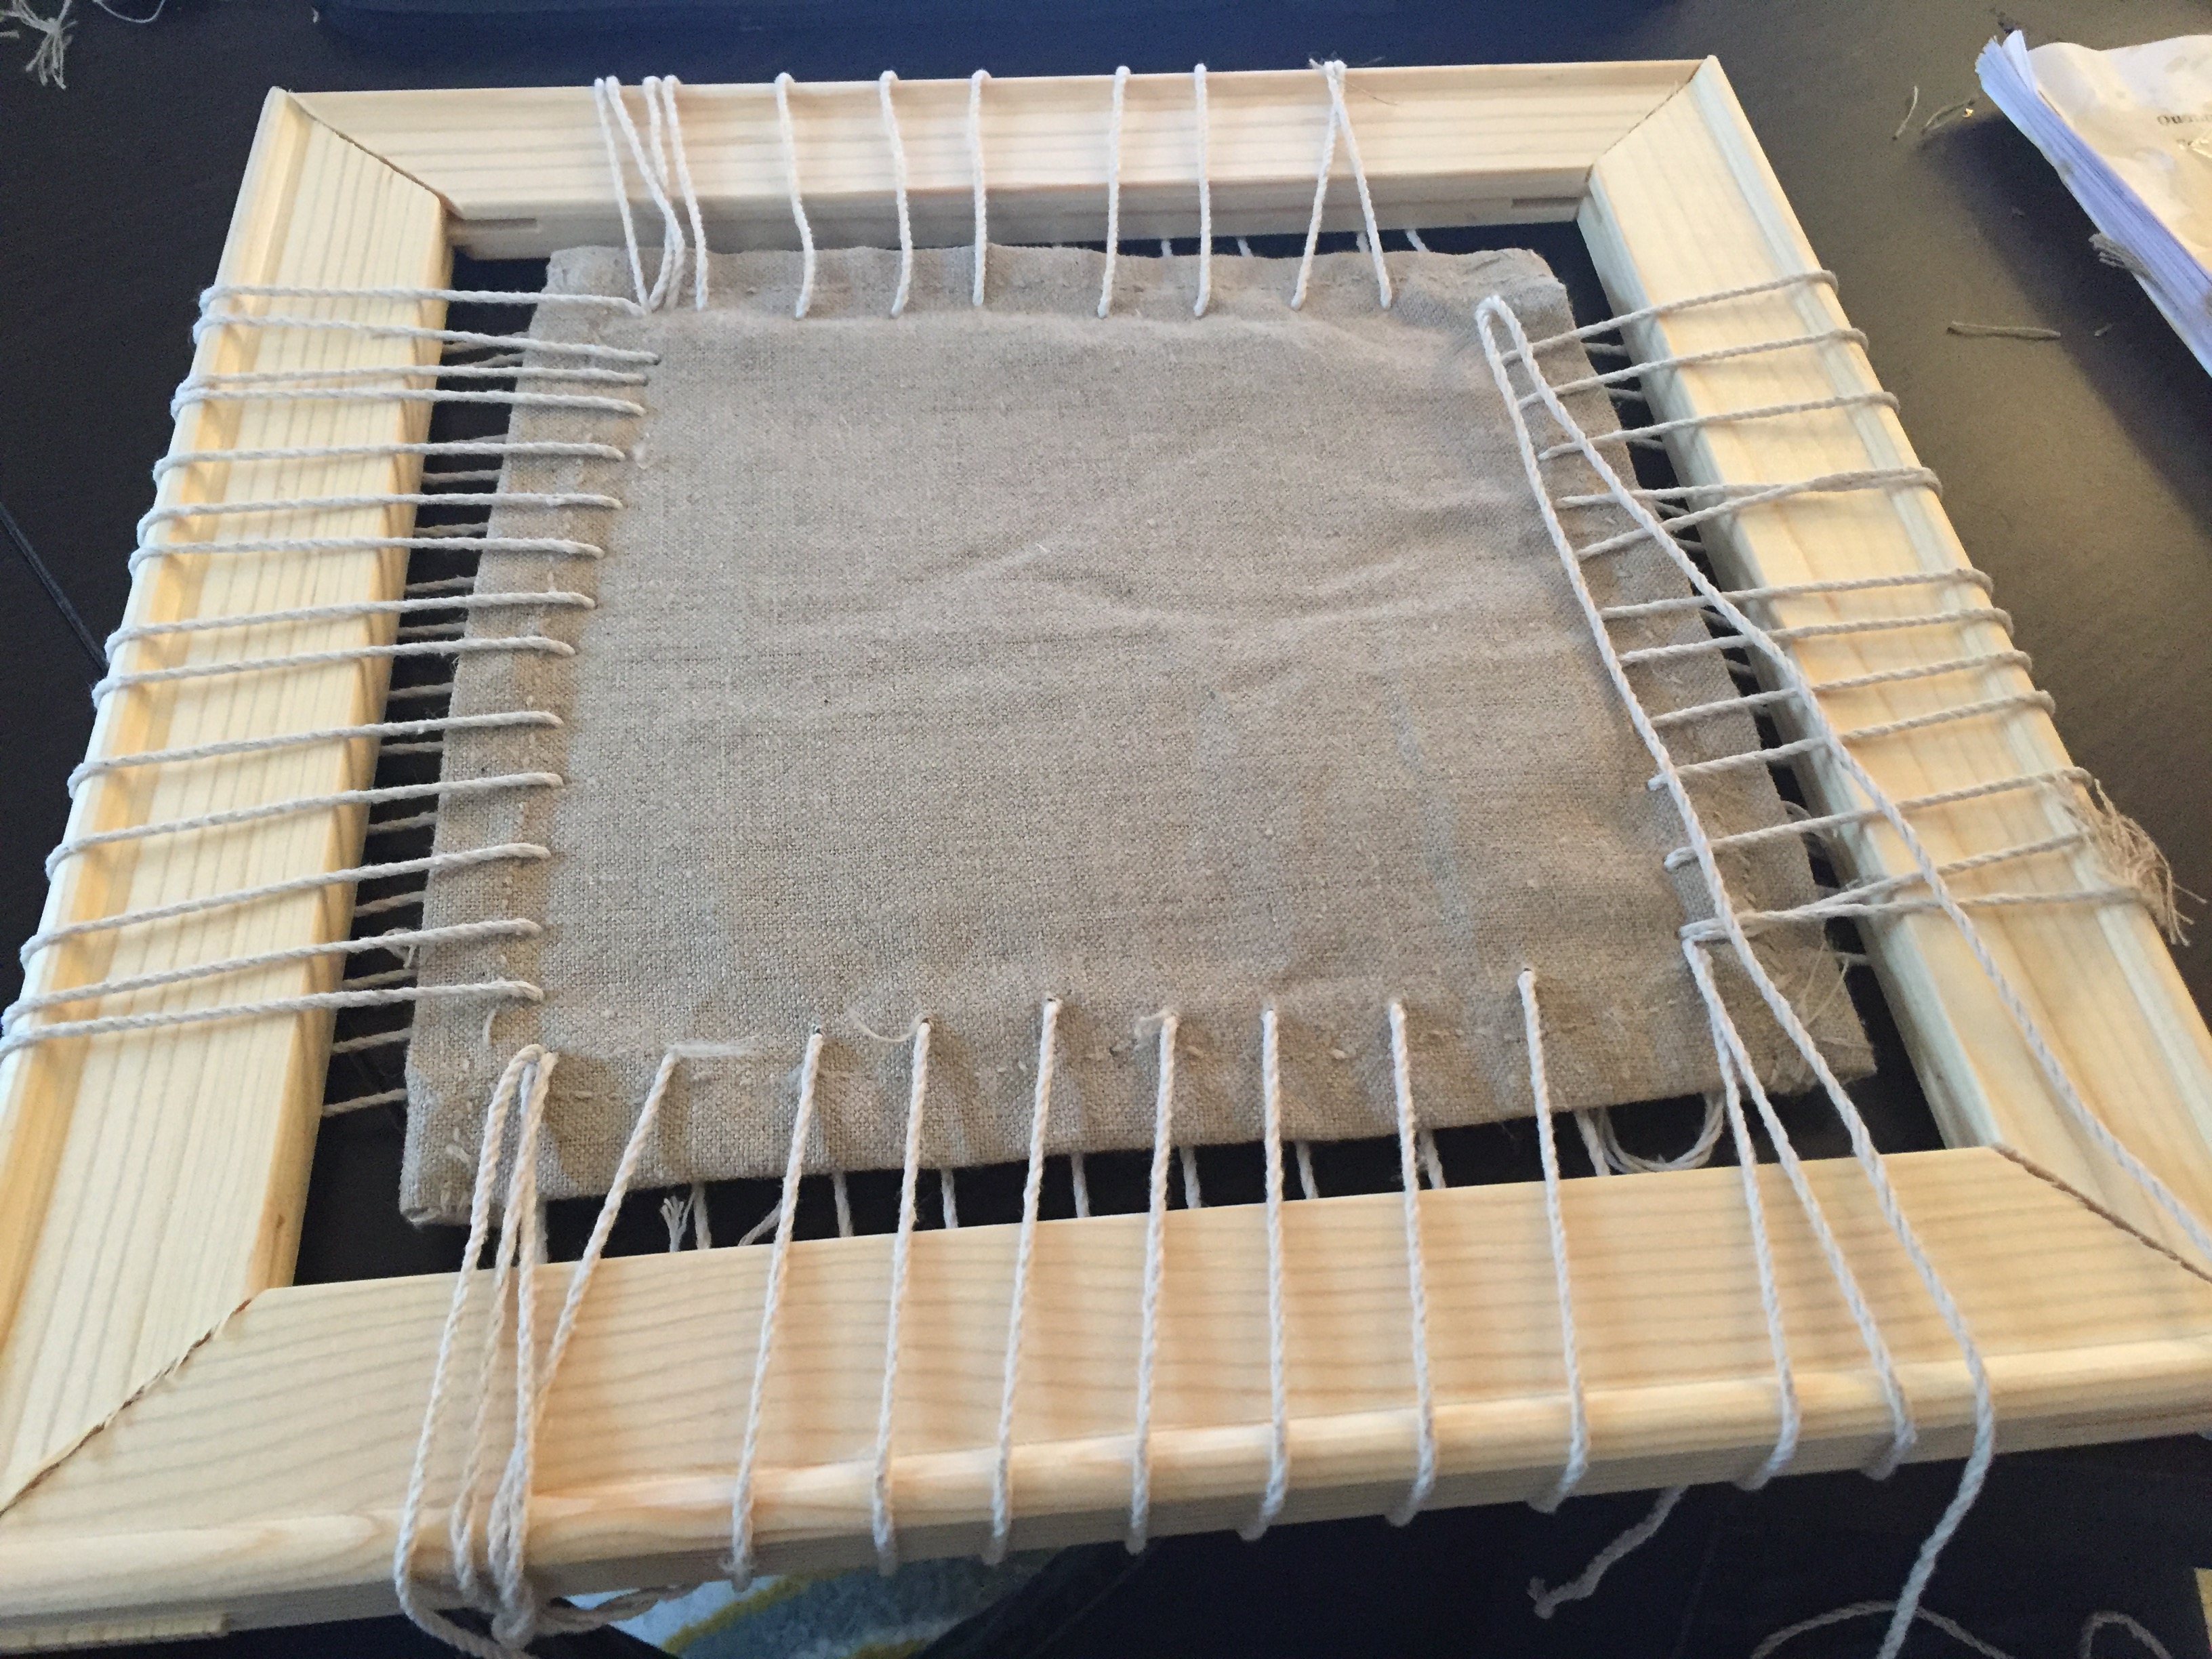
Knots??
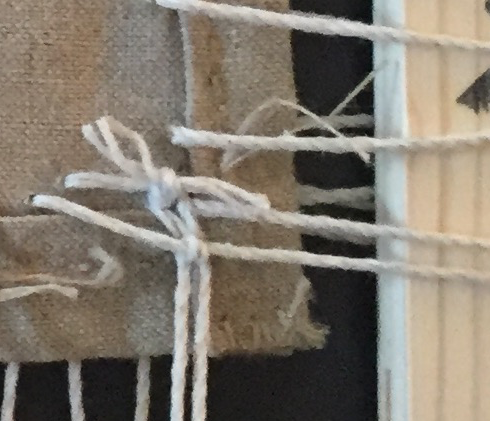
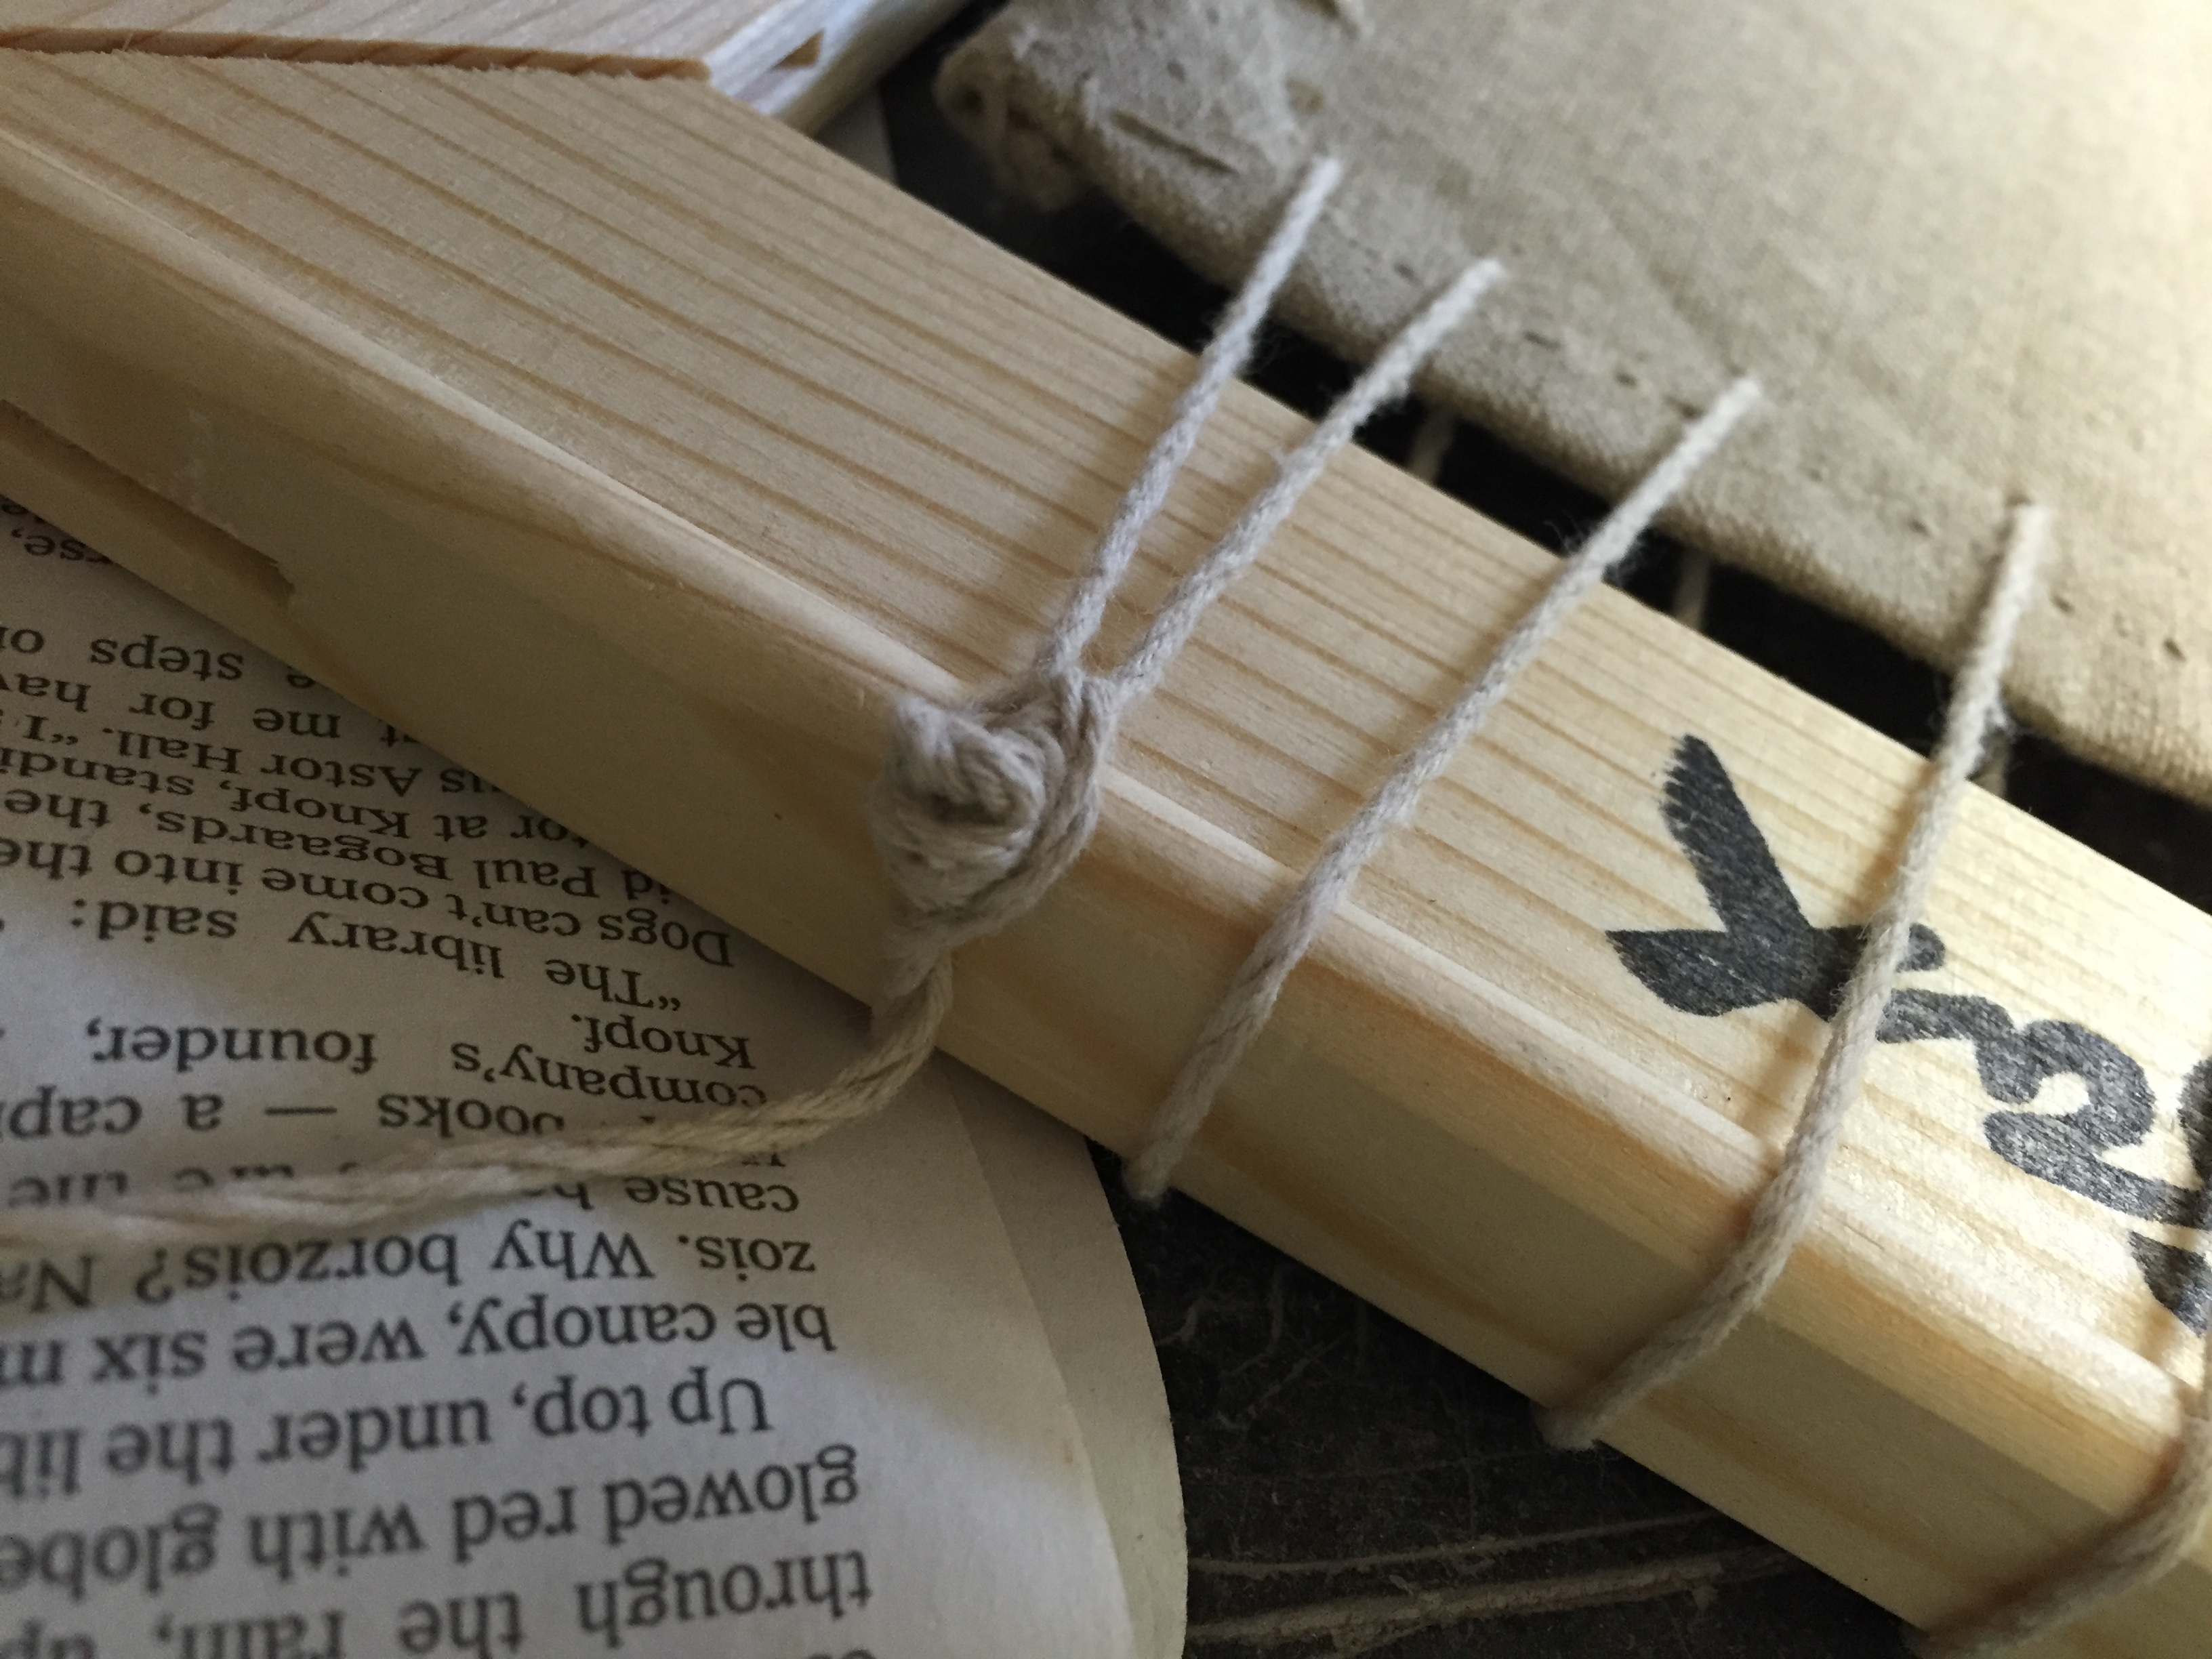
--> I have no clue how to tie the knots at the end of the frame... the results of the decision I made here is going to become the main issue in the next section (rabbit glue) as I will have to unmake the canvas fixing (not tight enough)
--> I am going freestyle... er, I did mention that I have a bit of OCD...
Basically, I knotted each knot several times, sometimes around itself (yes...), plus I weaved the extended yarn strings at the back of the canvas and knotted them into some of the single laces (yes...).
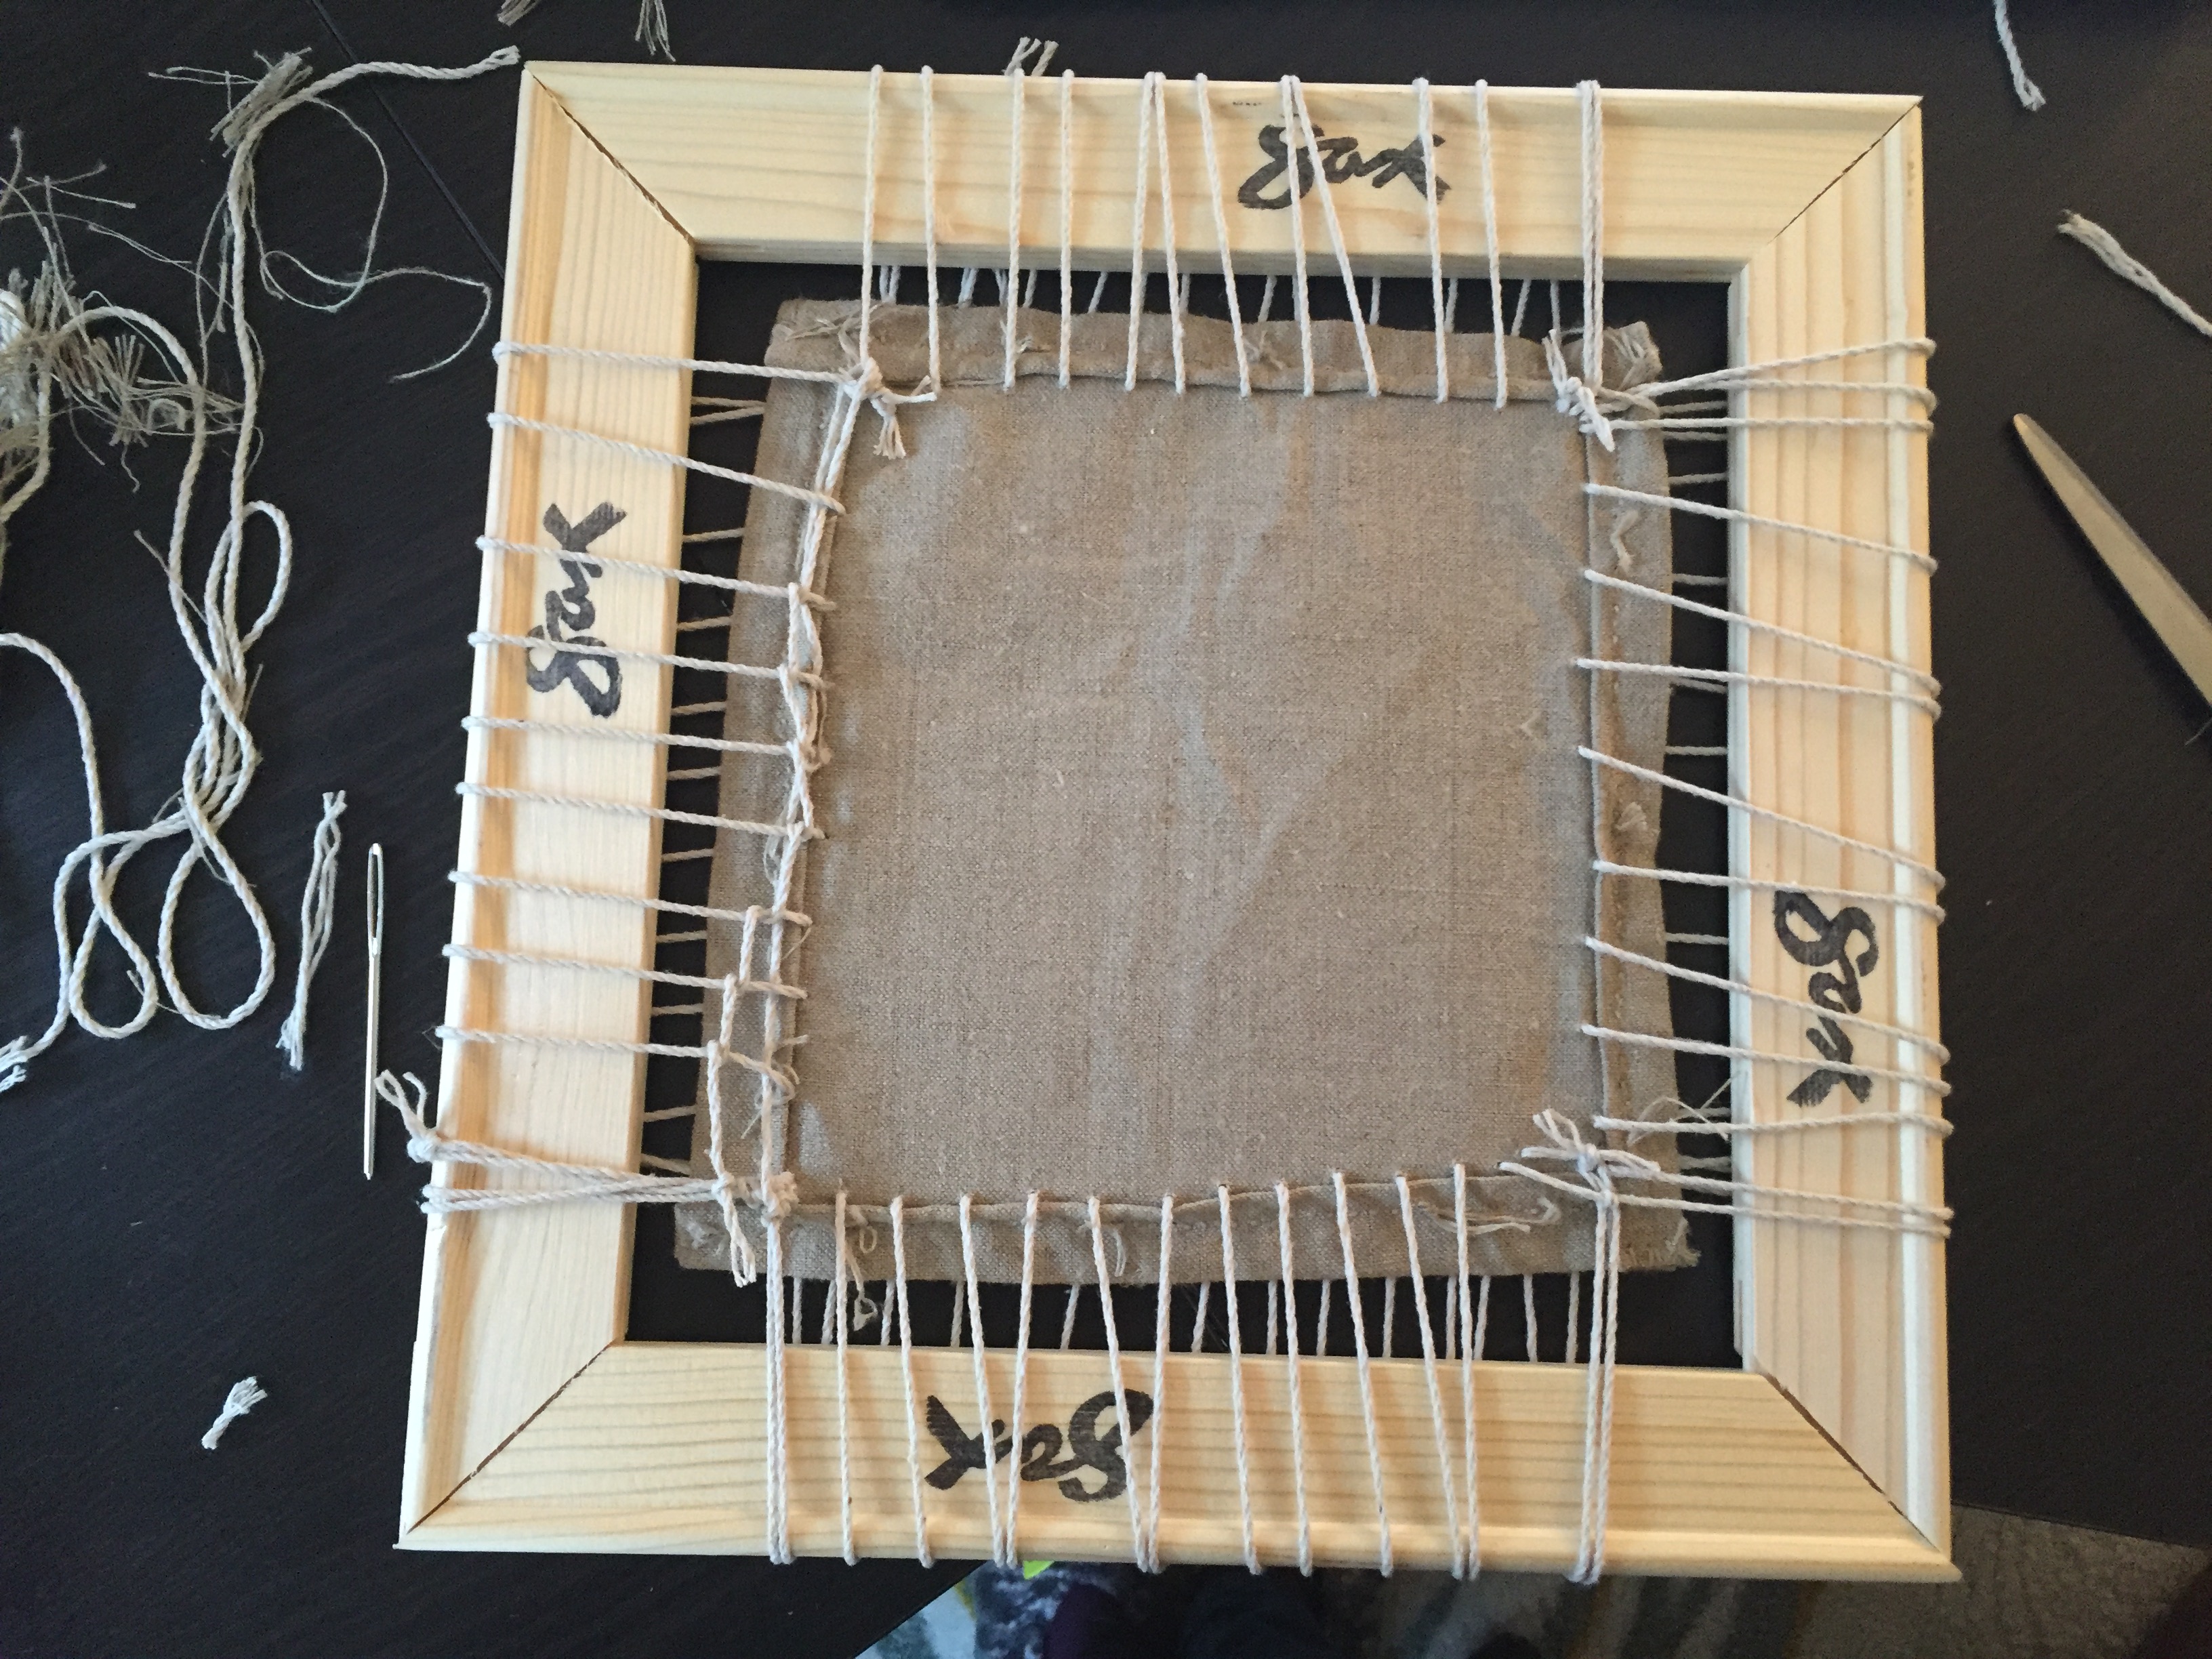
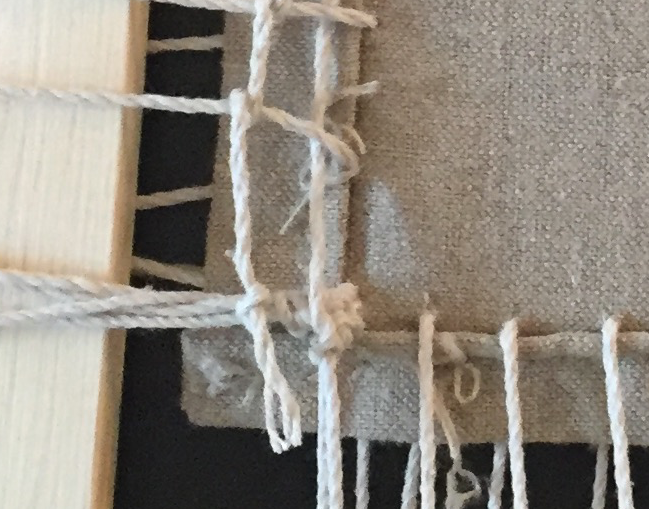
Name: Ann-Sophie Barwich, Donna Bilak, Naomi Rosenkranz
Date and Time:
2016.February.23, 10:am
Location: Chandler 260Subject: Rabbit Glue
Heating up the Rabbit Glue
Out of fridge glue: jelly texture (still smells like Joseph Beuys)
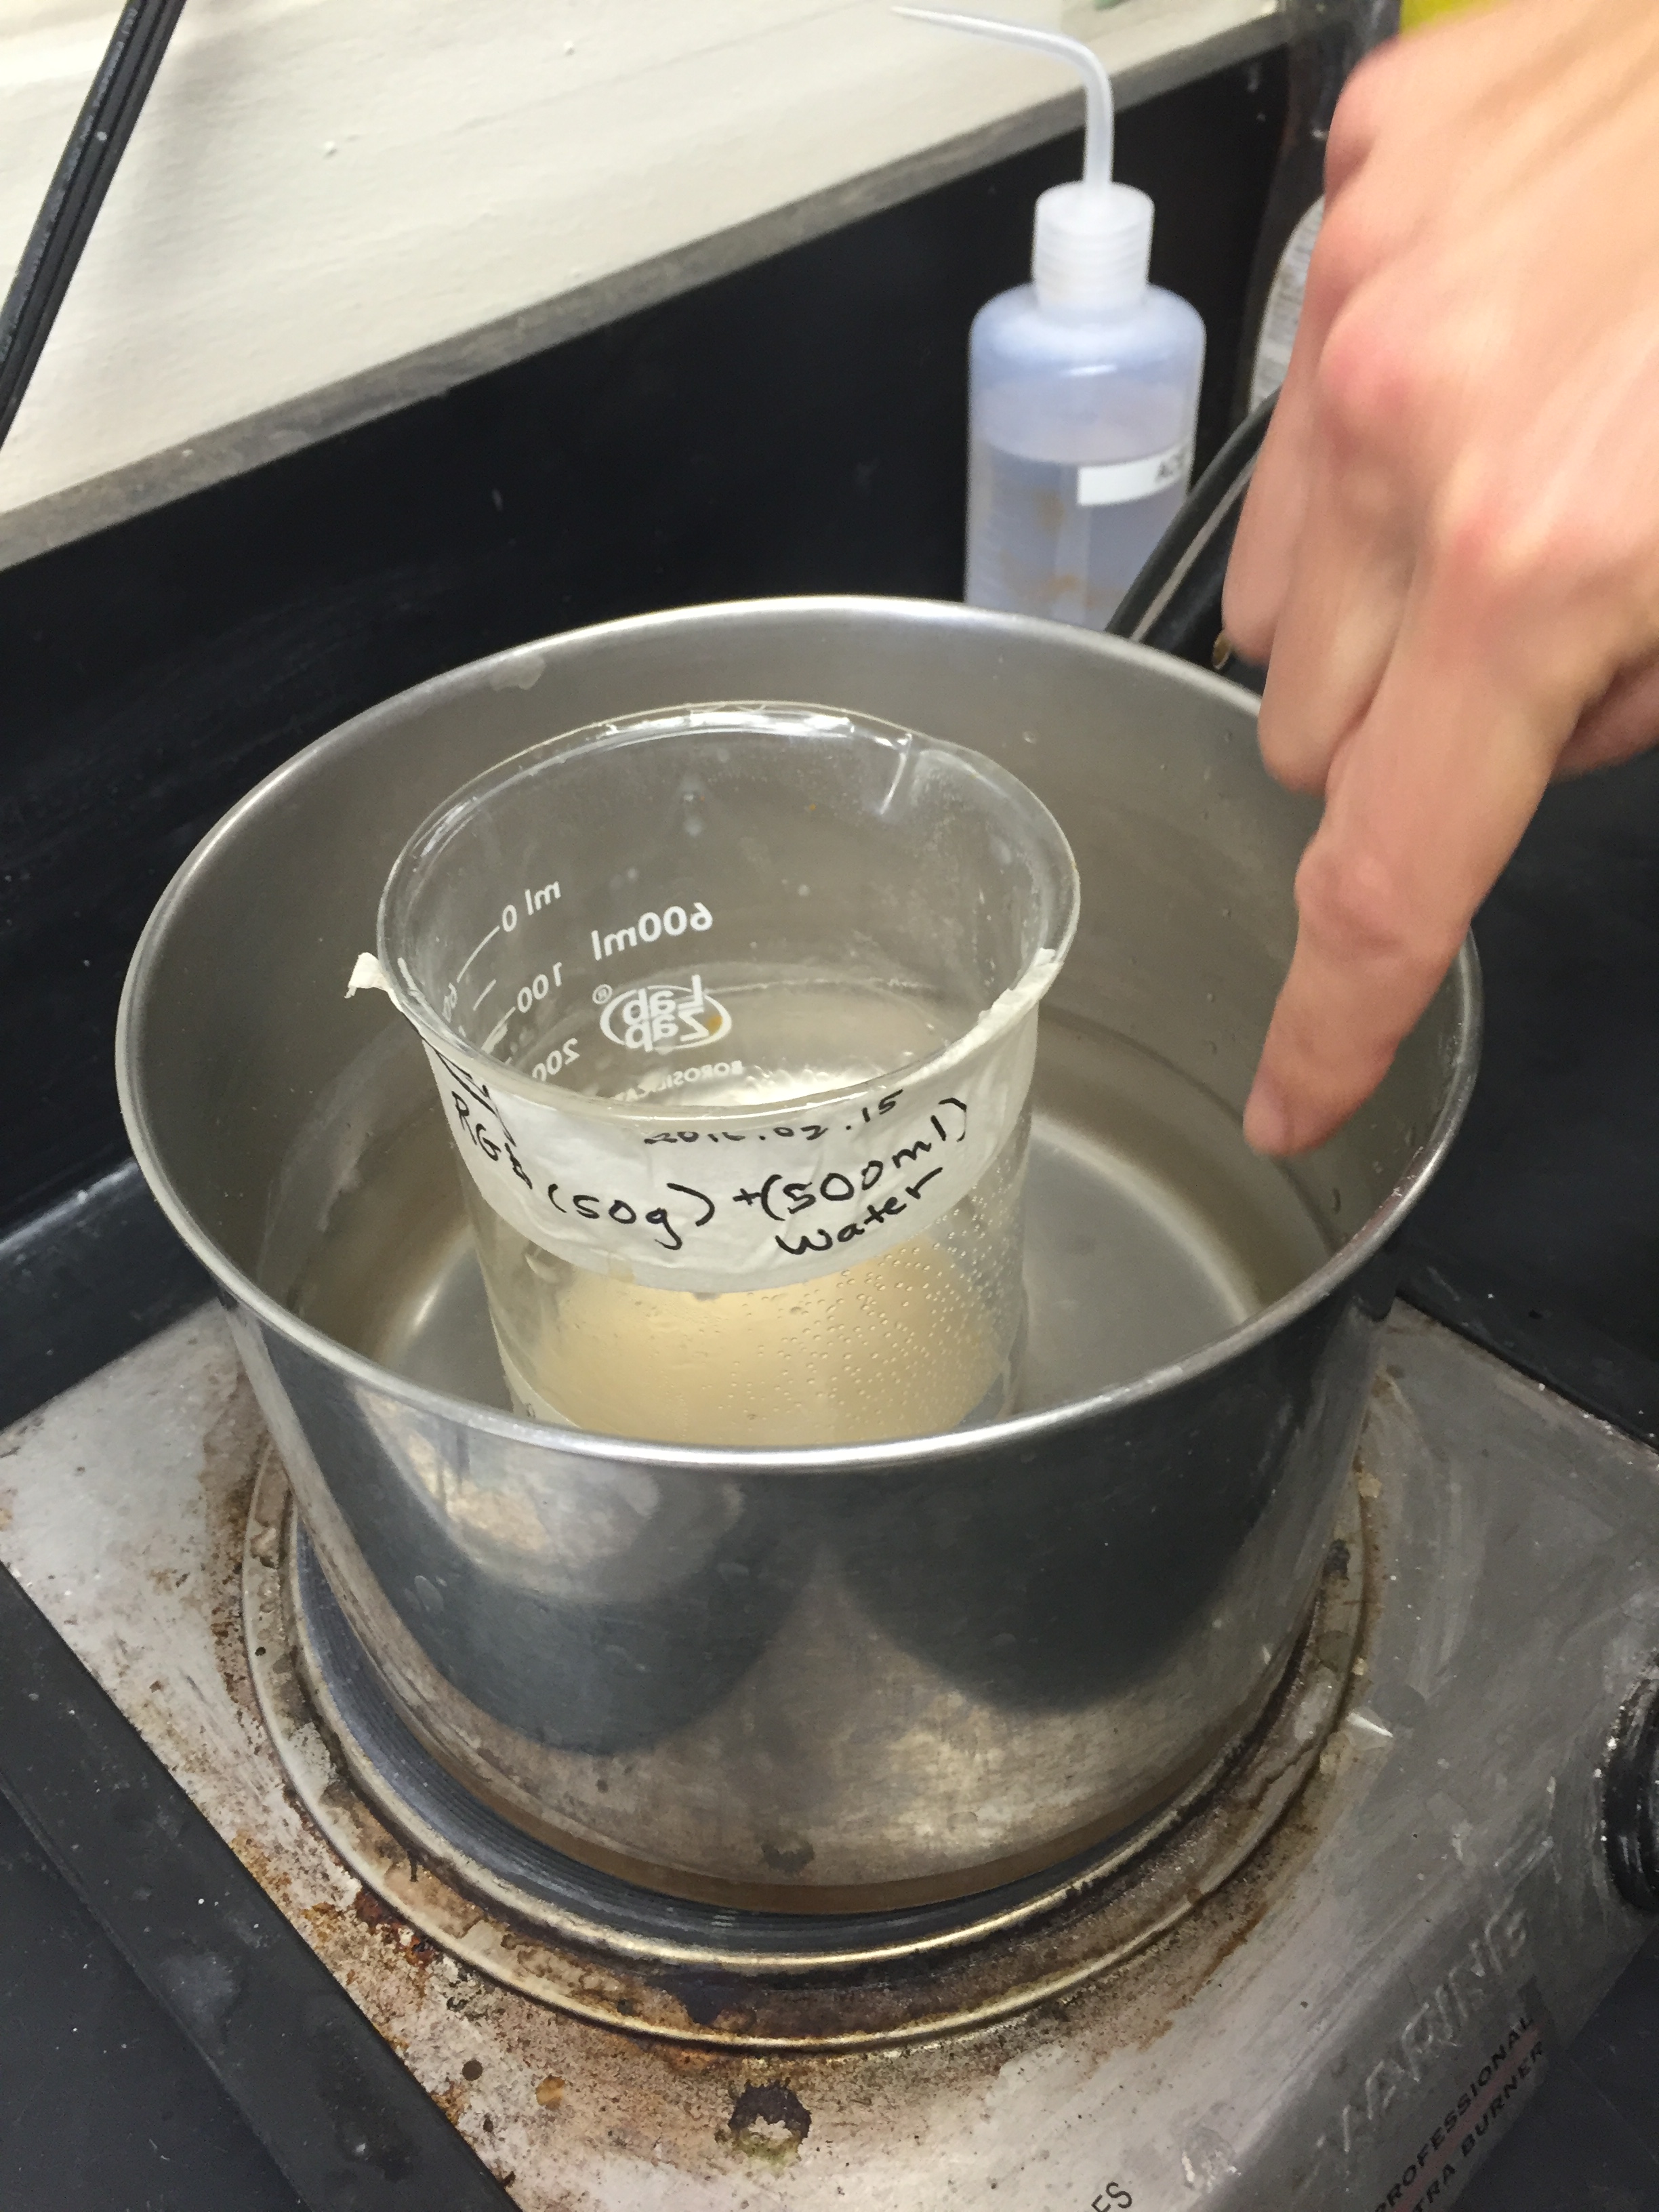
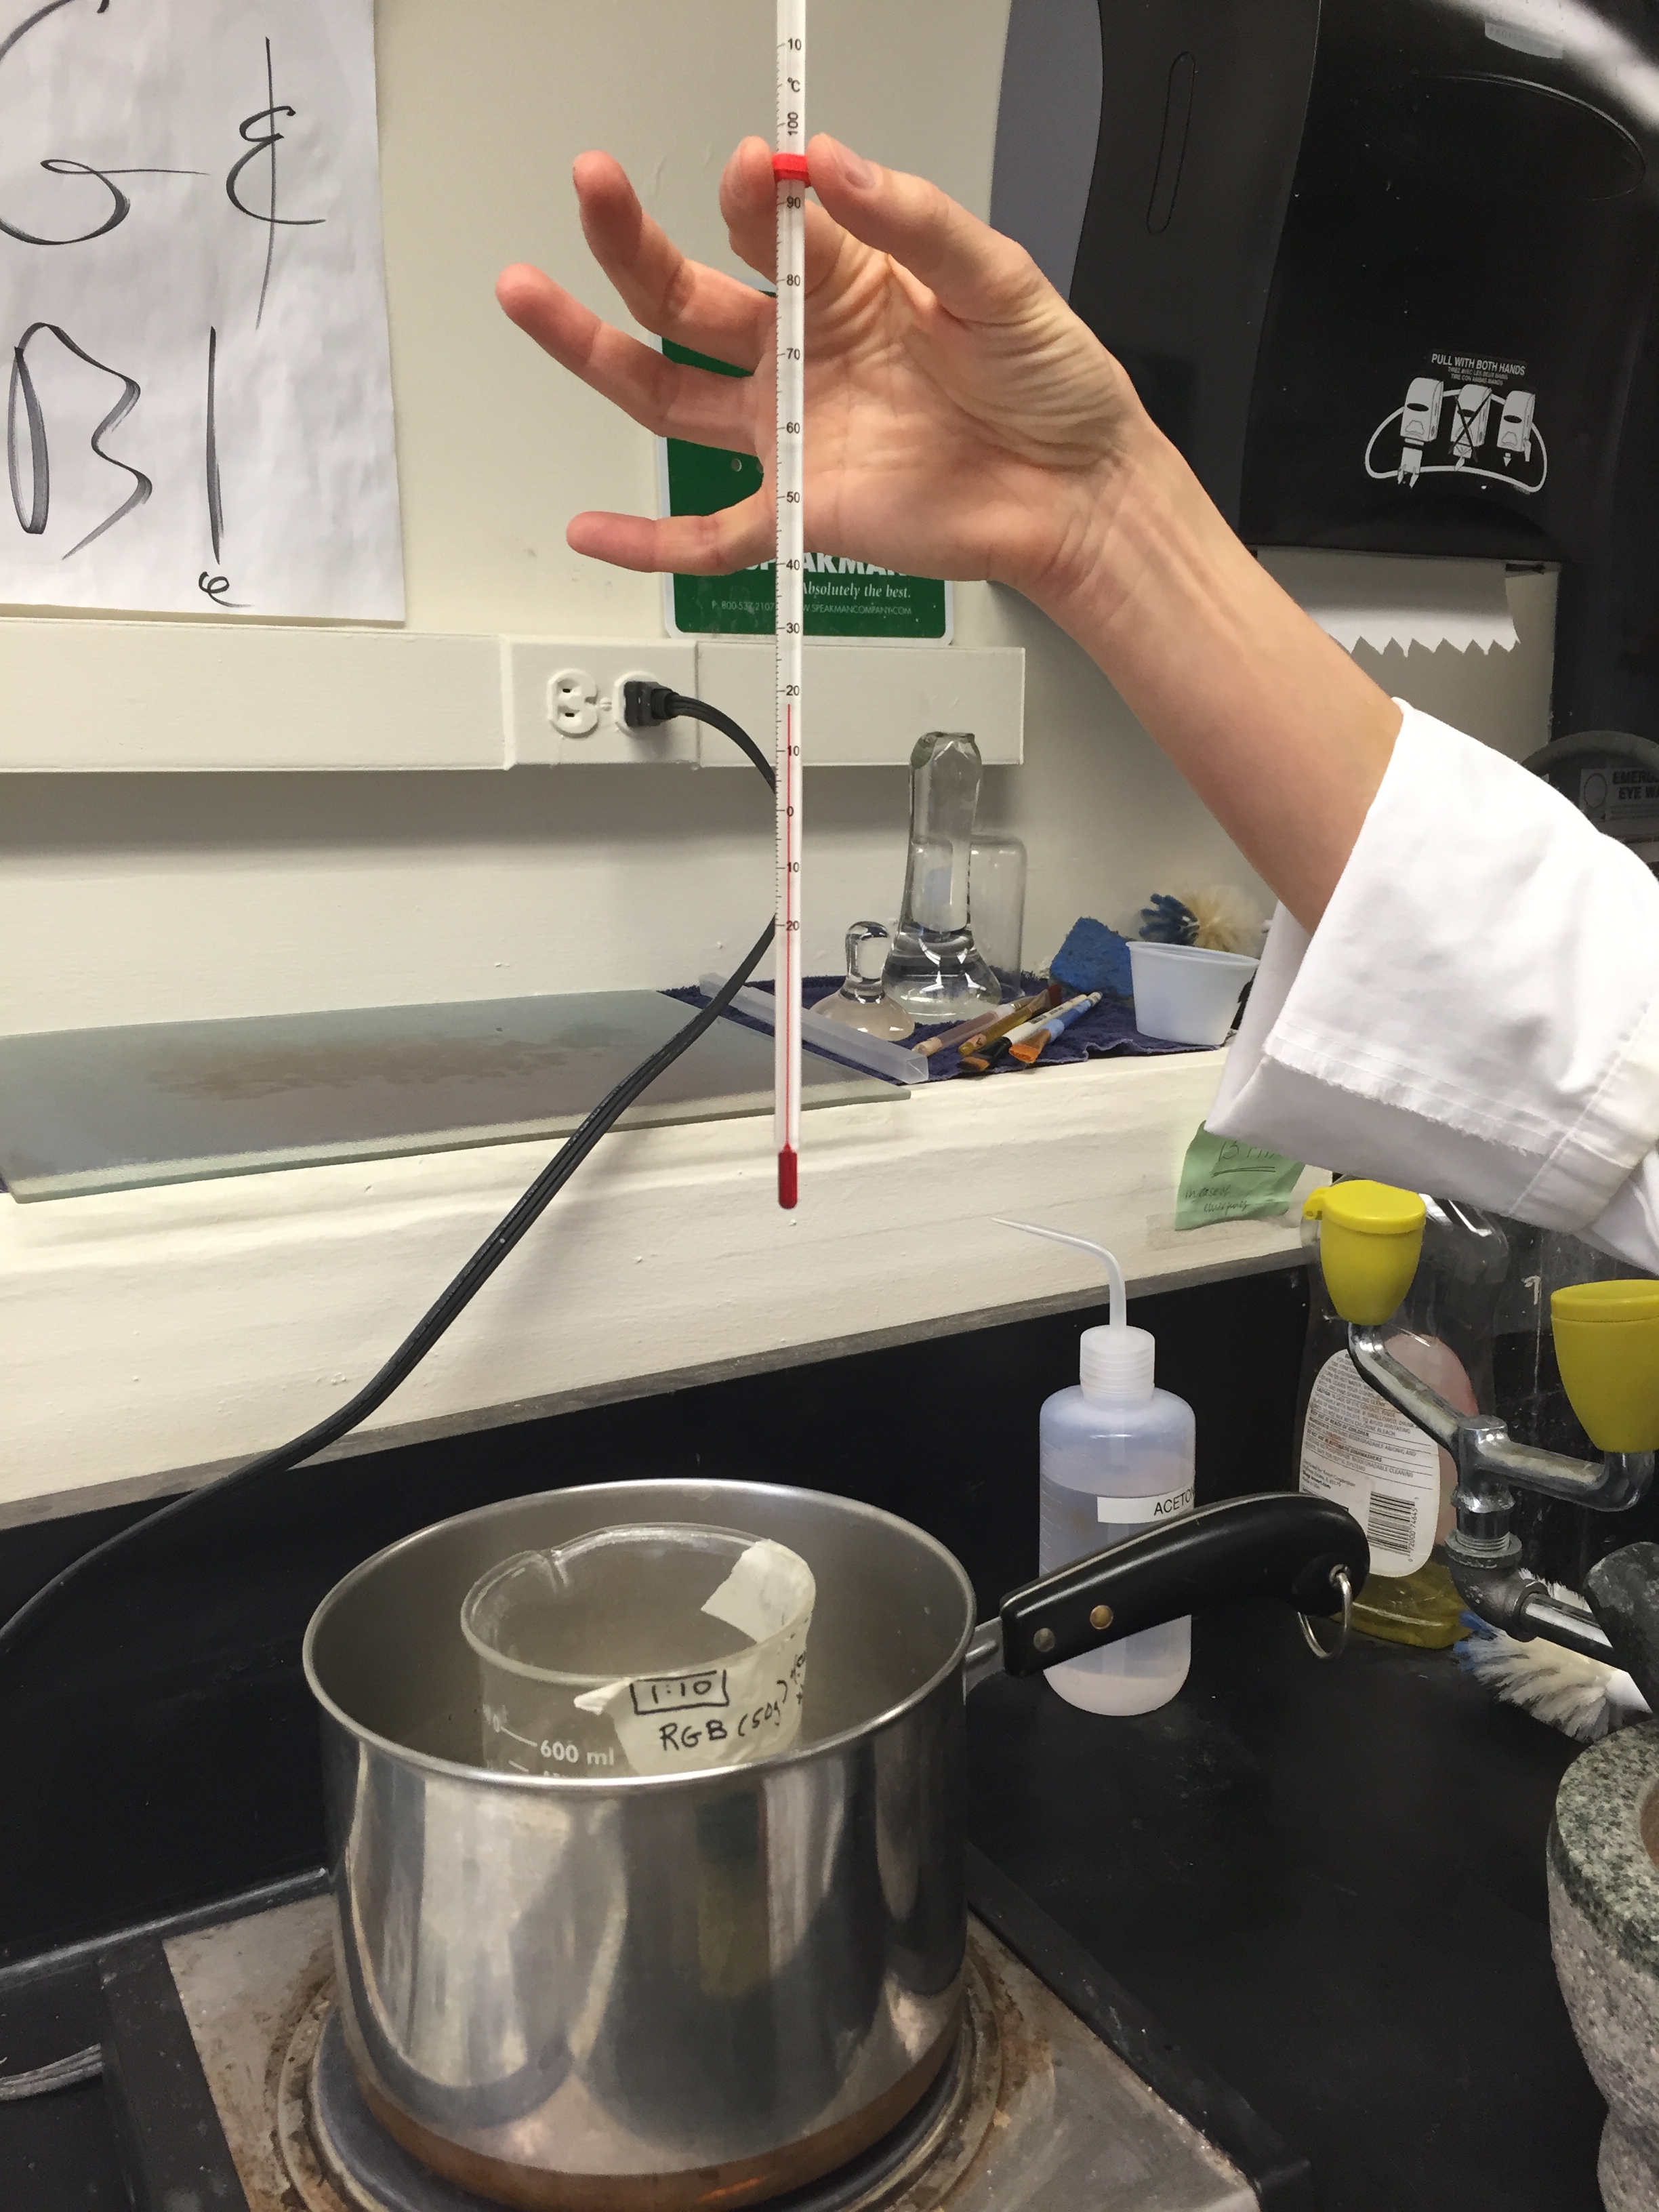
--> put the beaker with the glue (remove foil!) in a water bath:
water must be above the glue (not too much, though, or you wait ages);
check the temperature regularly (not to go above 60 Fahrenheit, or the glue is toast);
be careful that you do not touch the thermometer at the glass but at the gum ring (avoid transmitting your body heat and influencing the measurement)
--> the smell of the glue remains unpleasantly reminiscent of Joseph Beuys's body odor
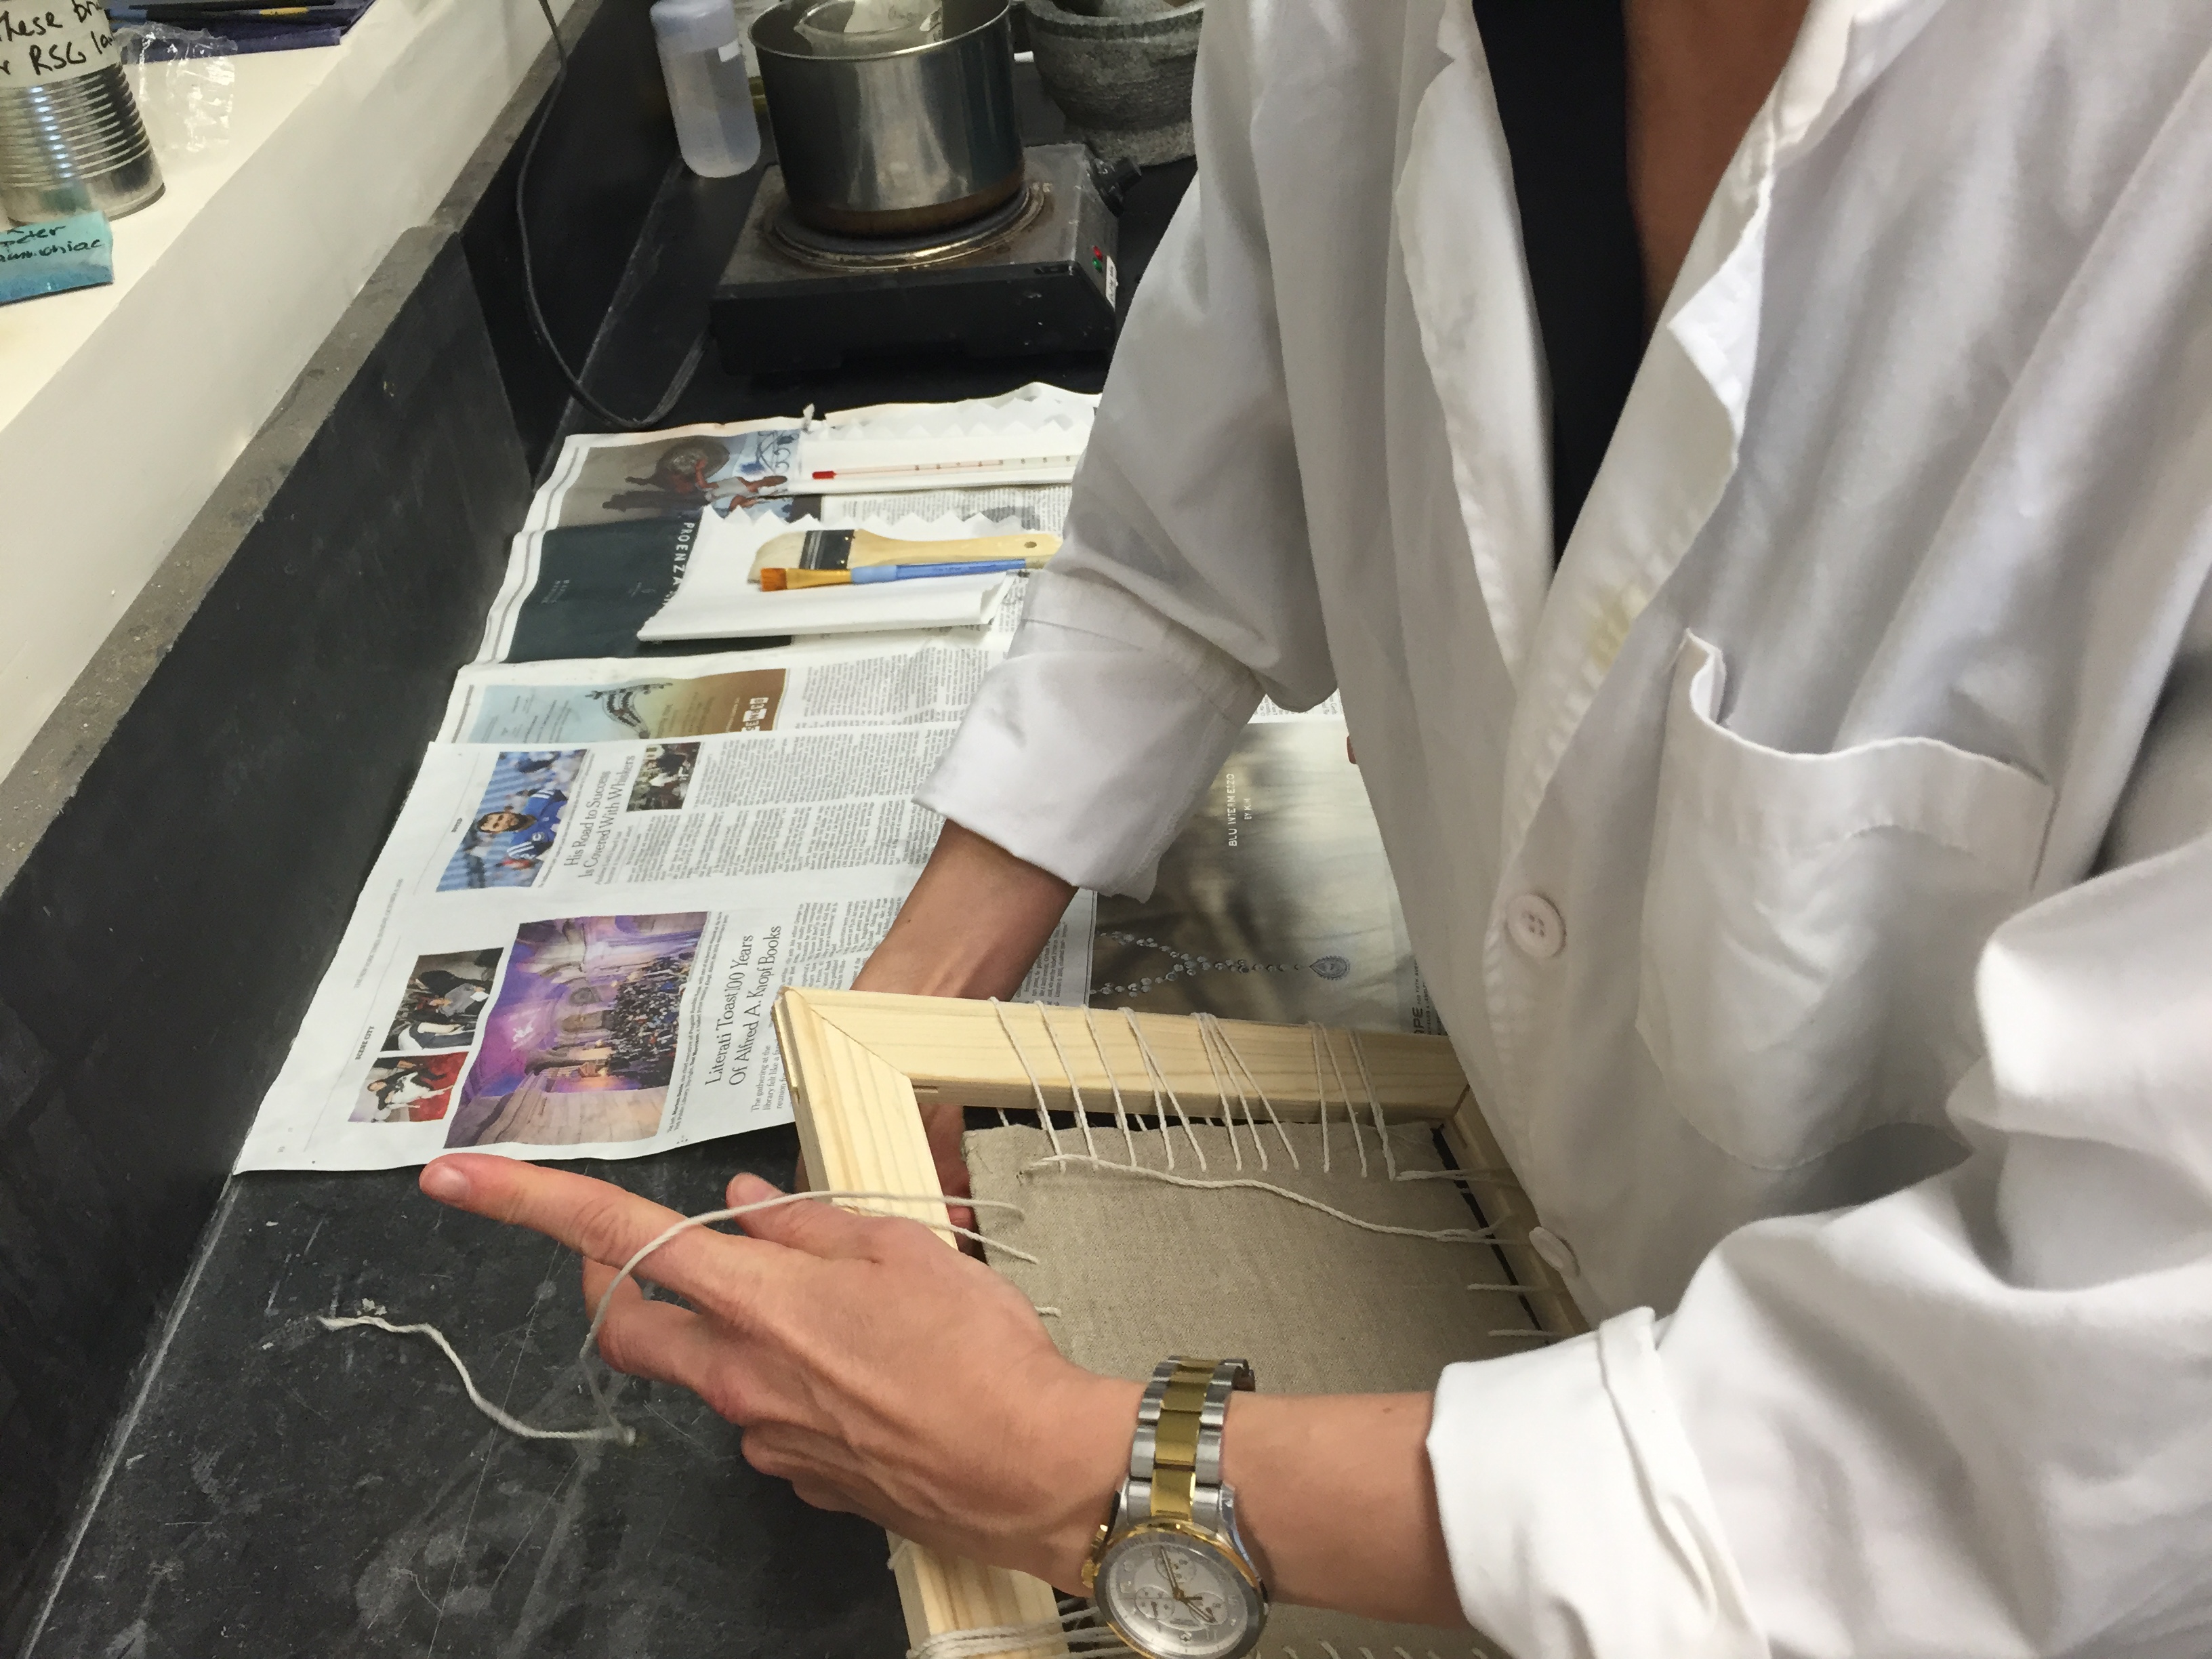
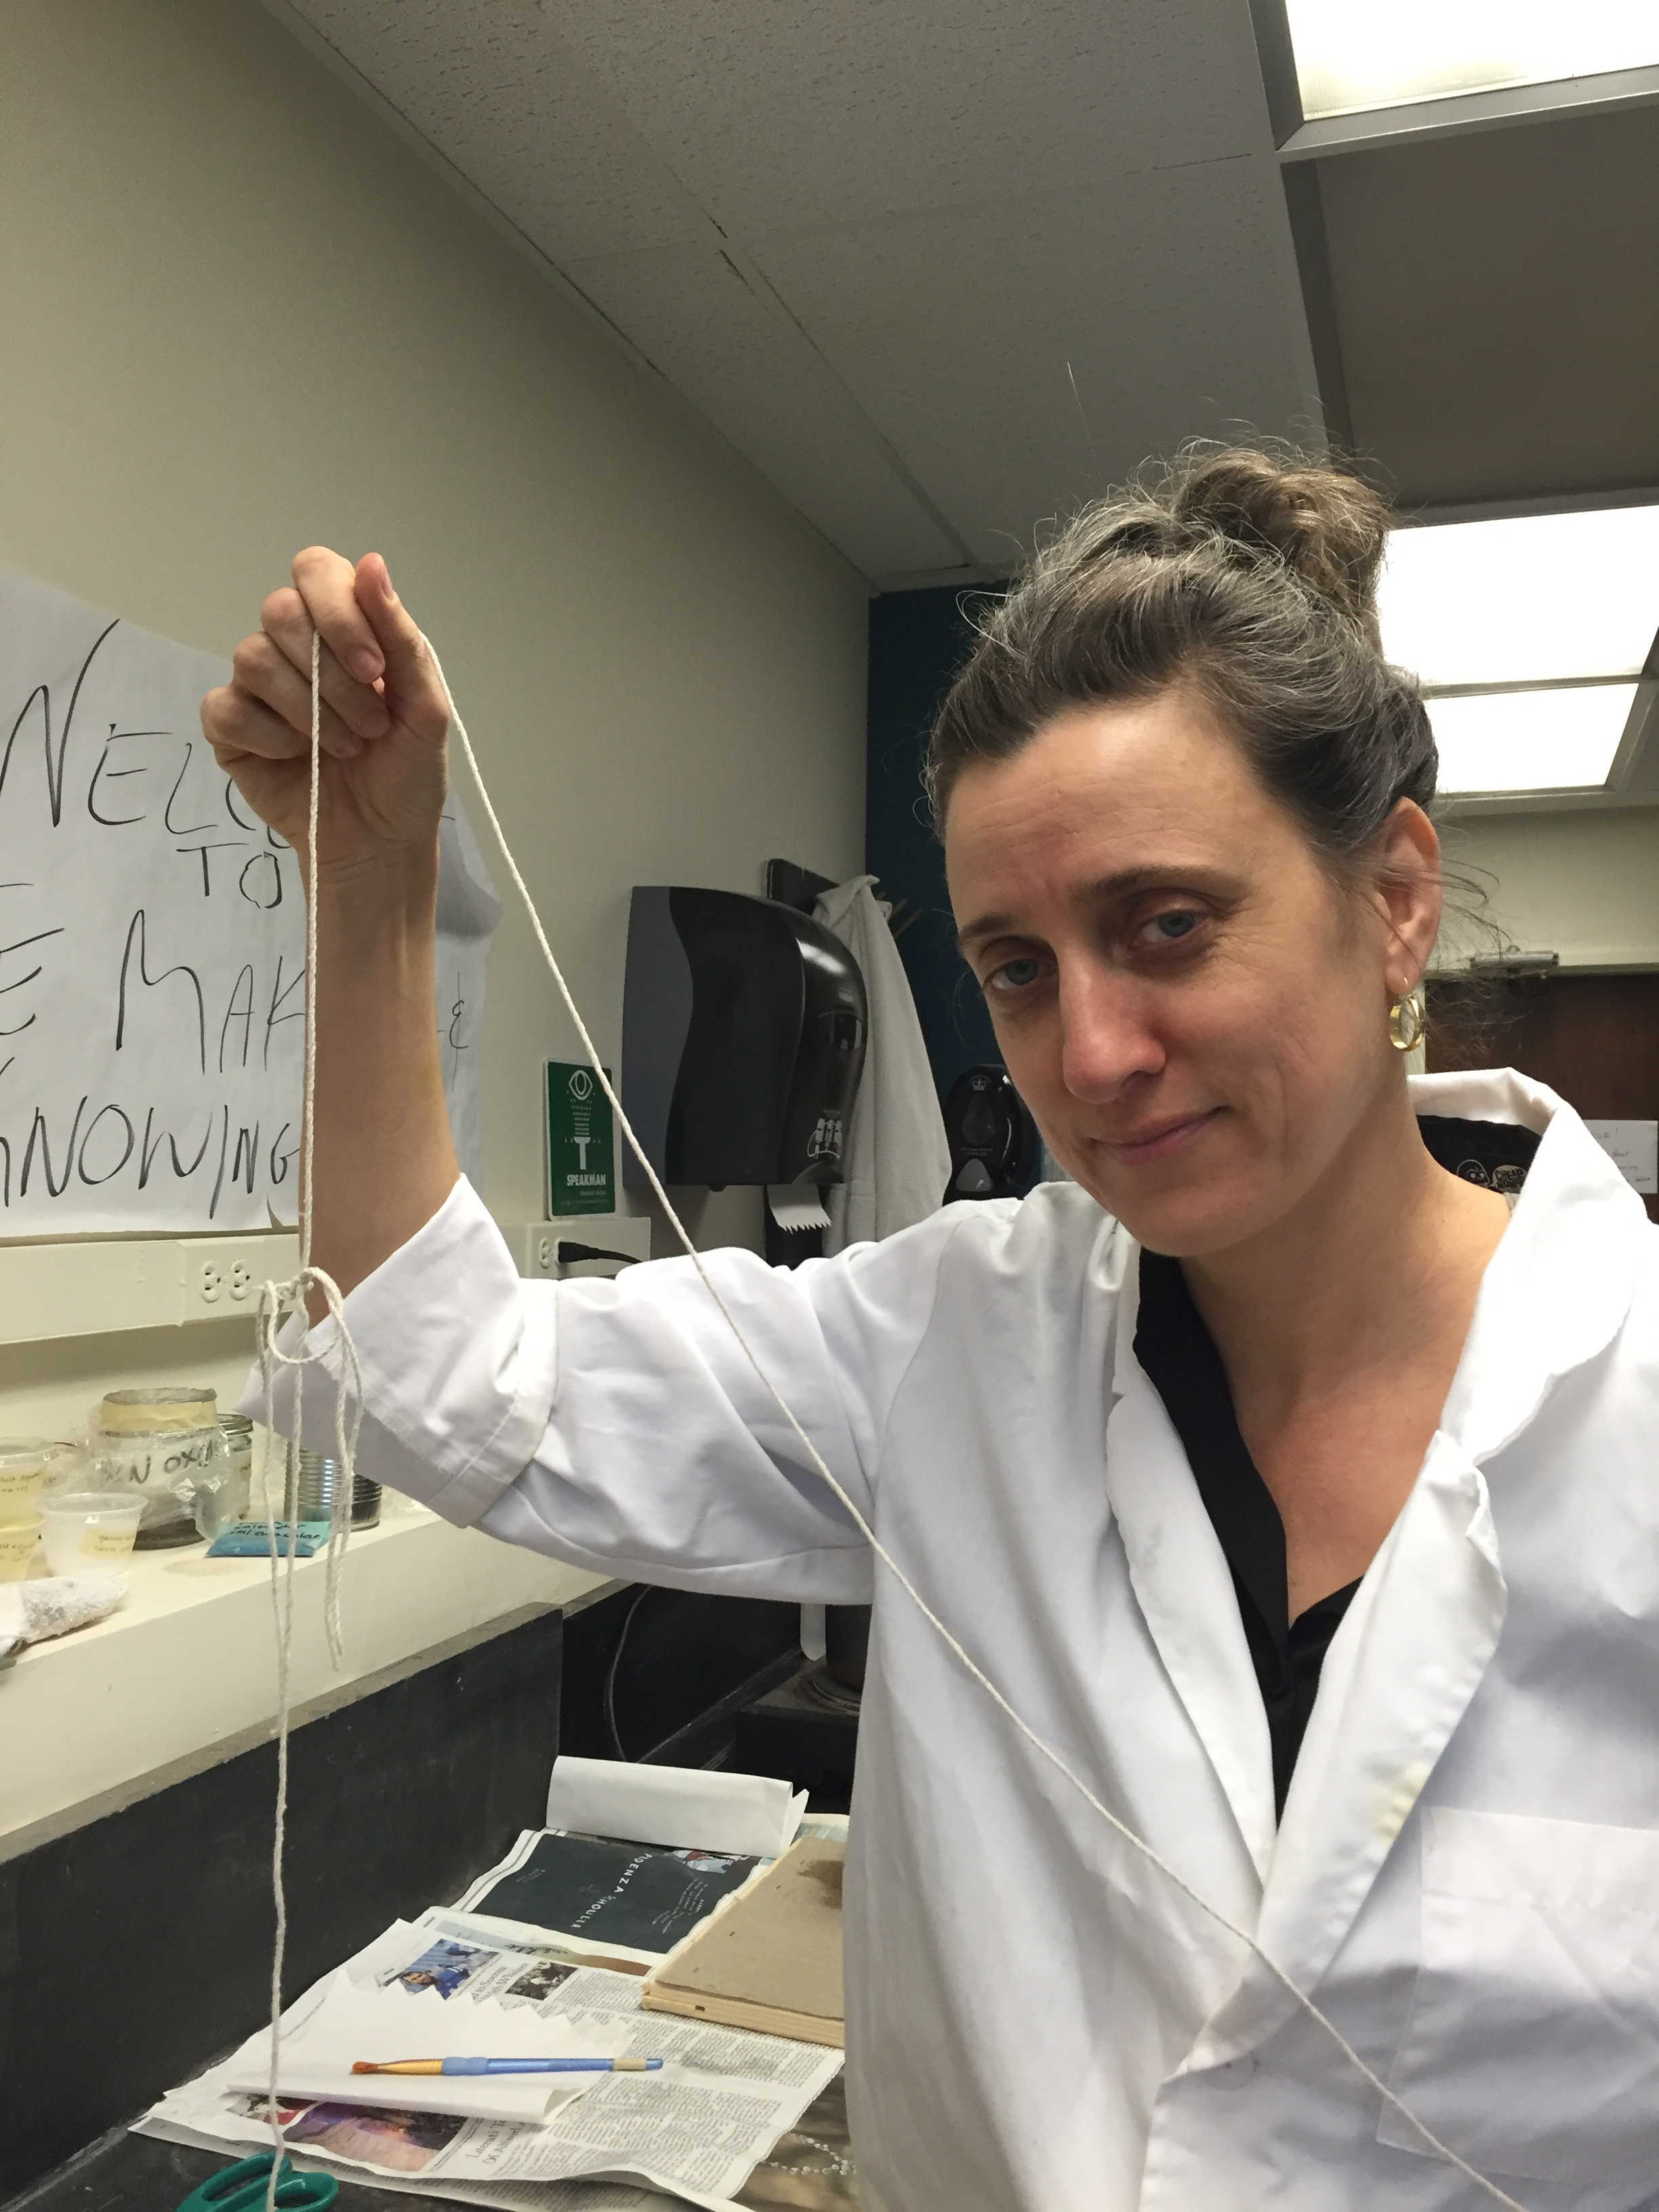
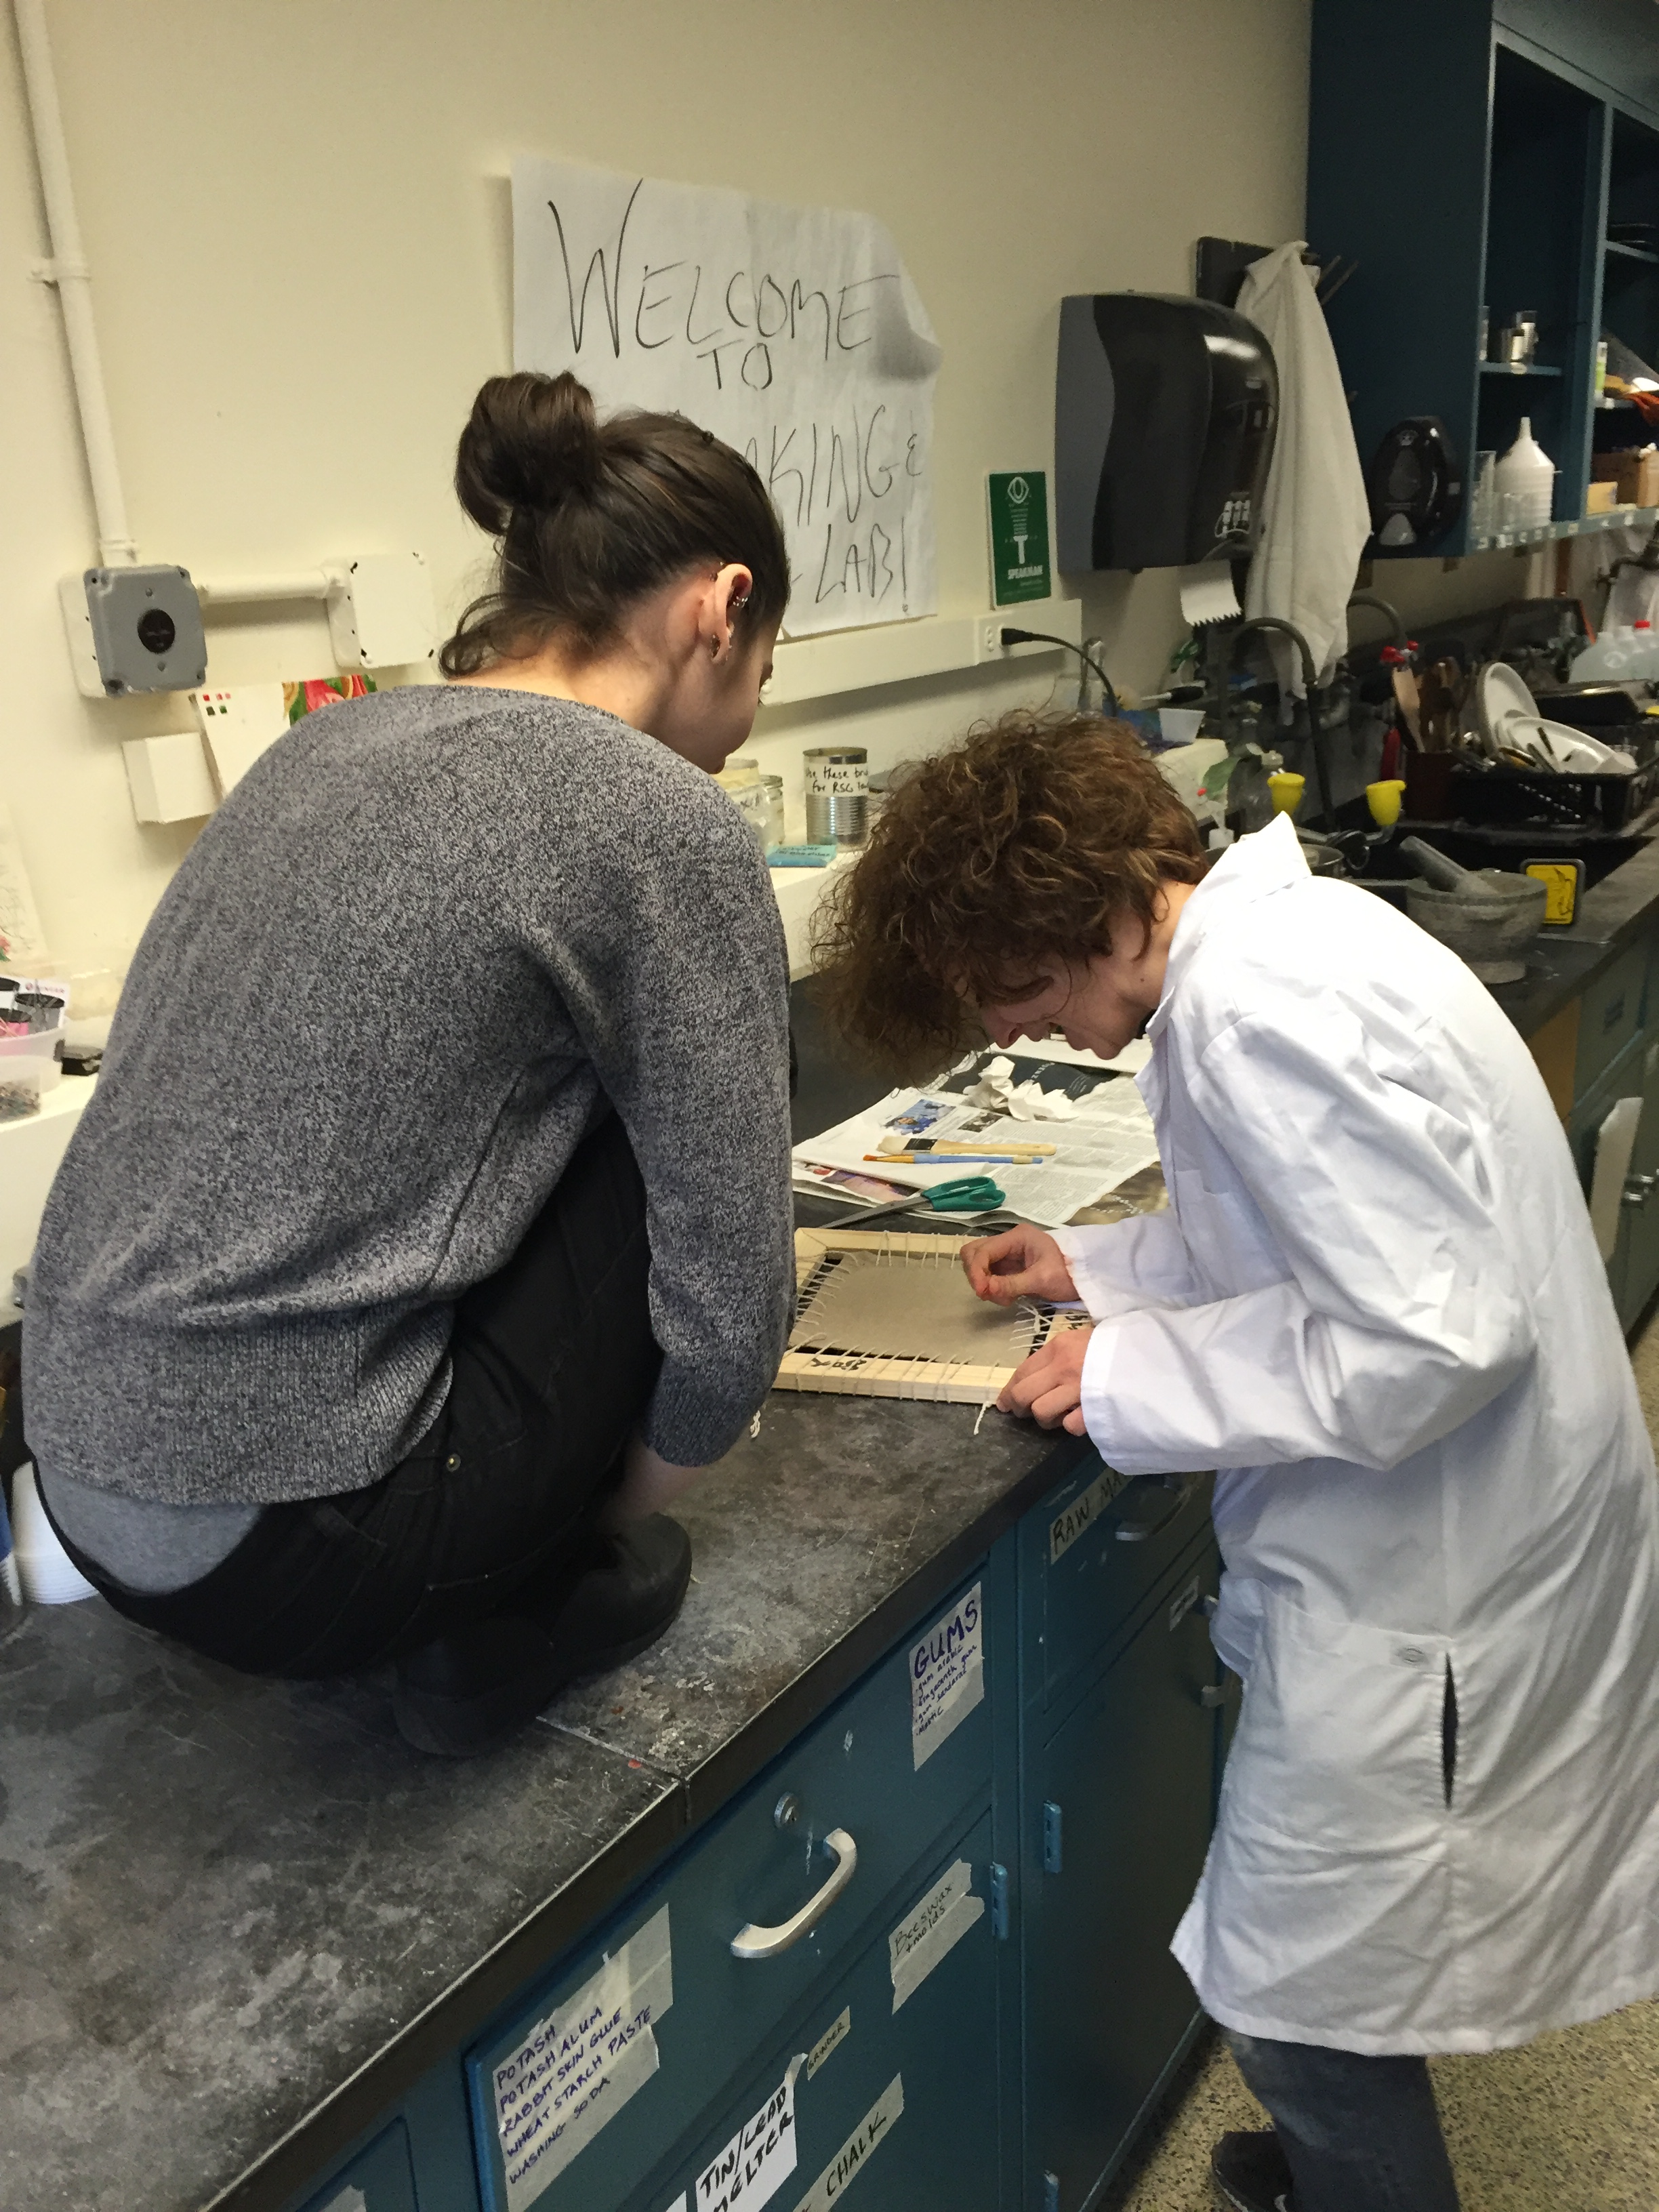
... I call this series: "Donna points at things"
Re-Framing the Canvas
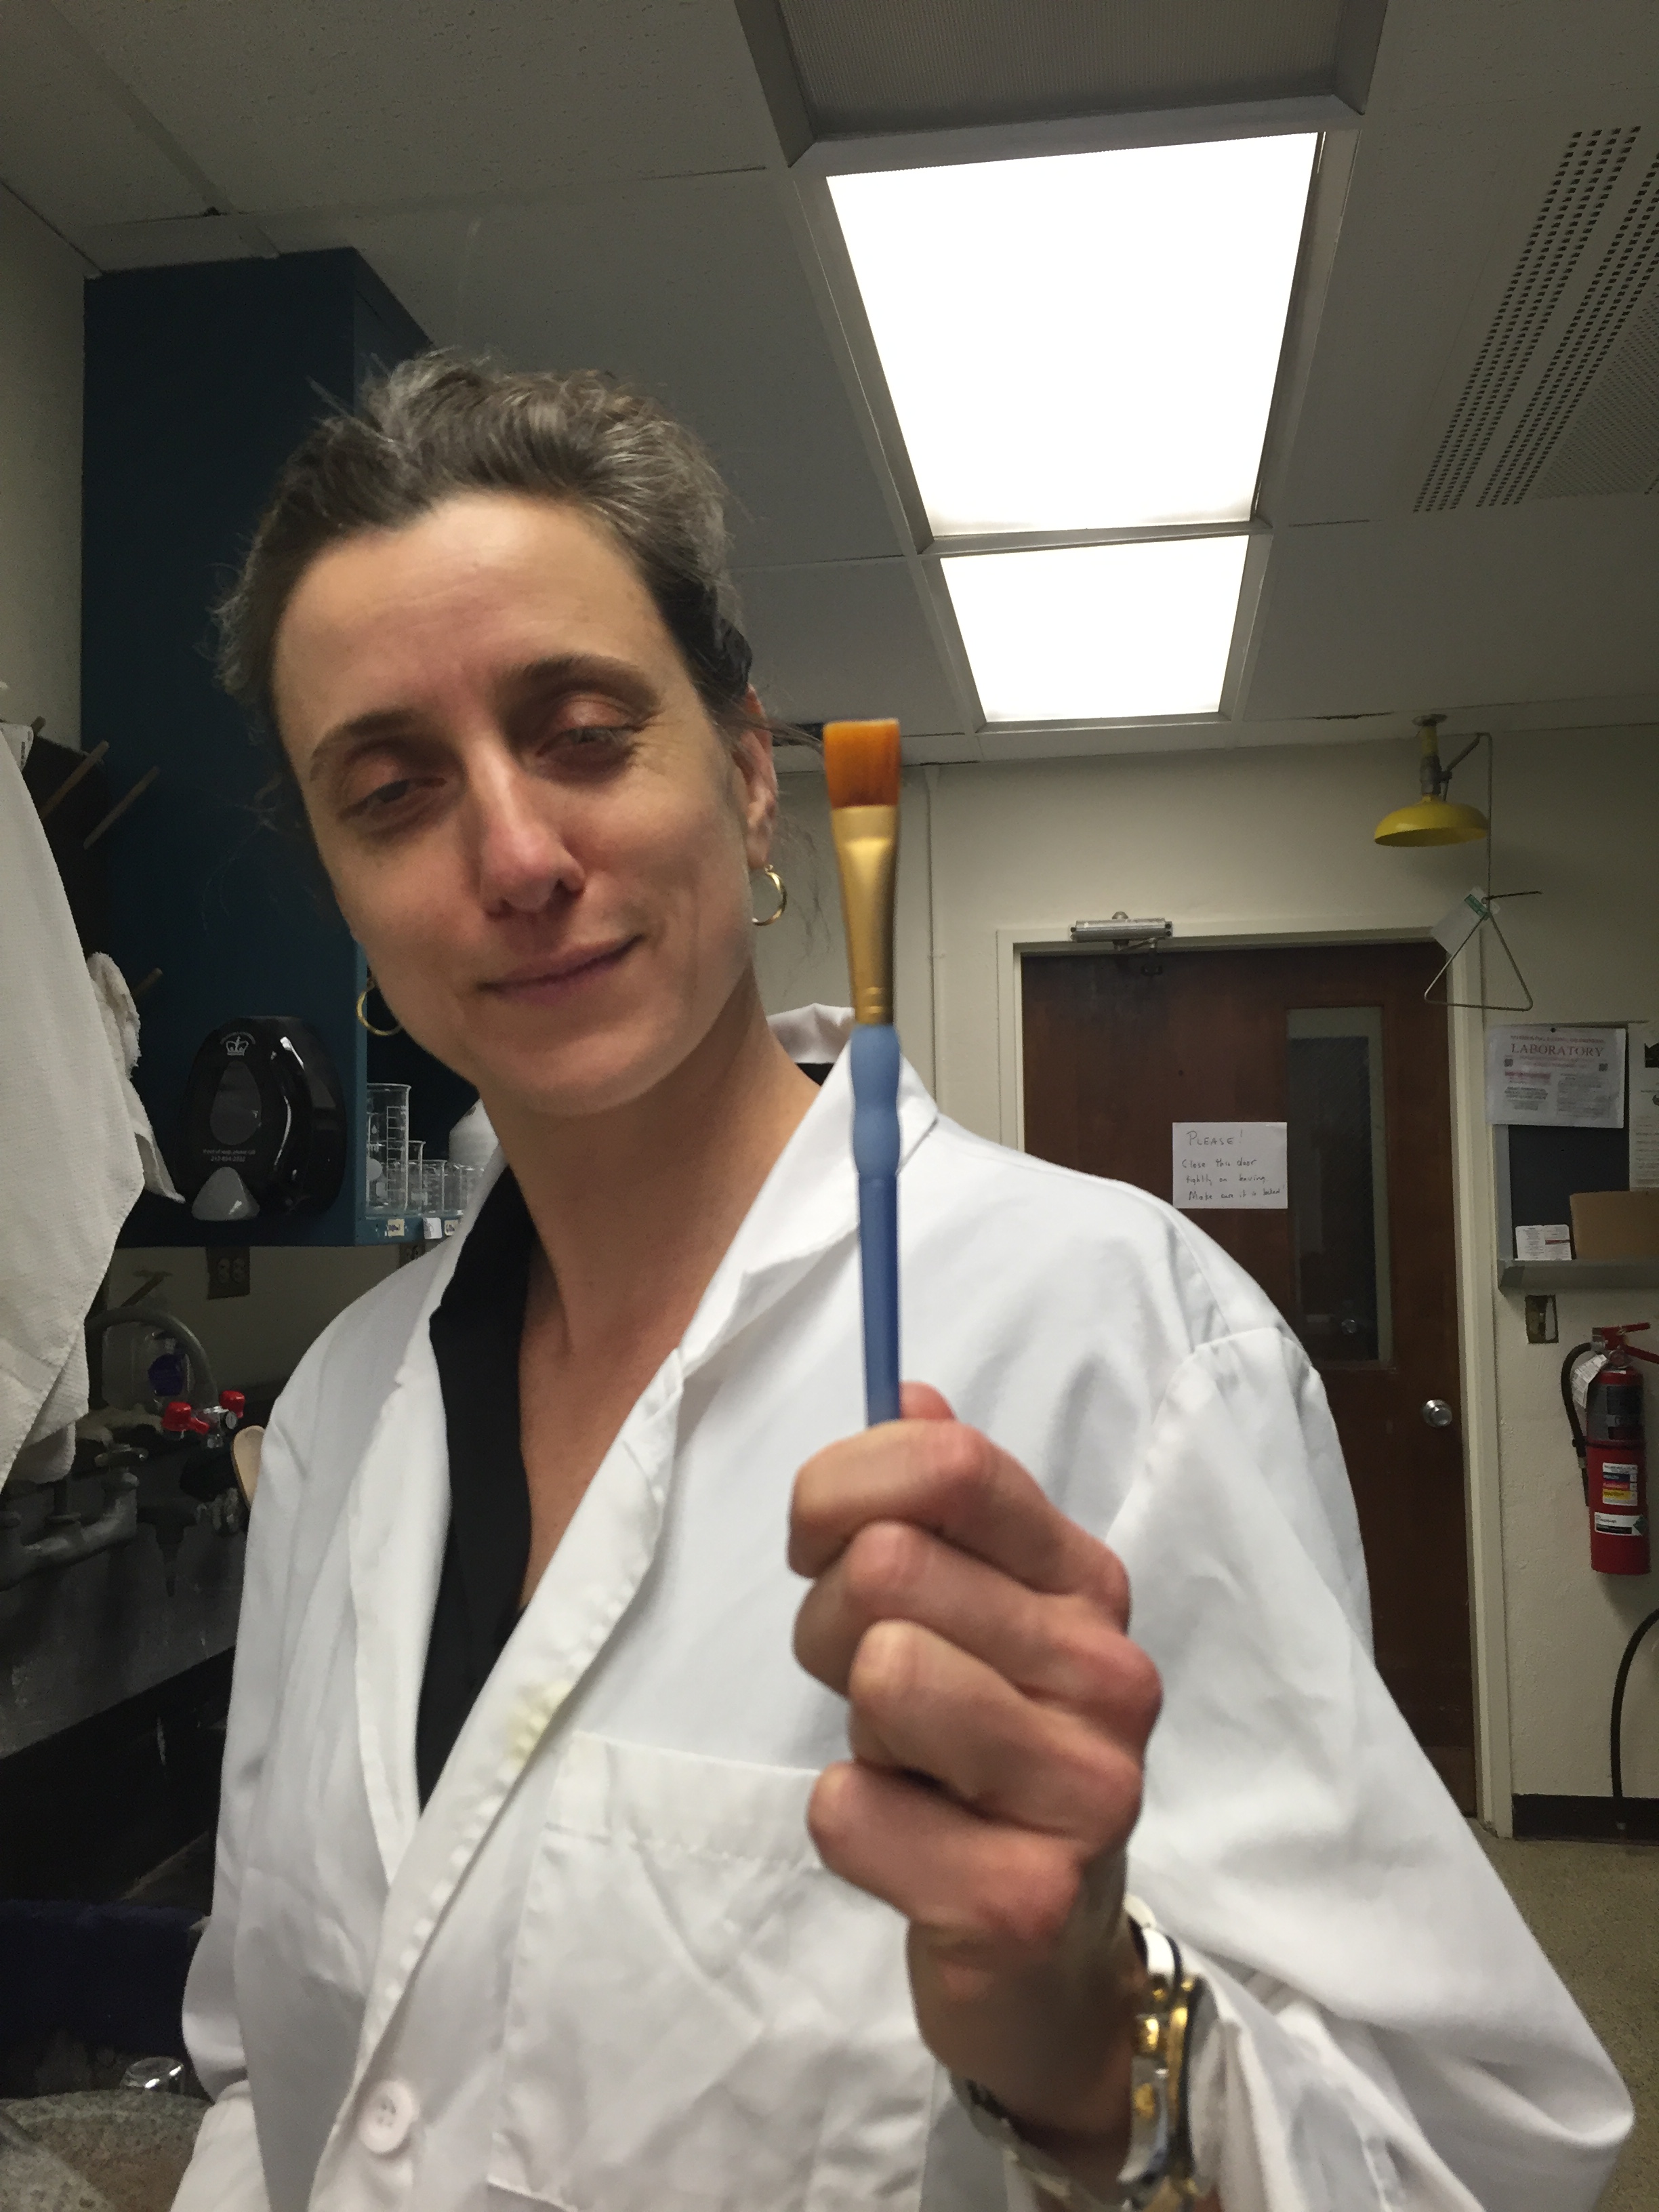
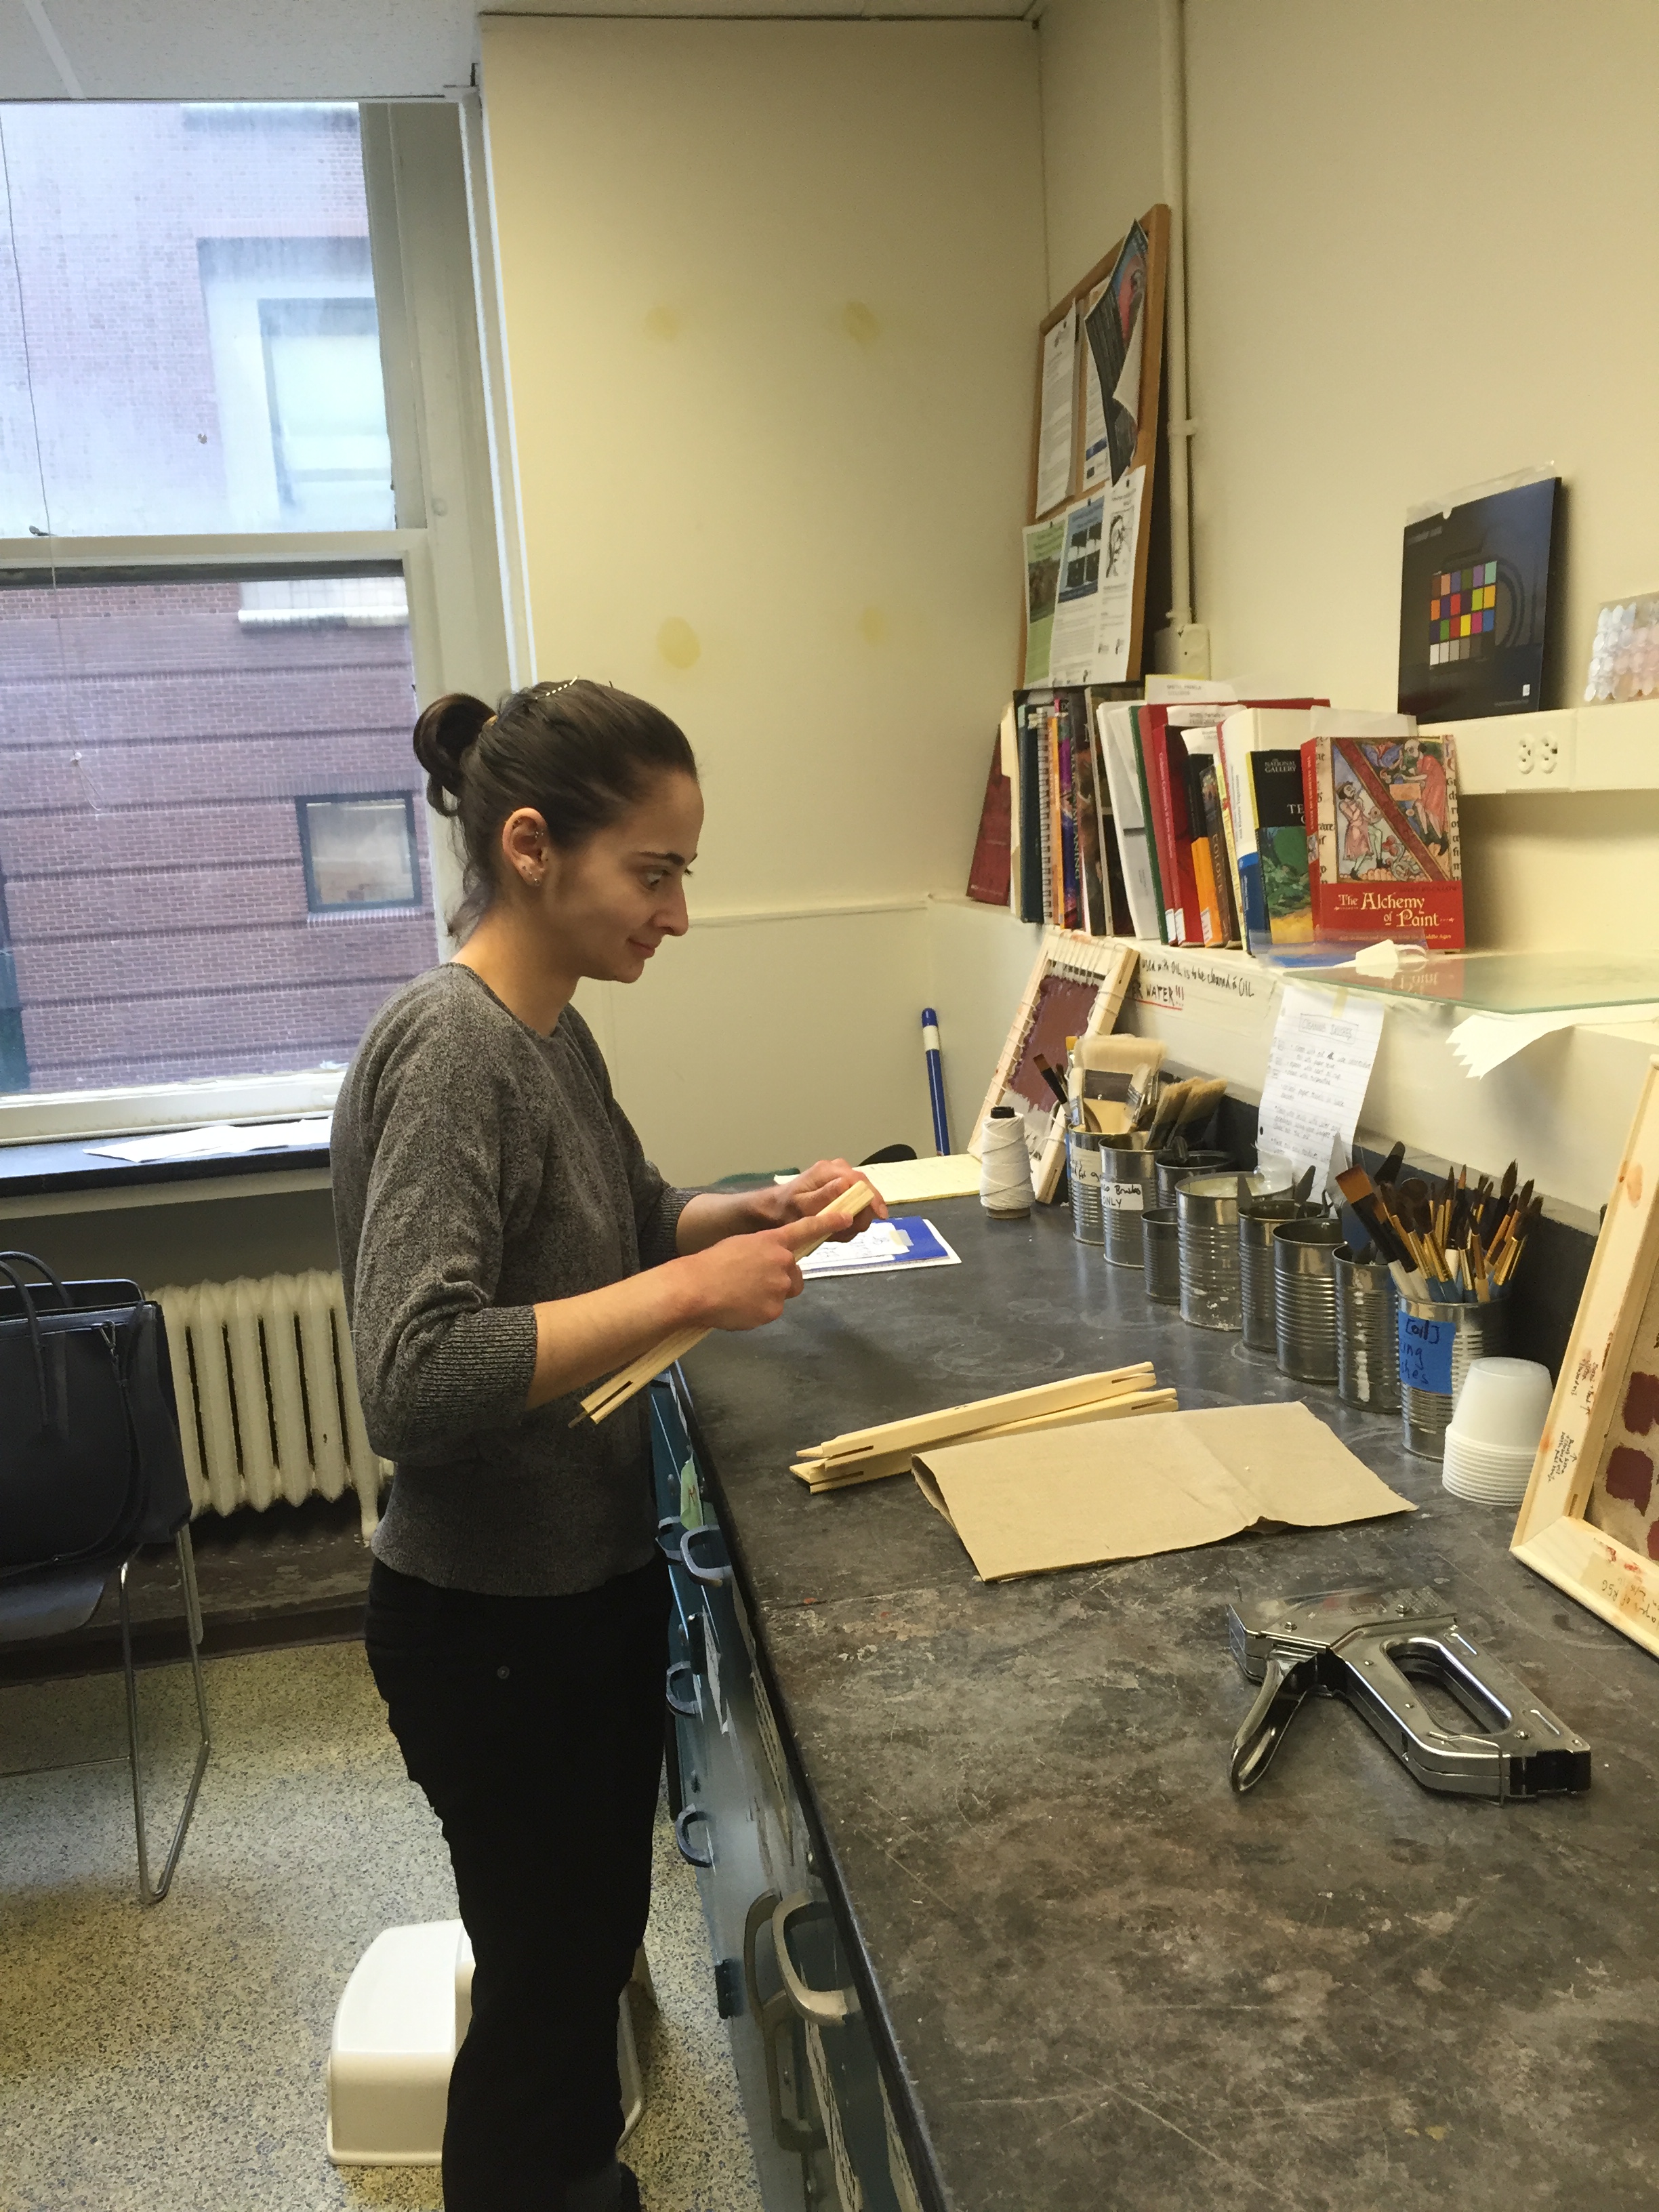
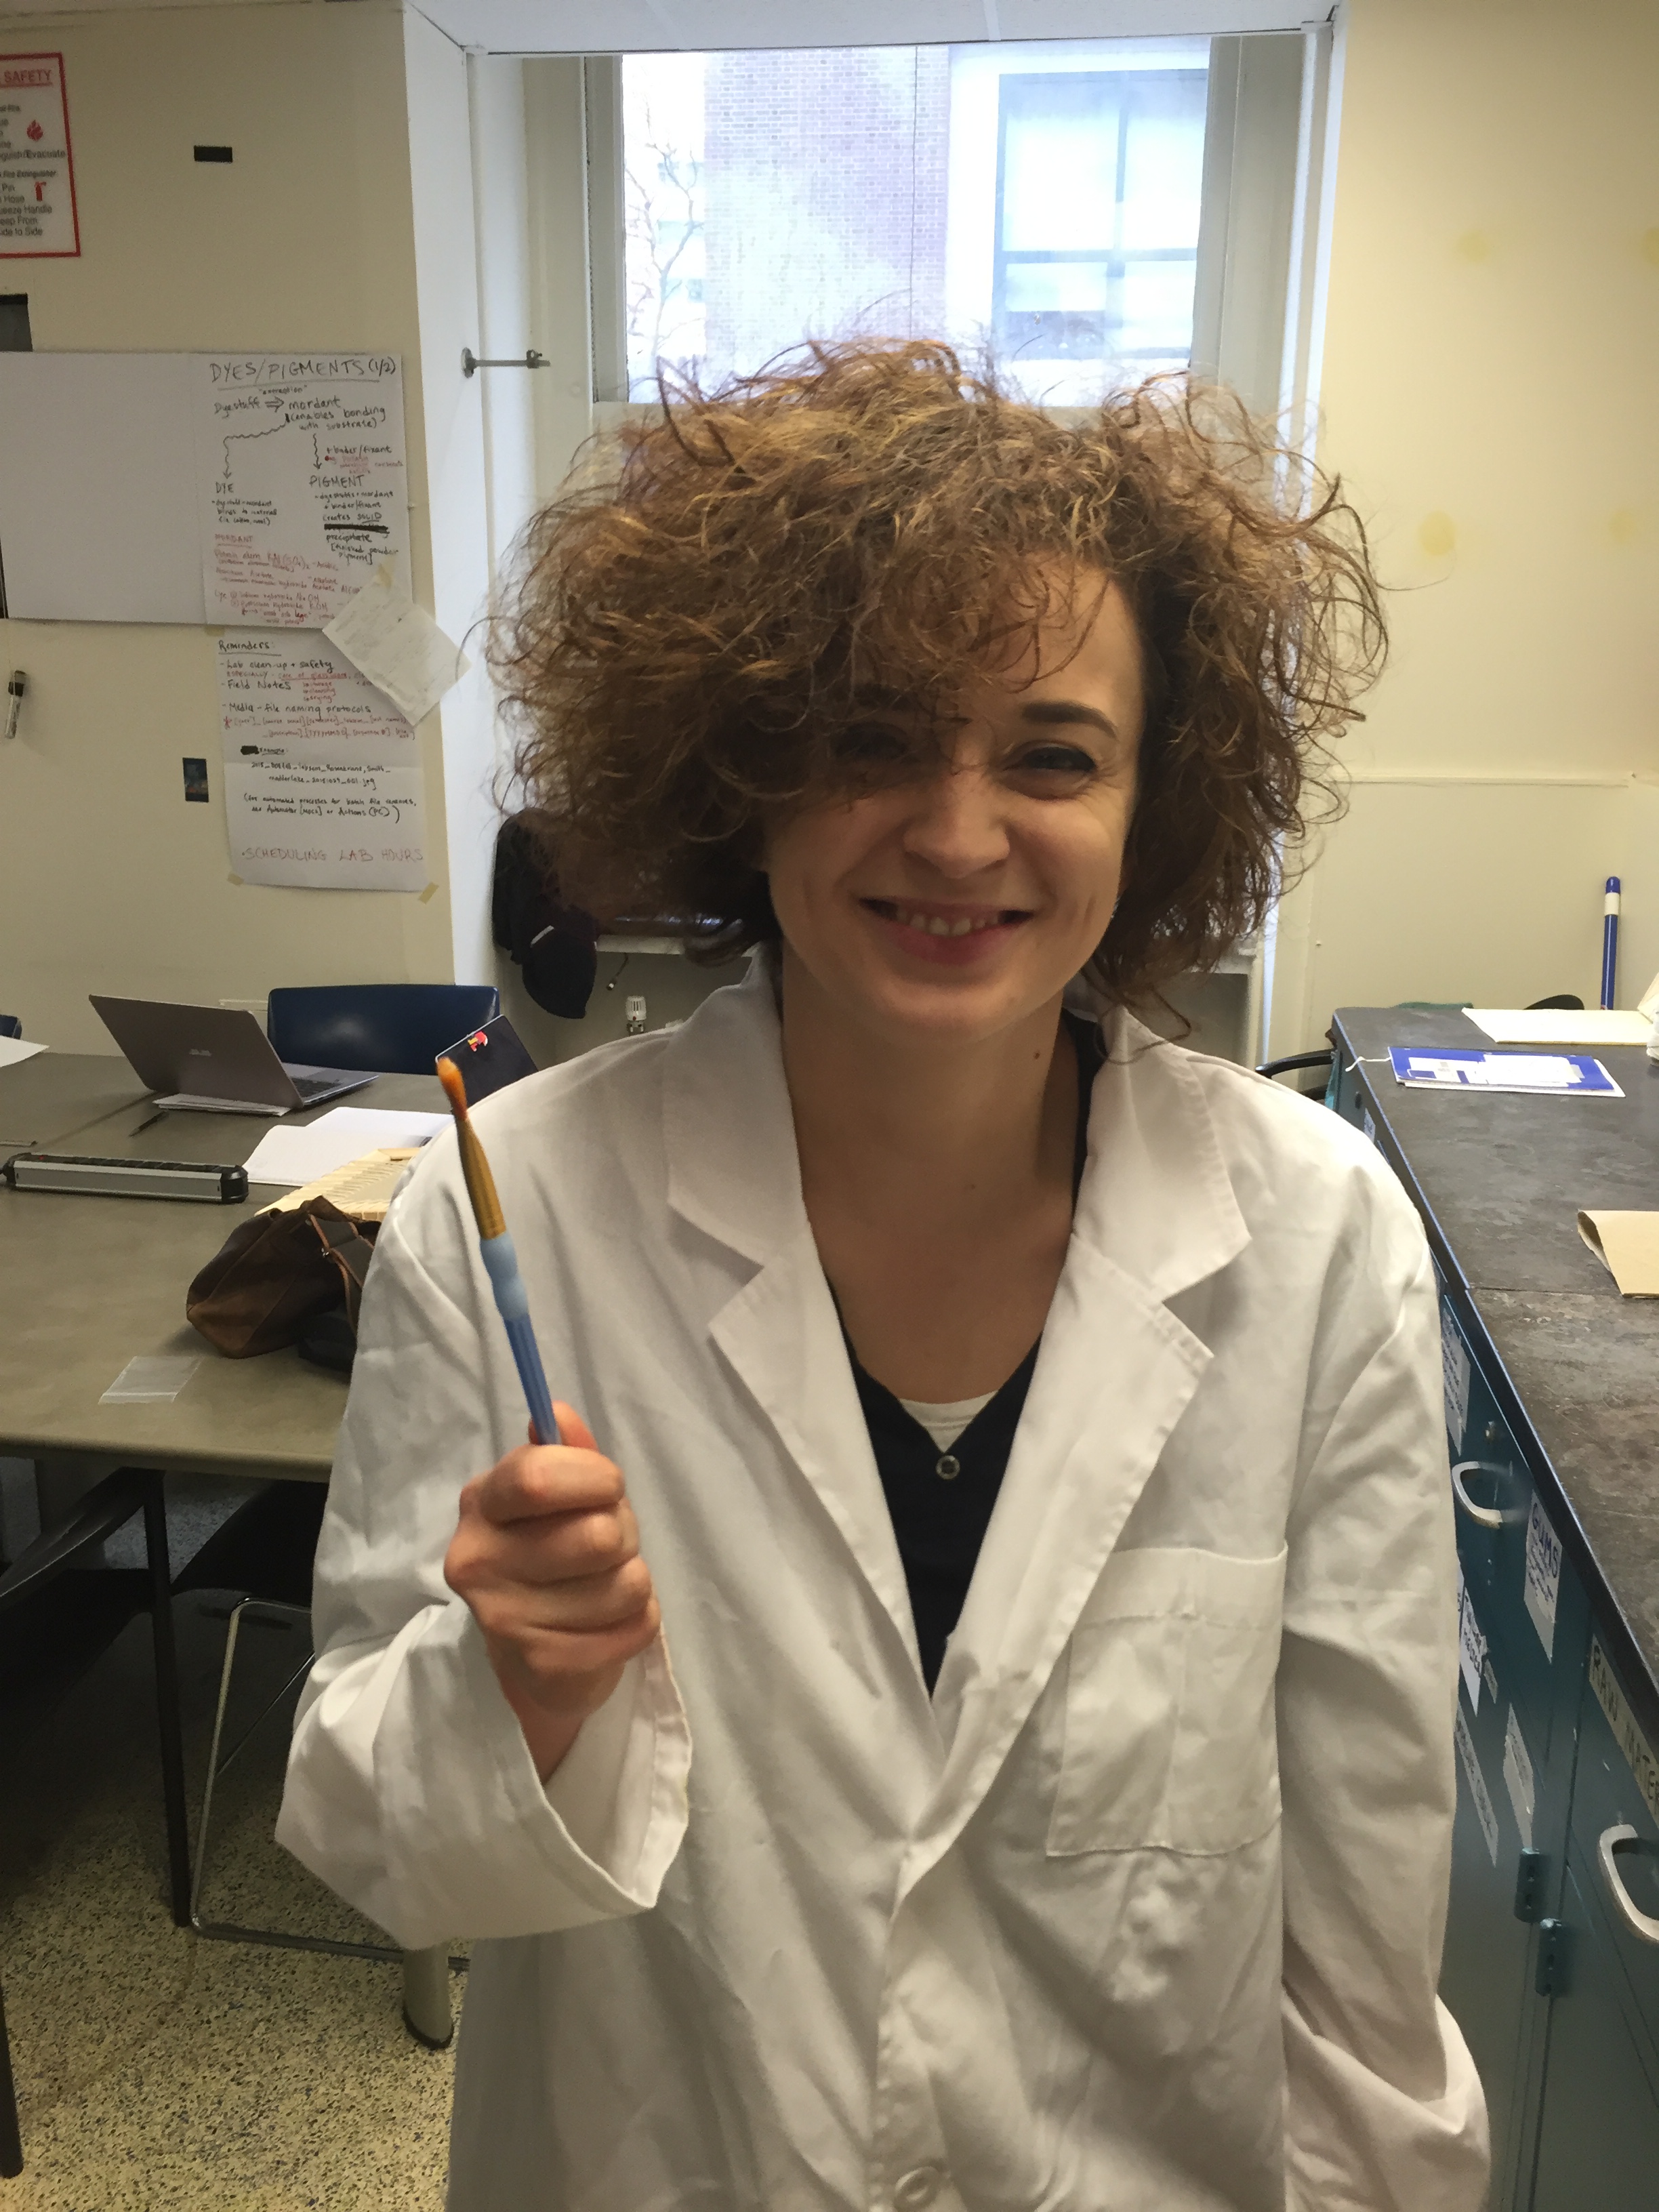
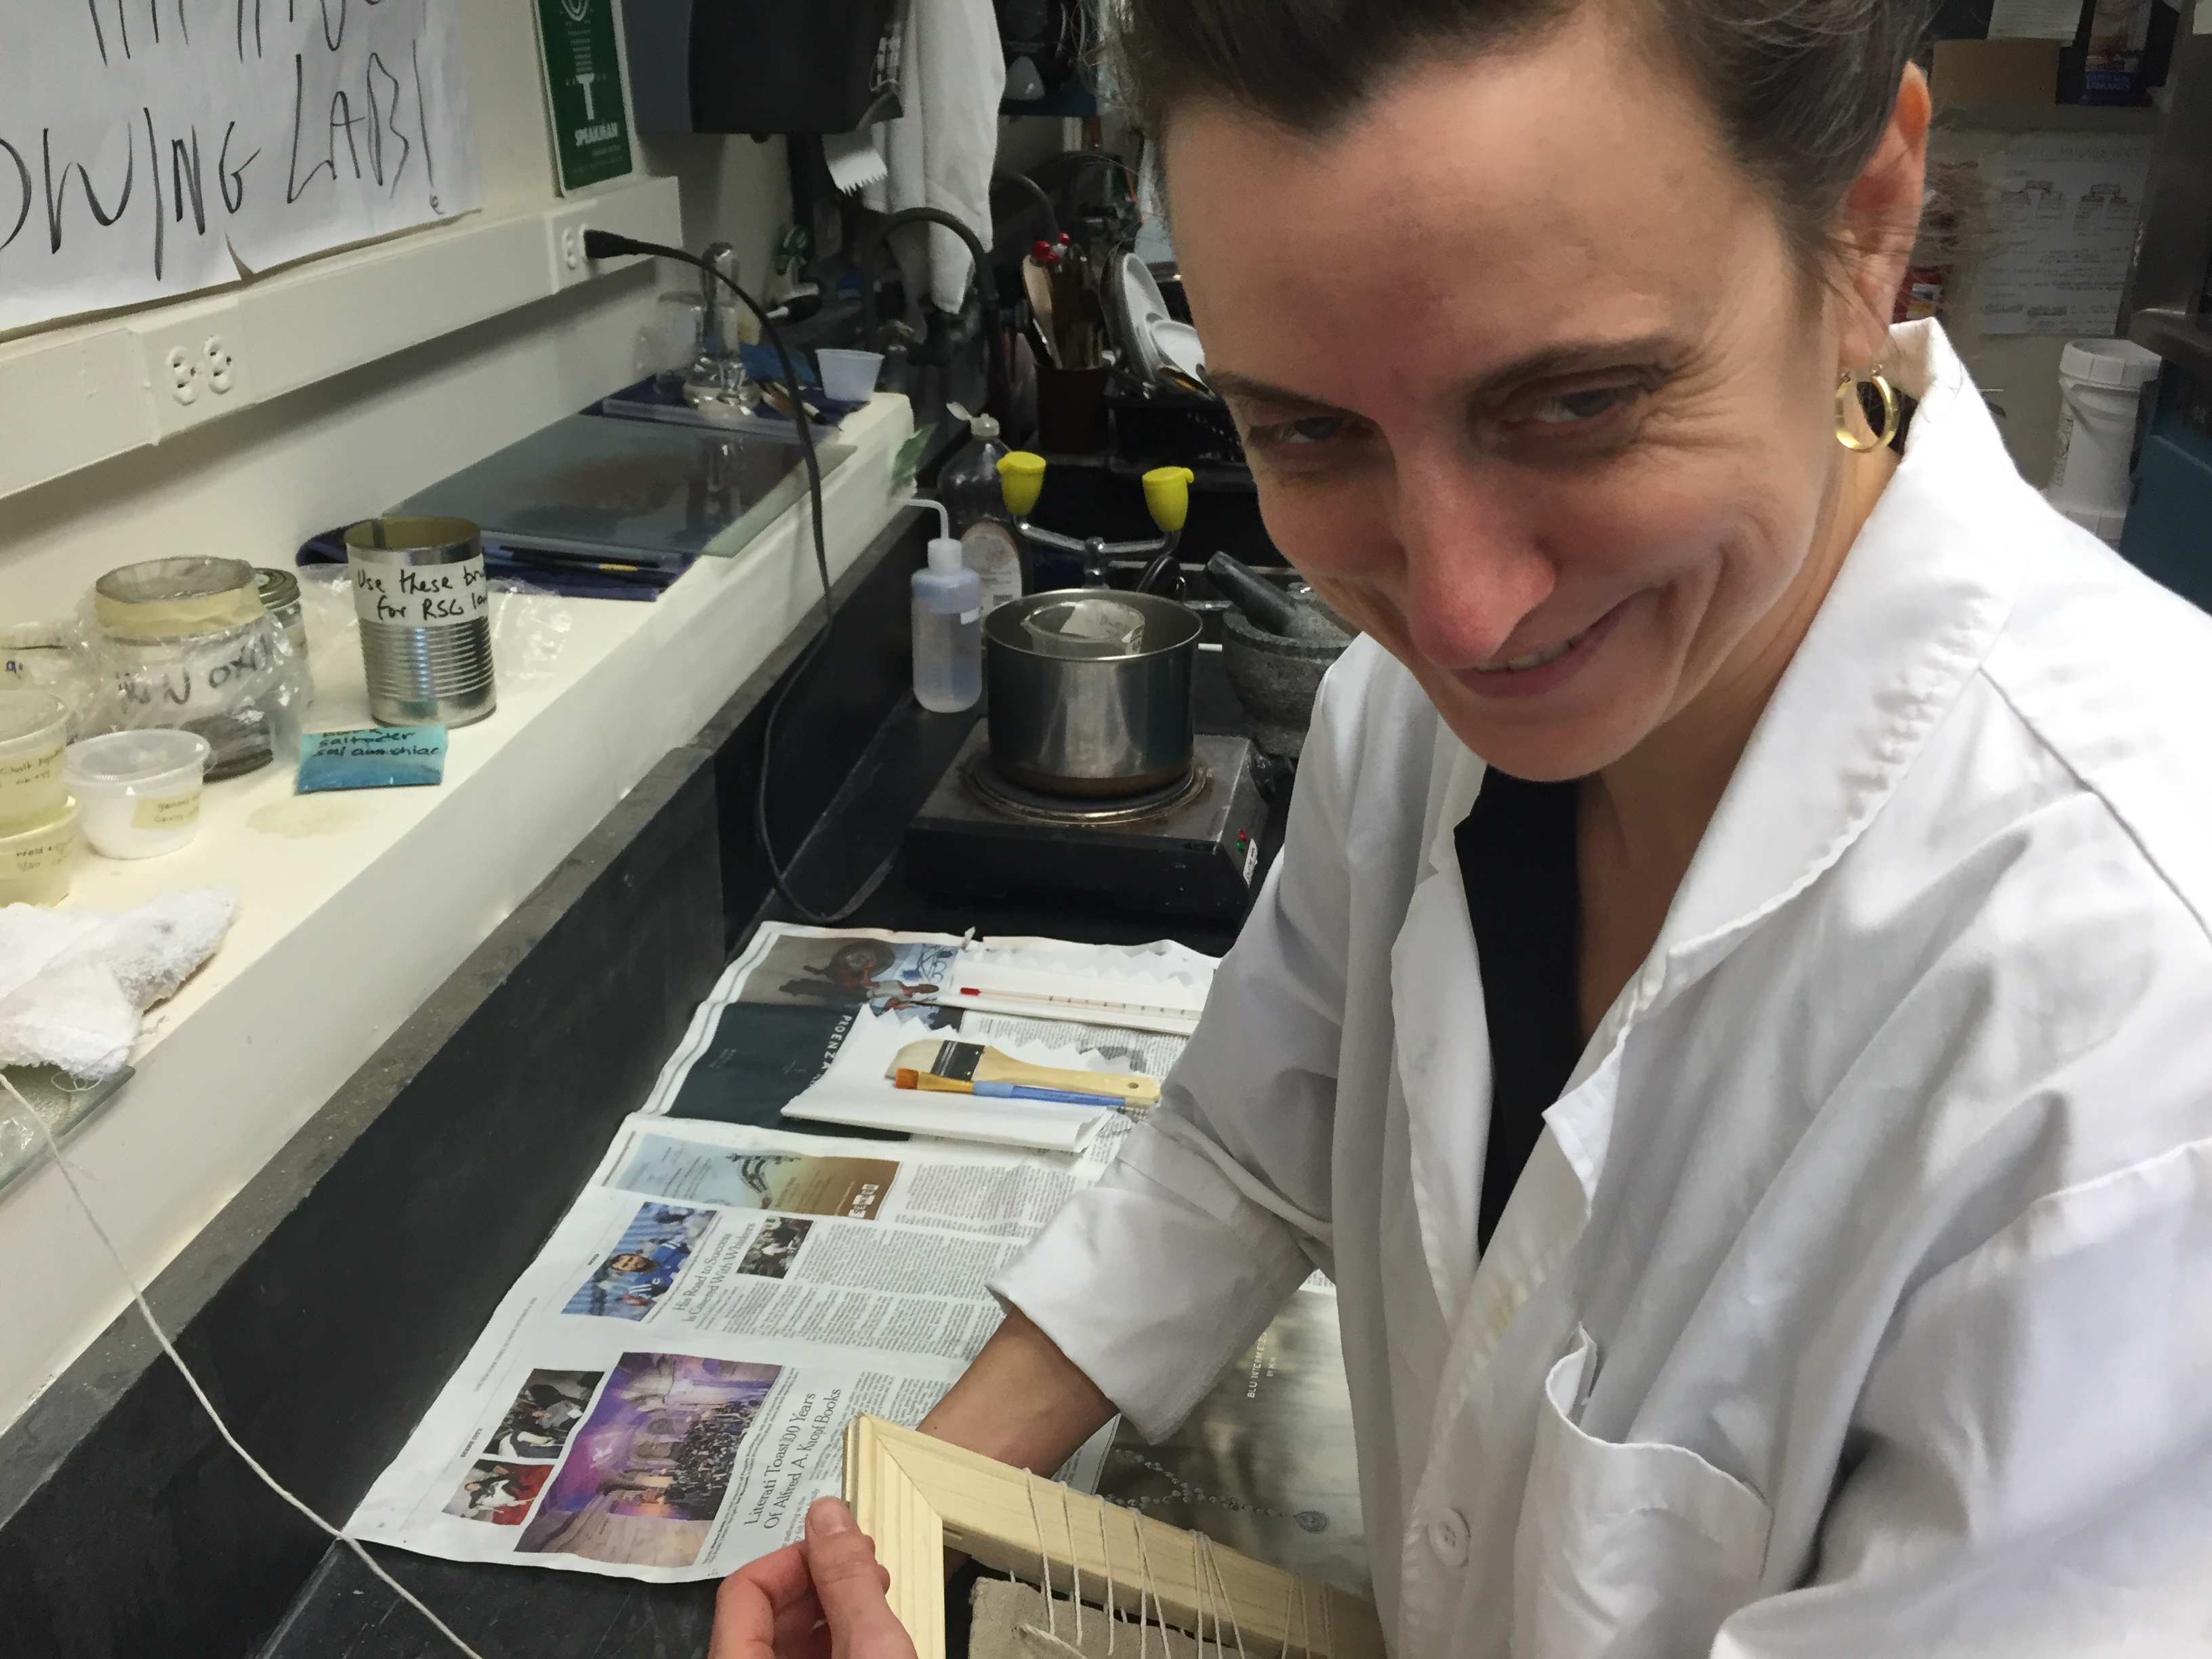
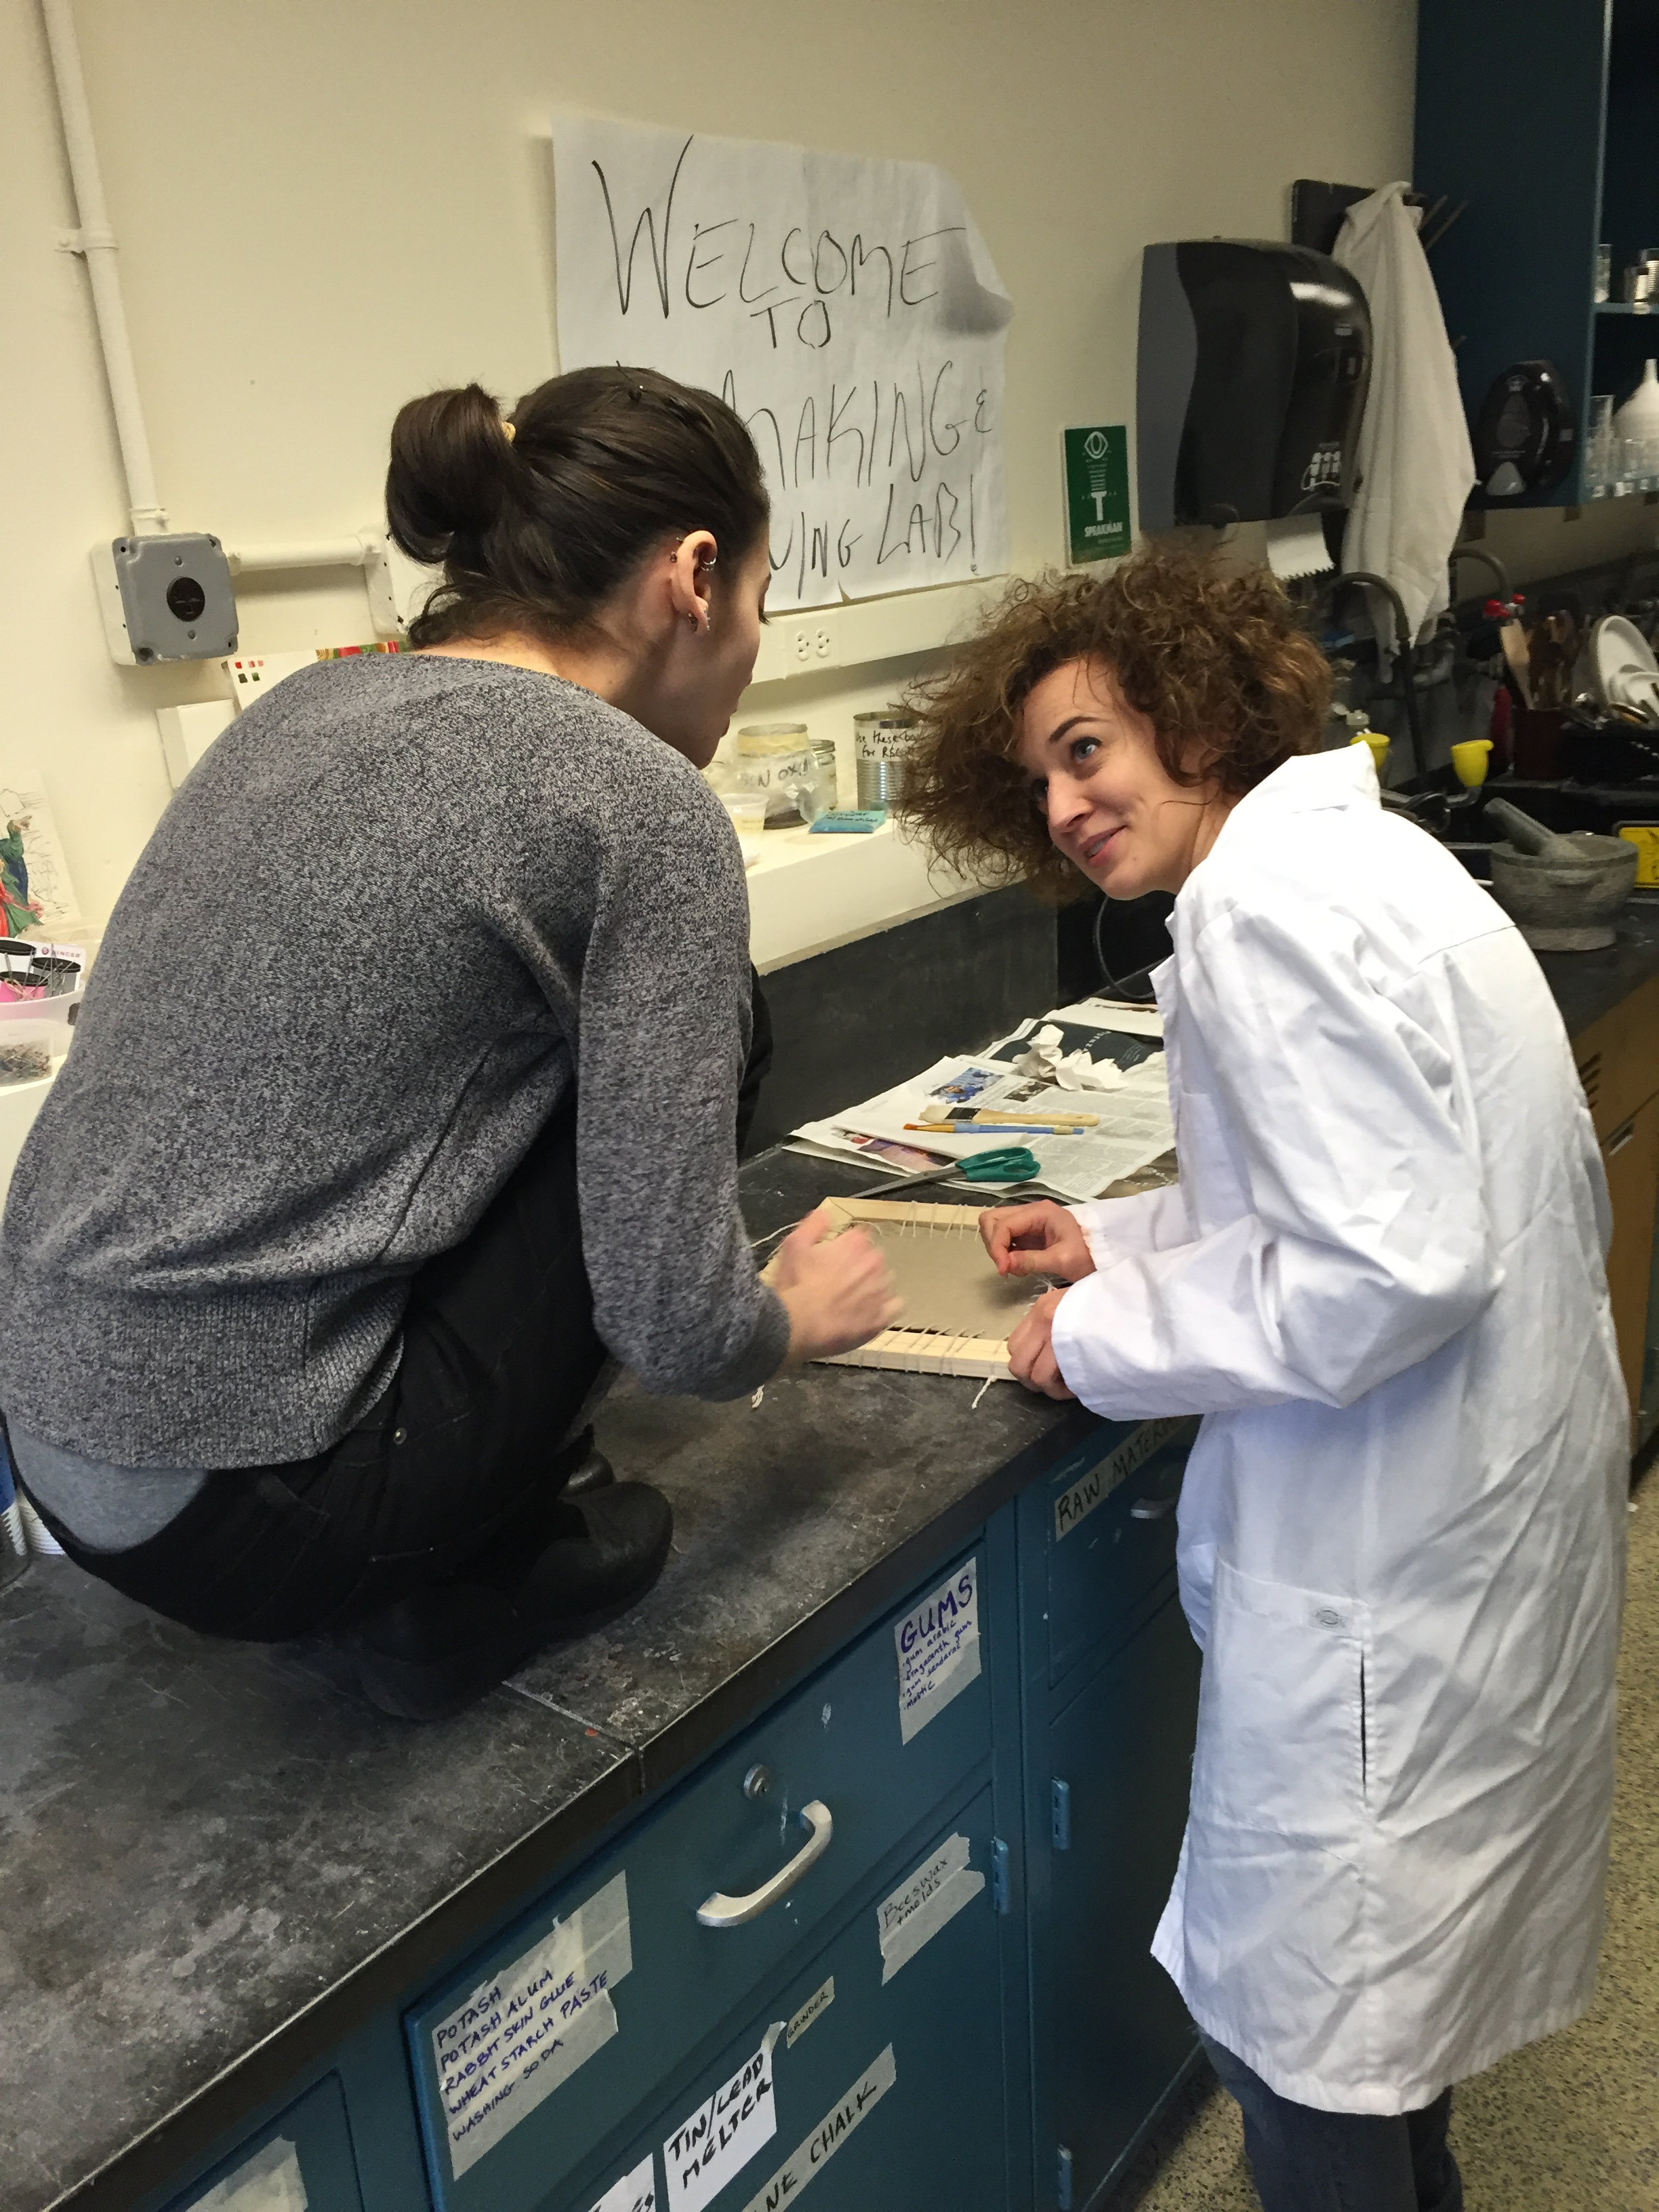
It all started so optimistically: I had my canvas and my lab mates!
The Problem
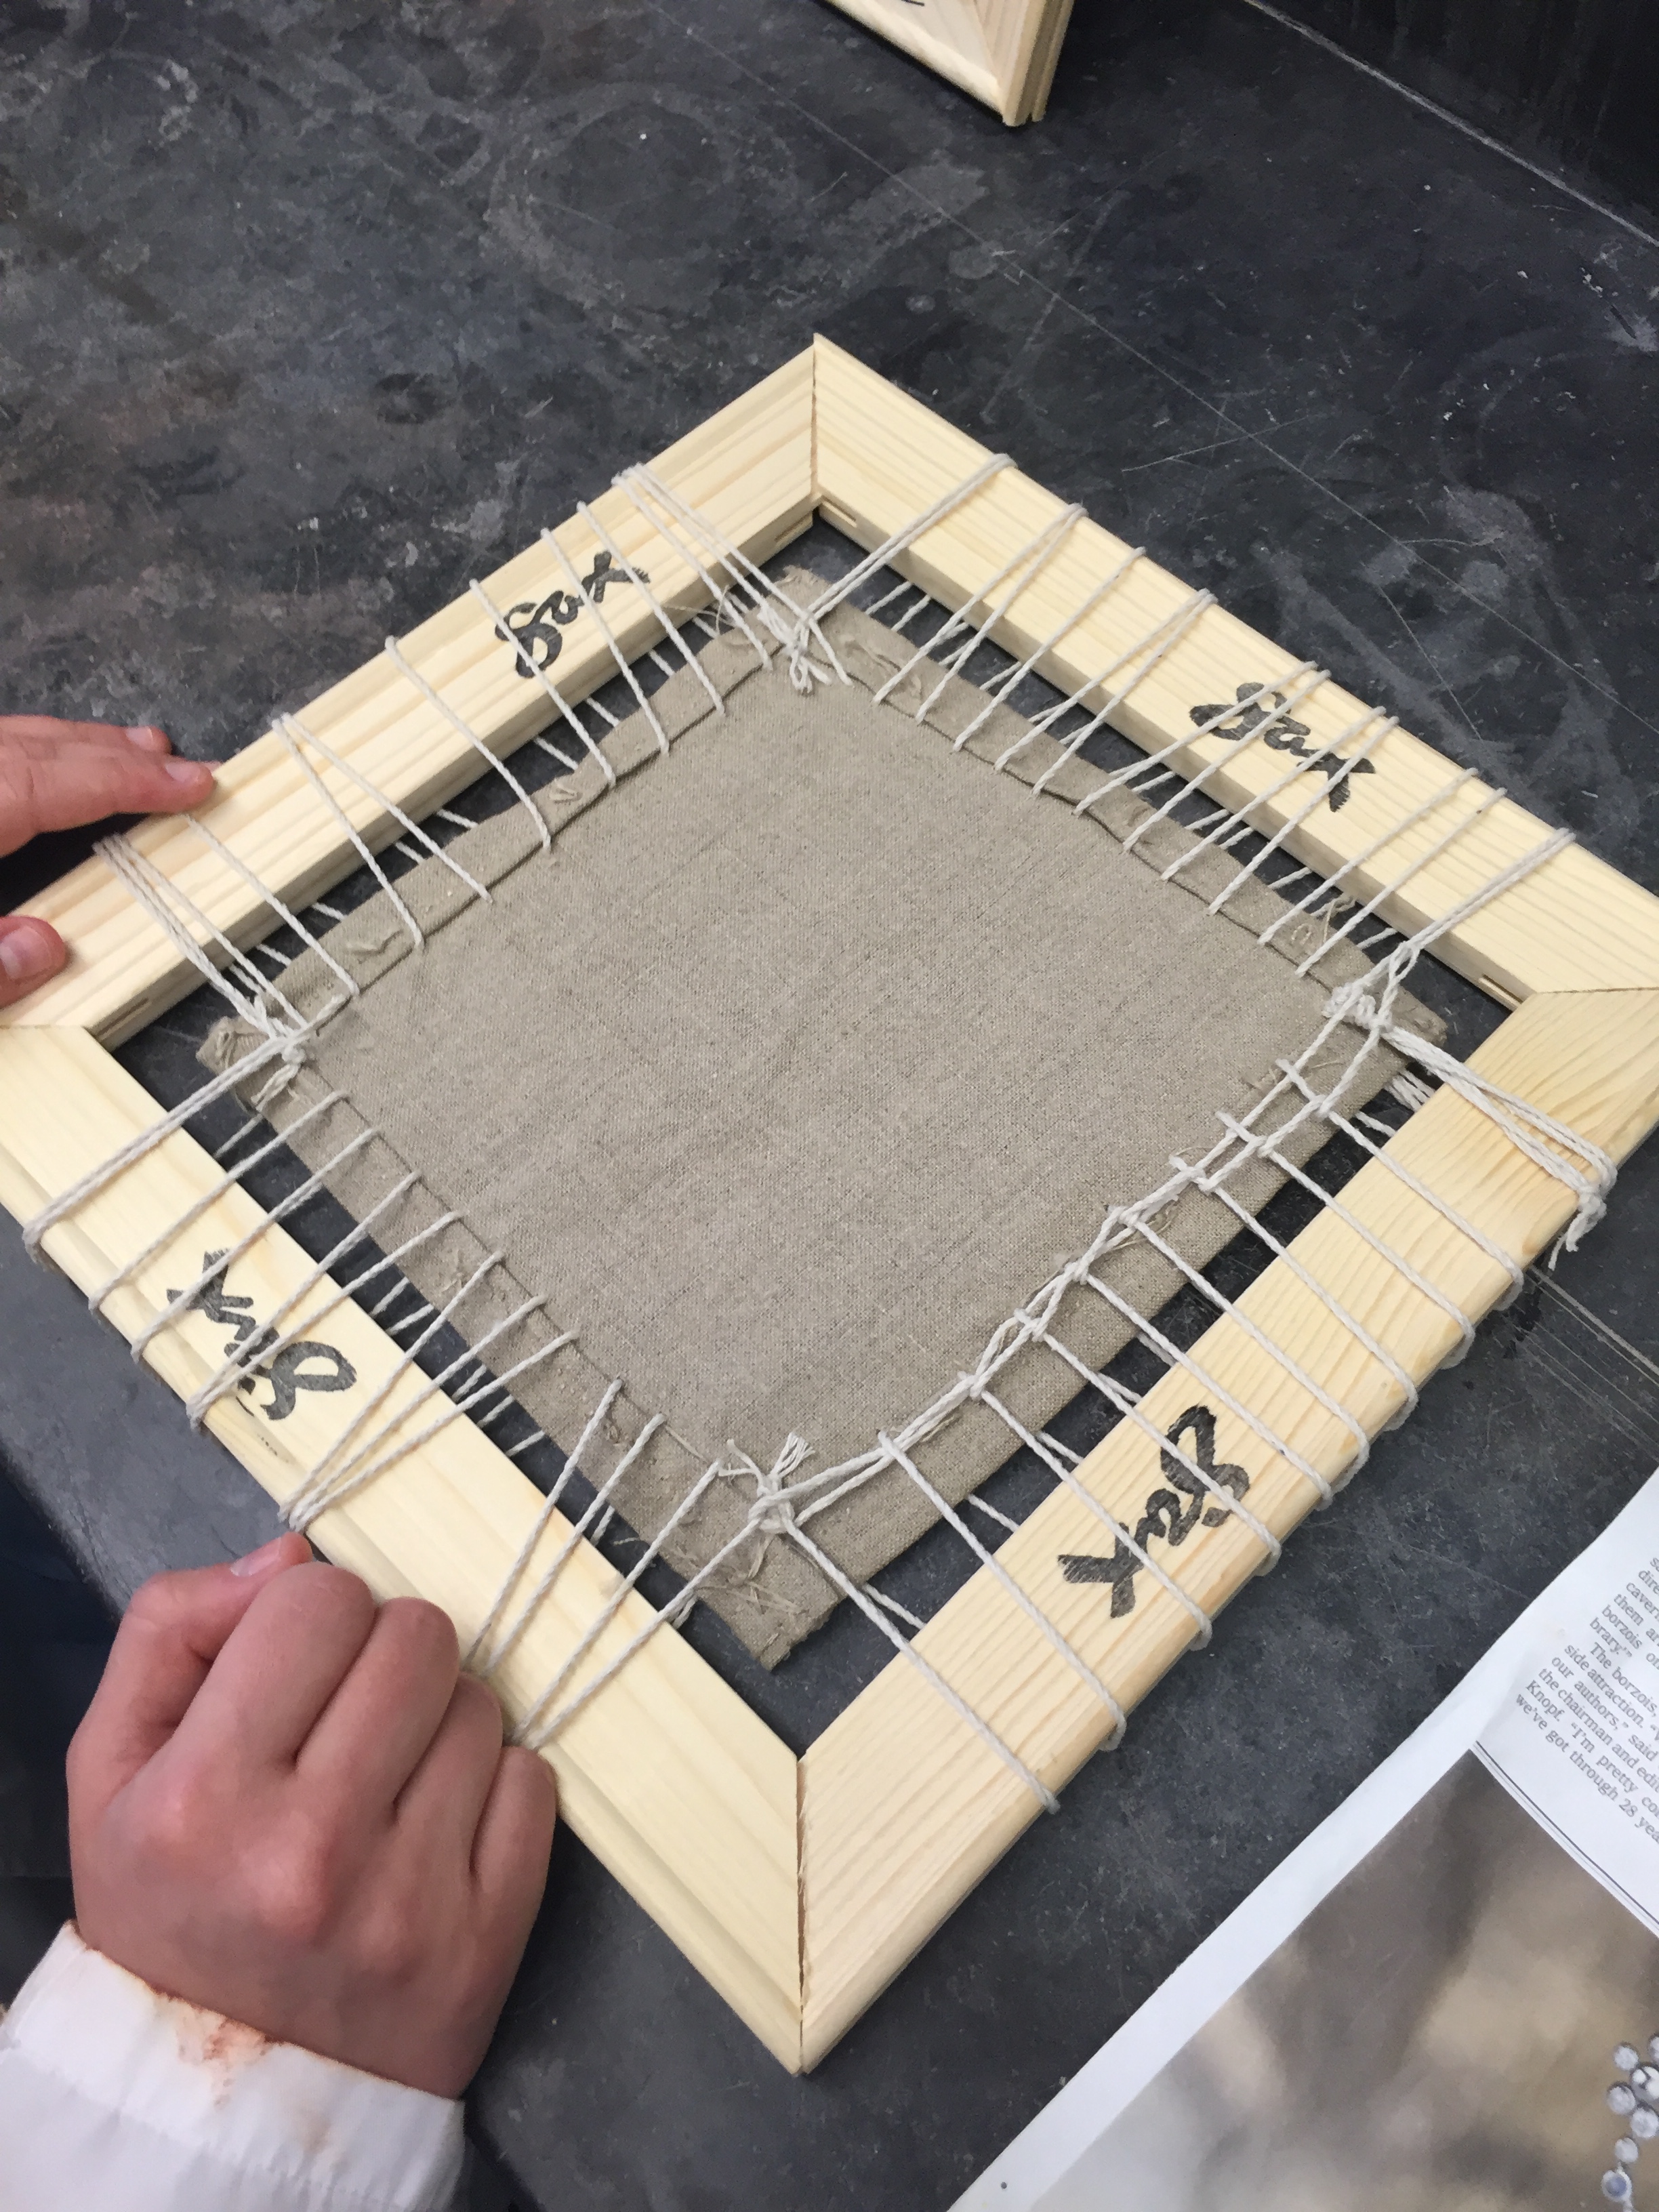
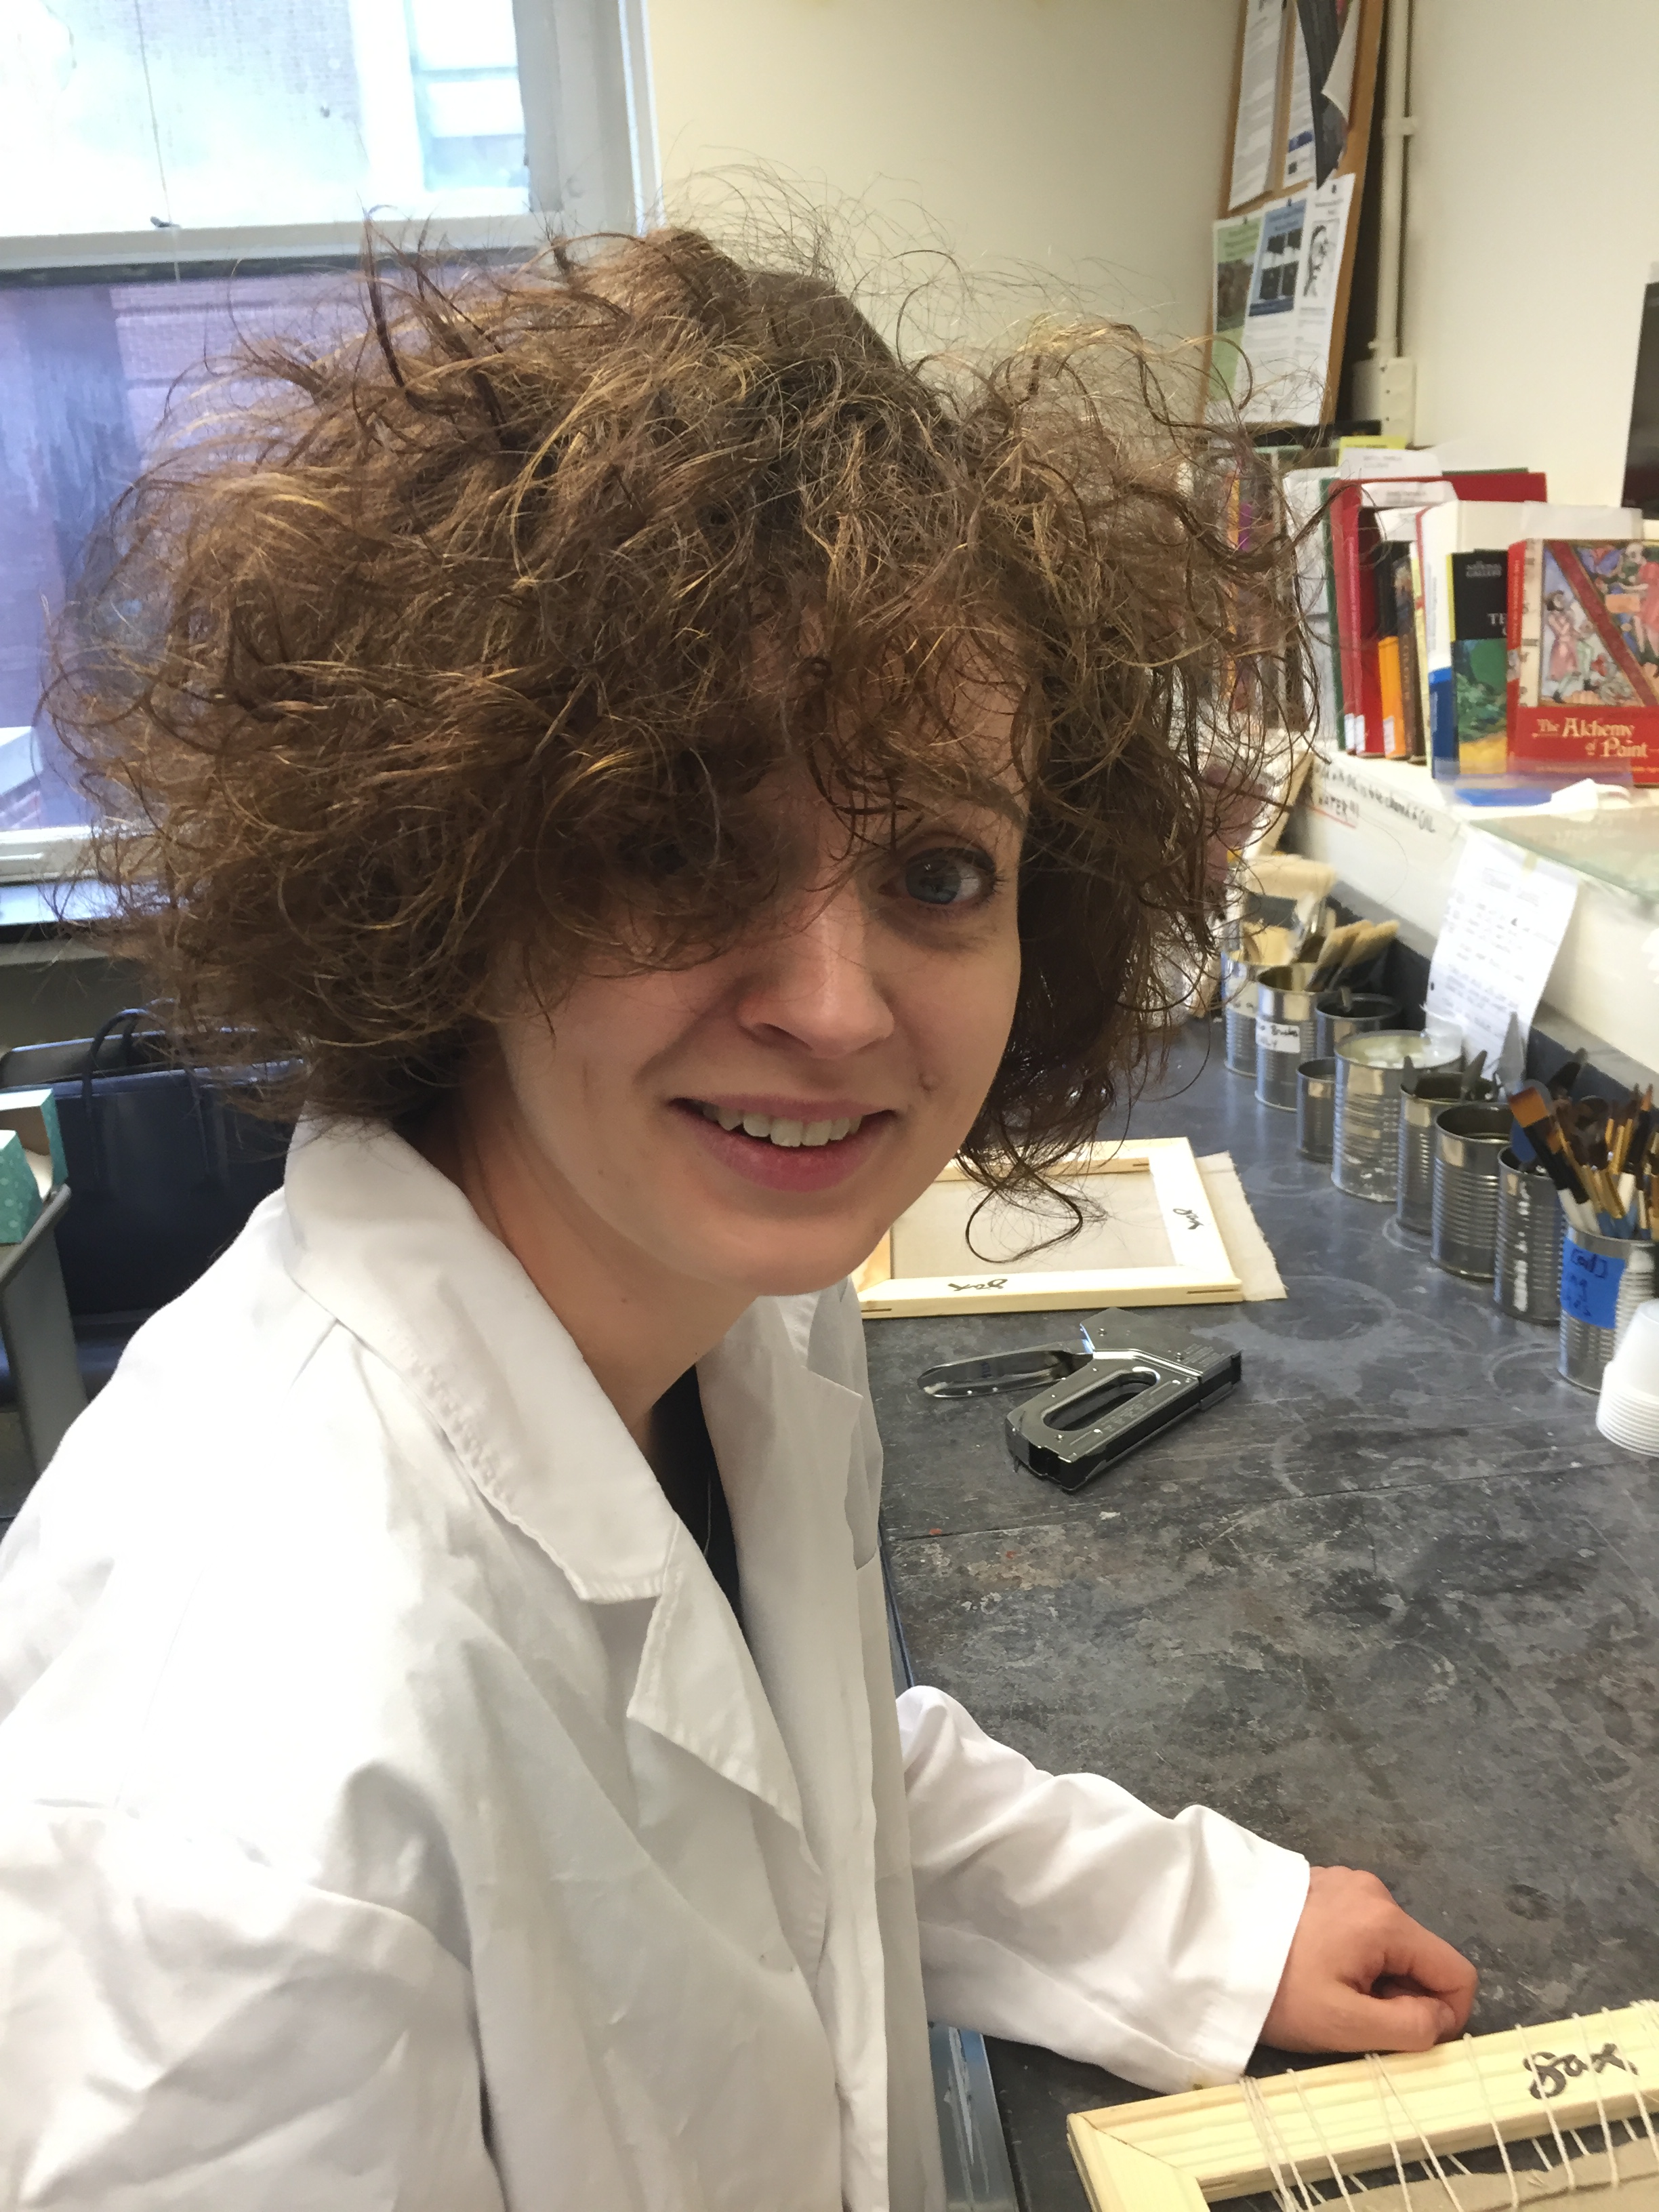
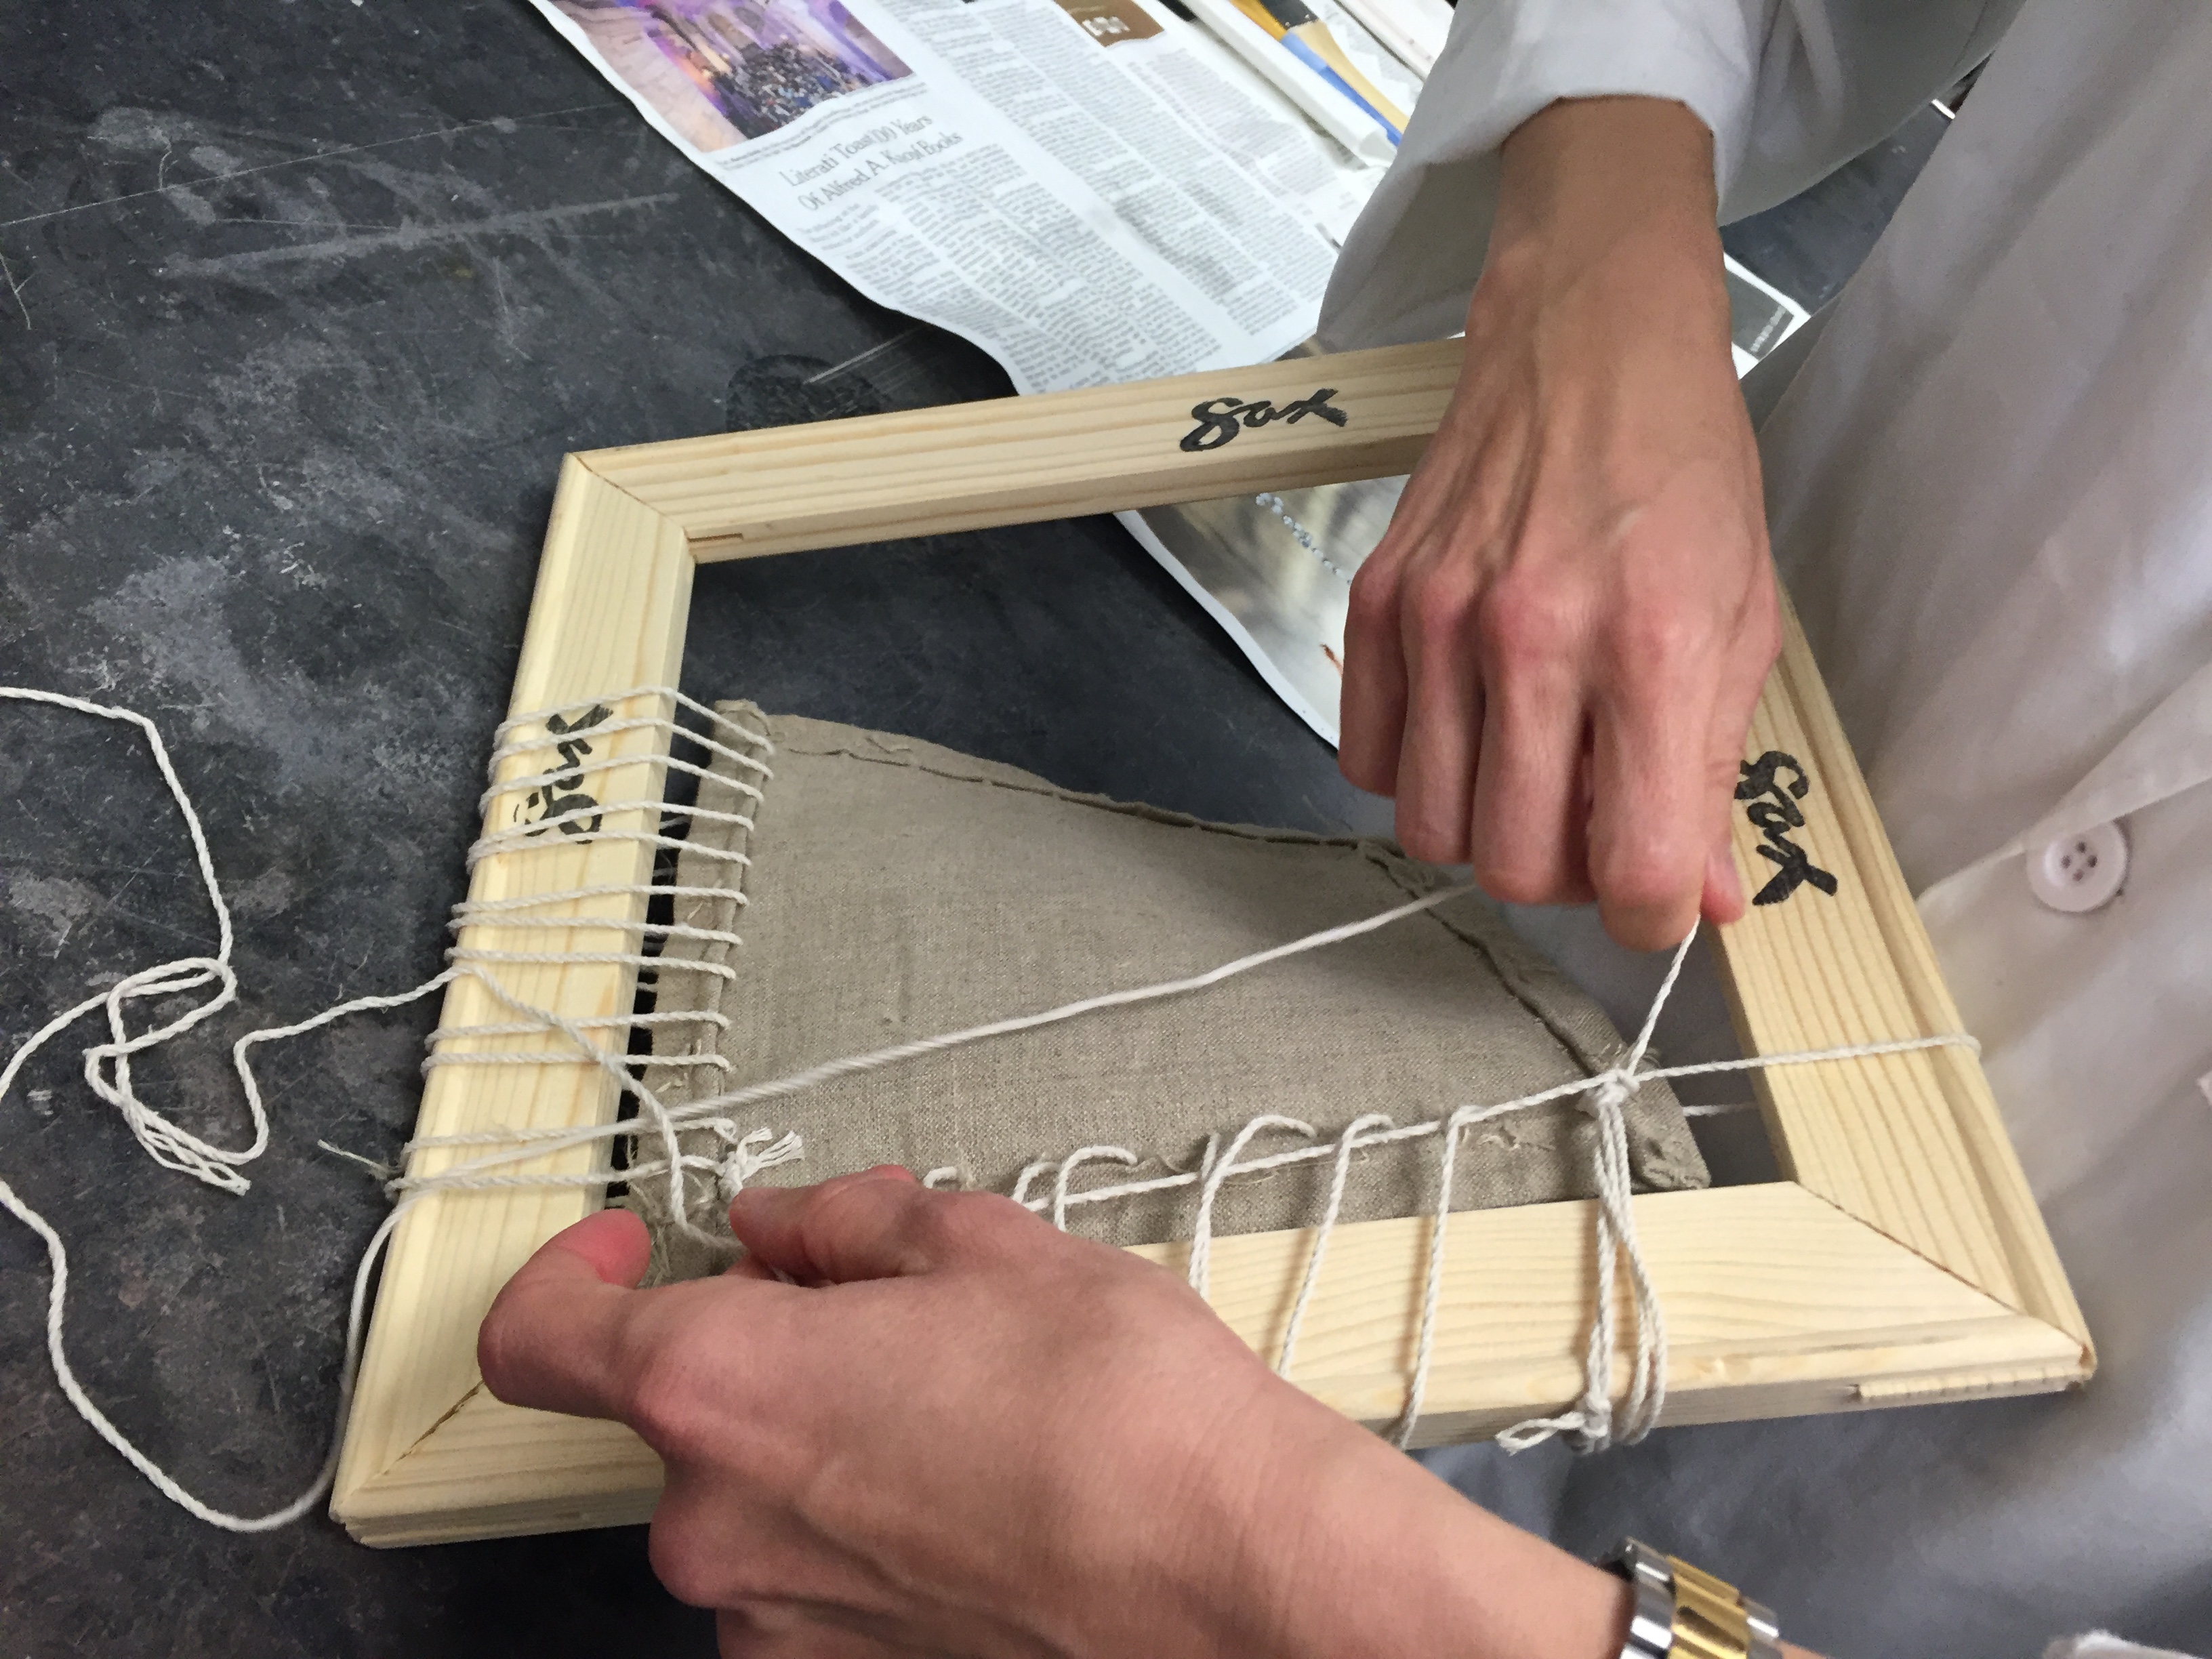
Then Donna noticed that my canvas was not tight enough and the framing into the stretcher had to be redone. Which meant not only repeating the entire procedure of lacing, but trying to open my Gordian knots... Let's put it this way: I was very unhappy. Donna, once she saw the knots, went from disbelief, to astonishment, to laughter -- which at some point turned slightly evil in my perception.
The Revised Framing Method
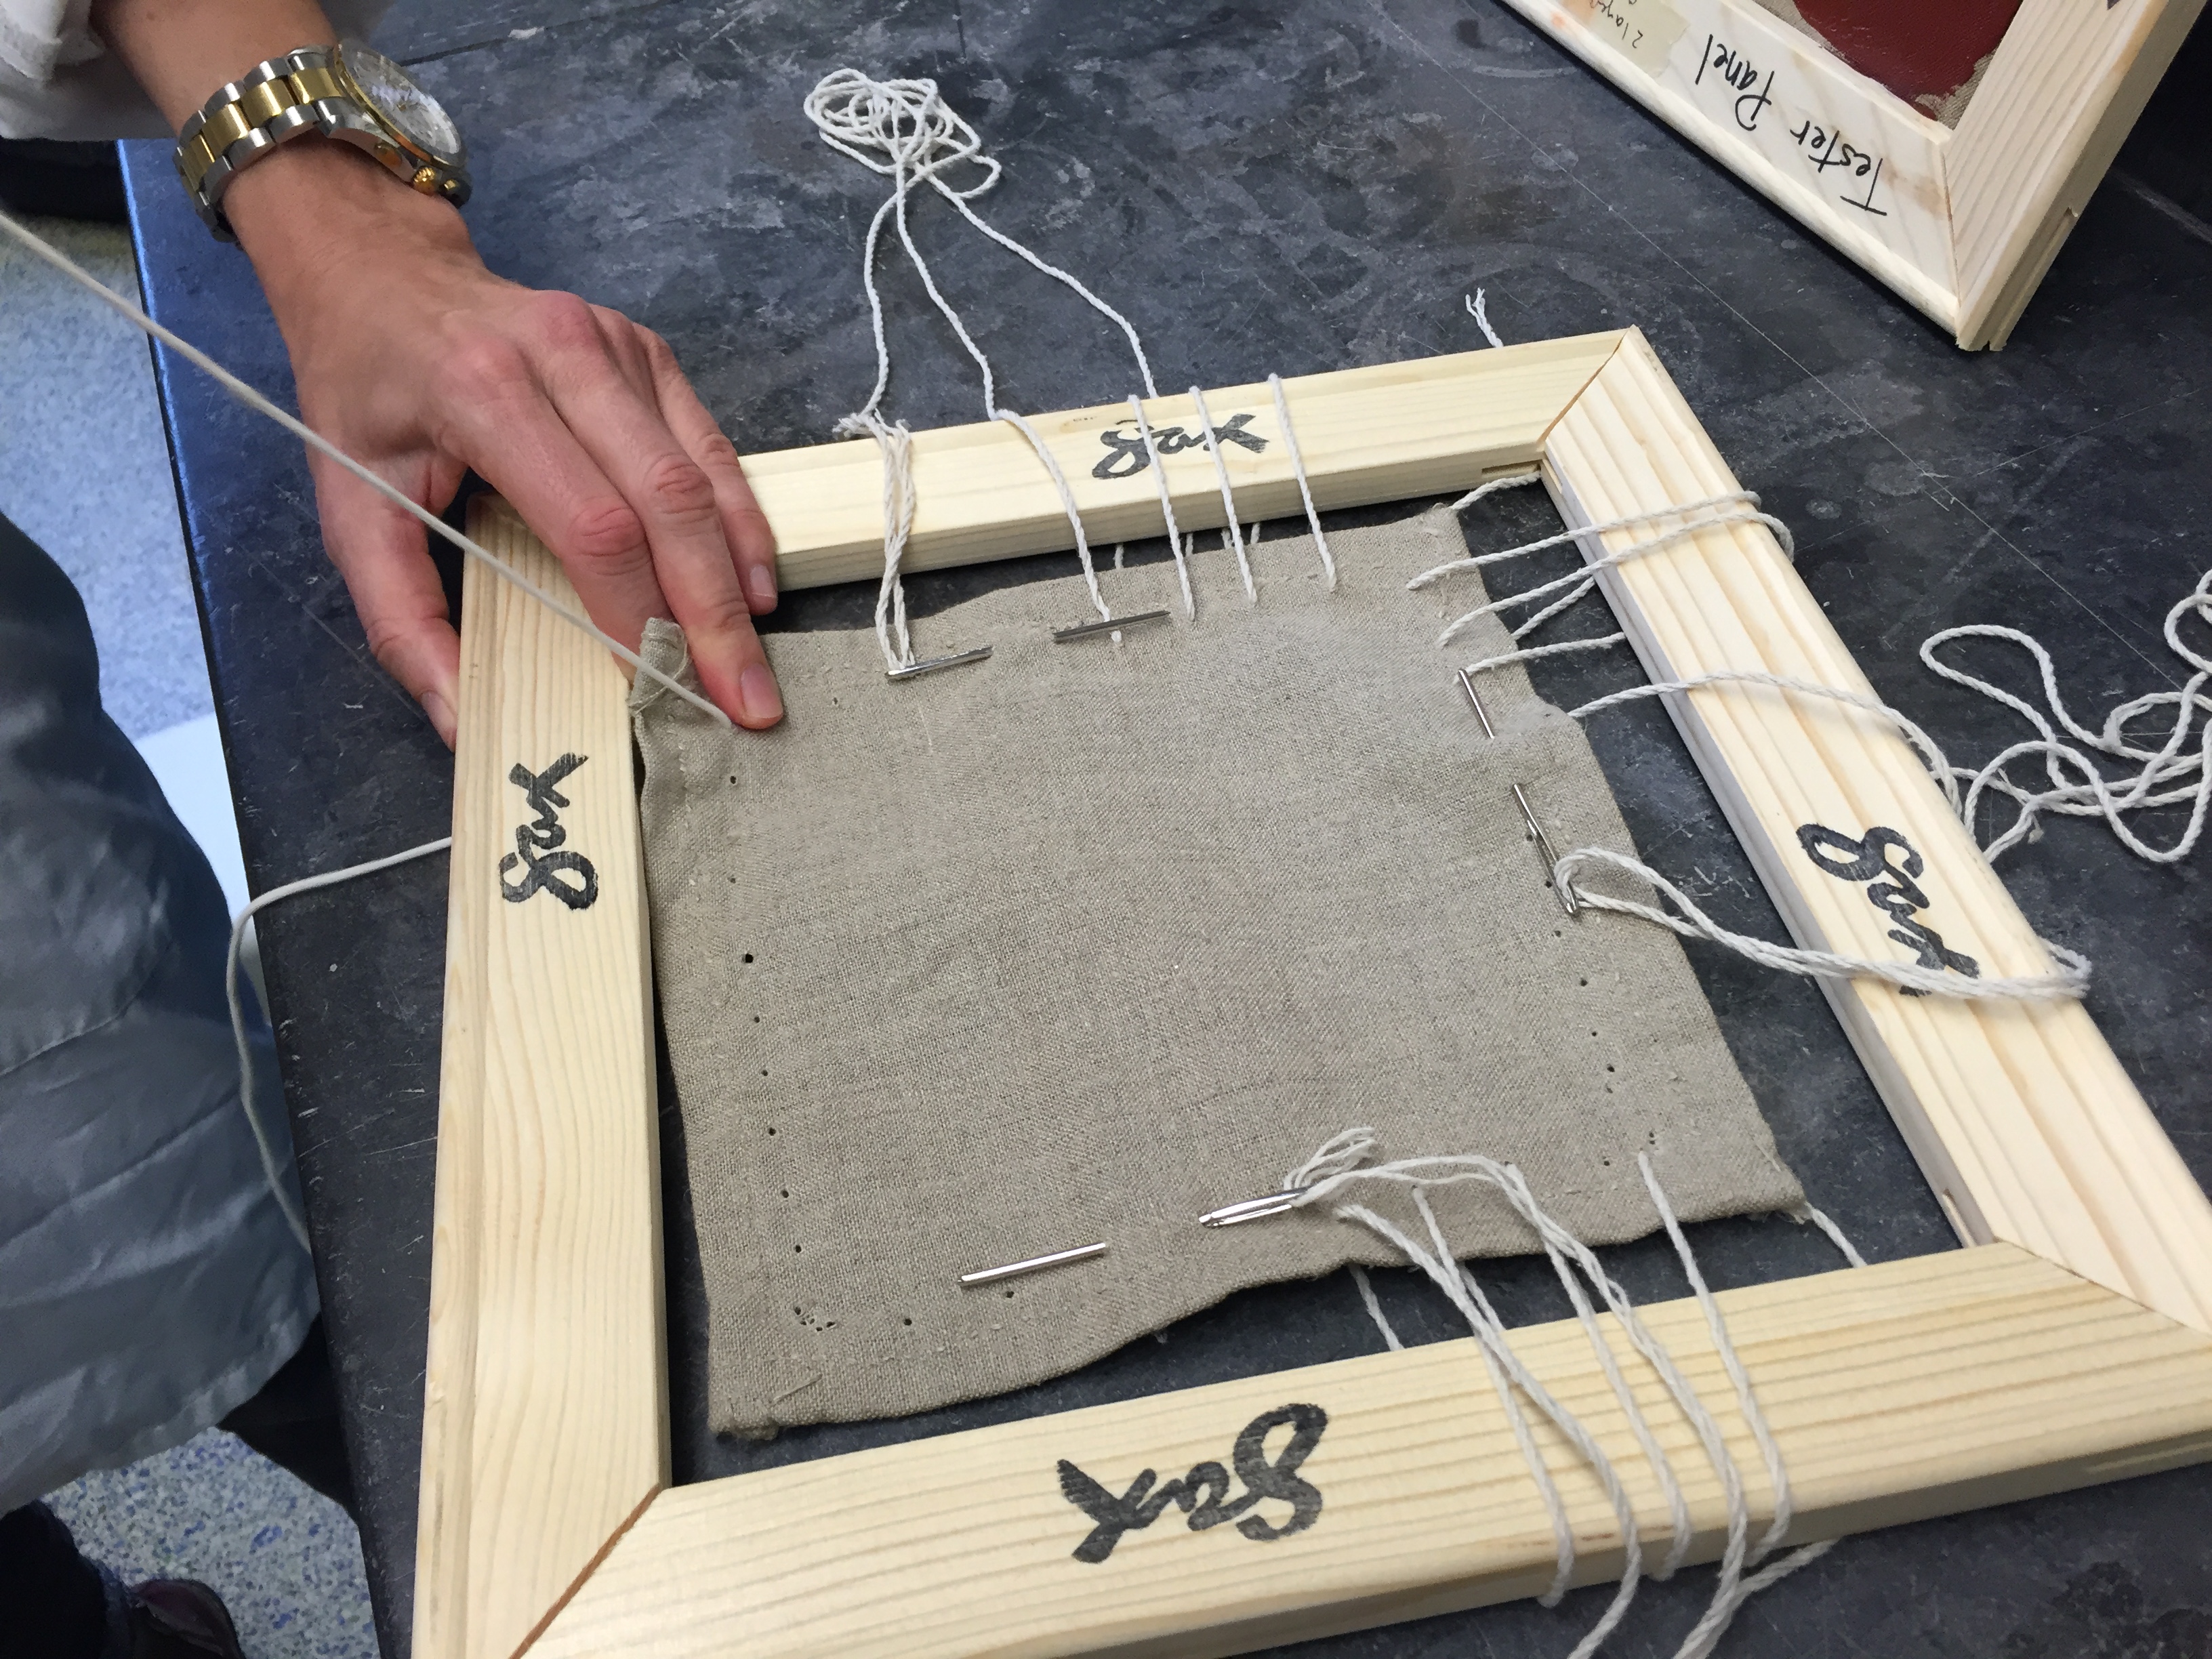
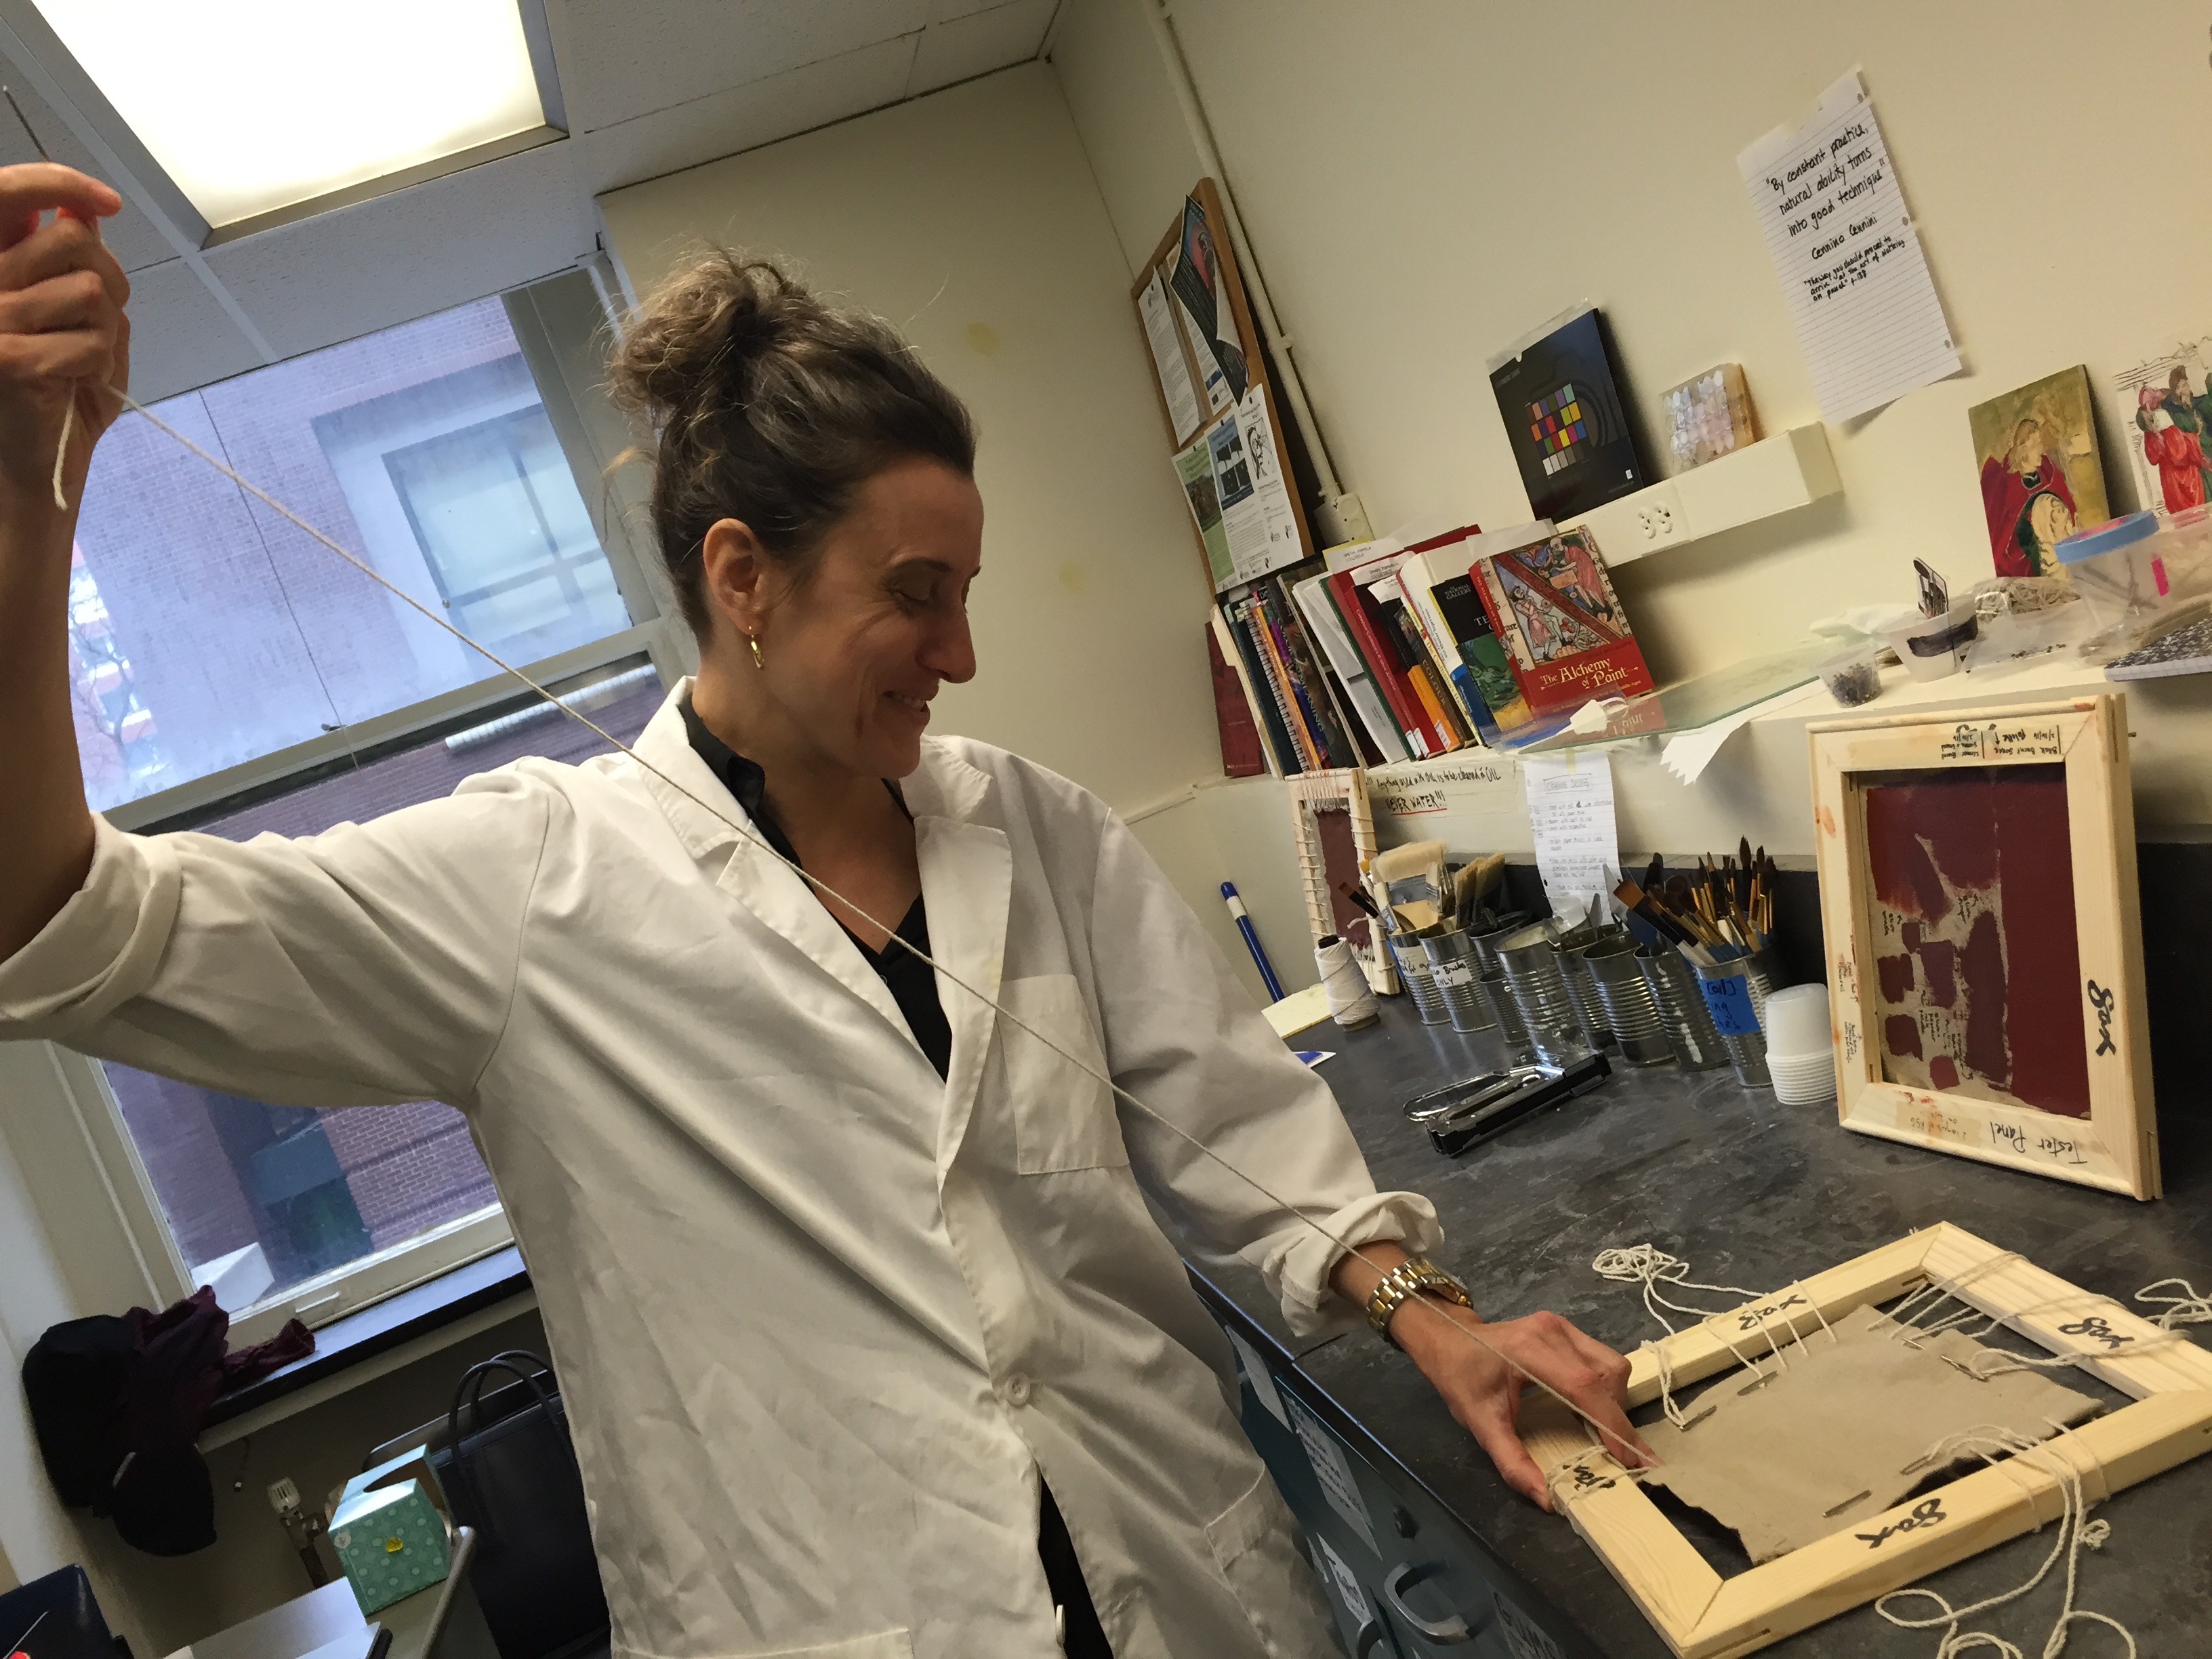
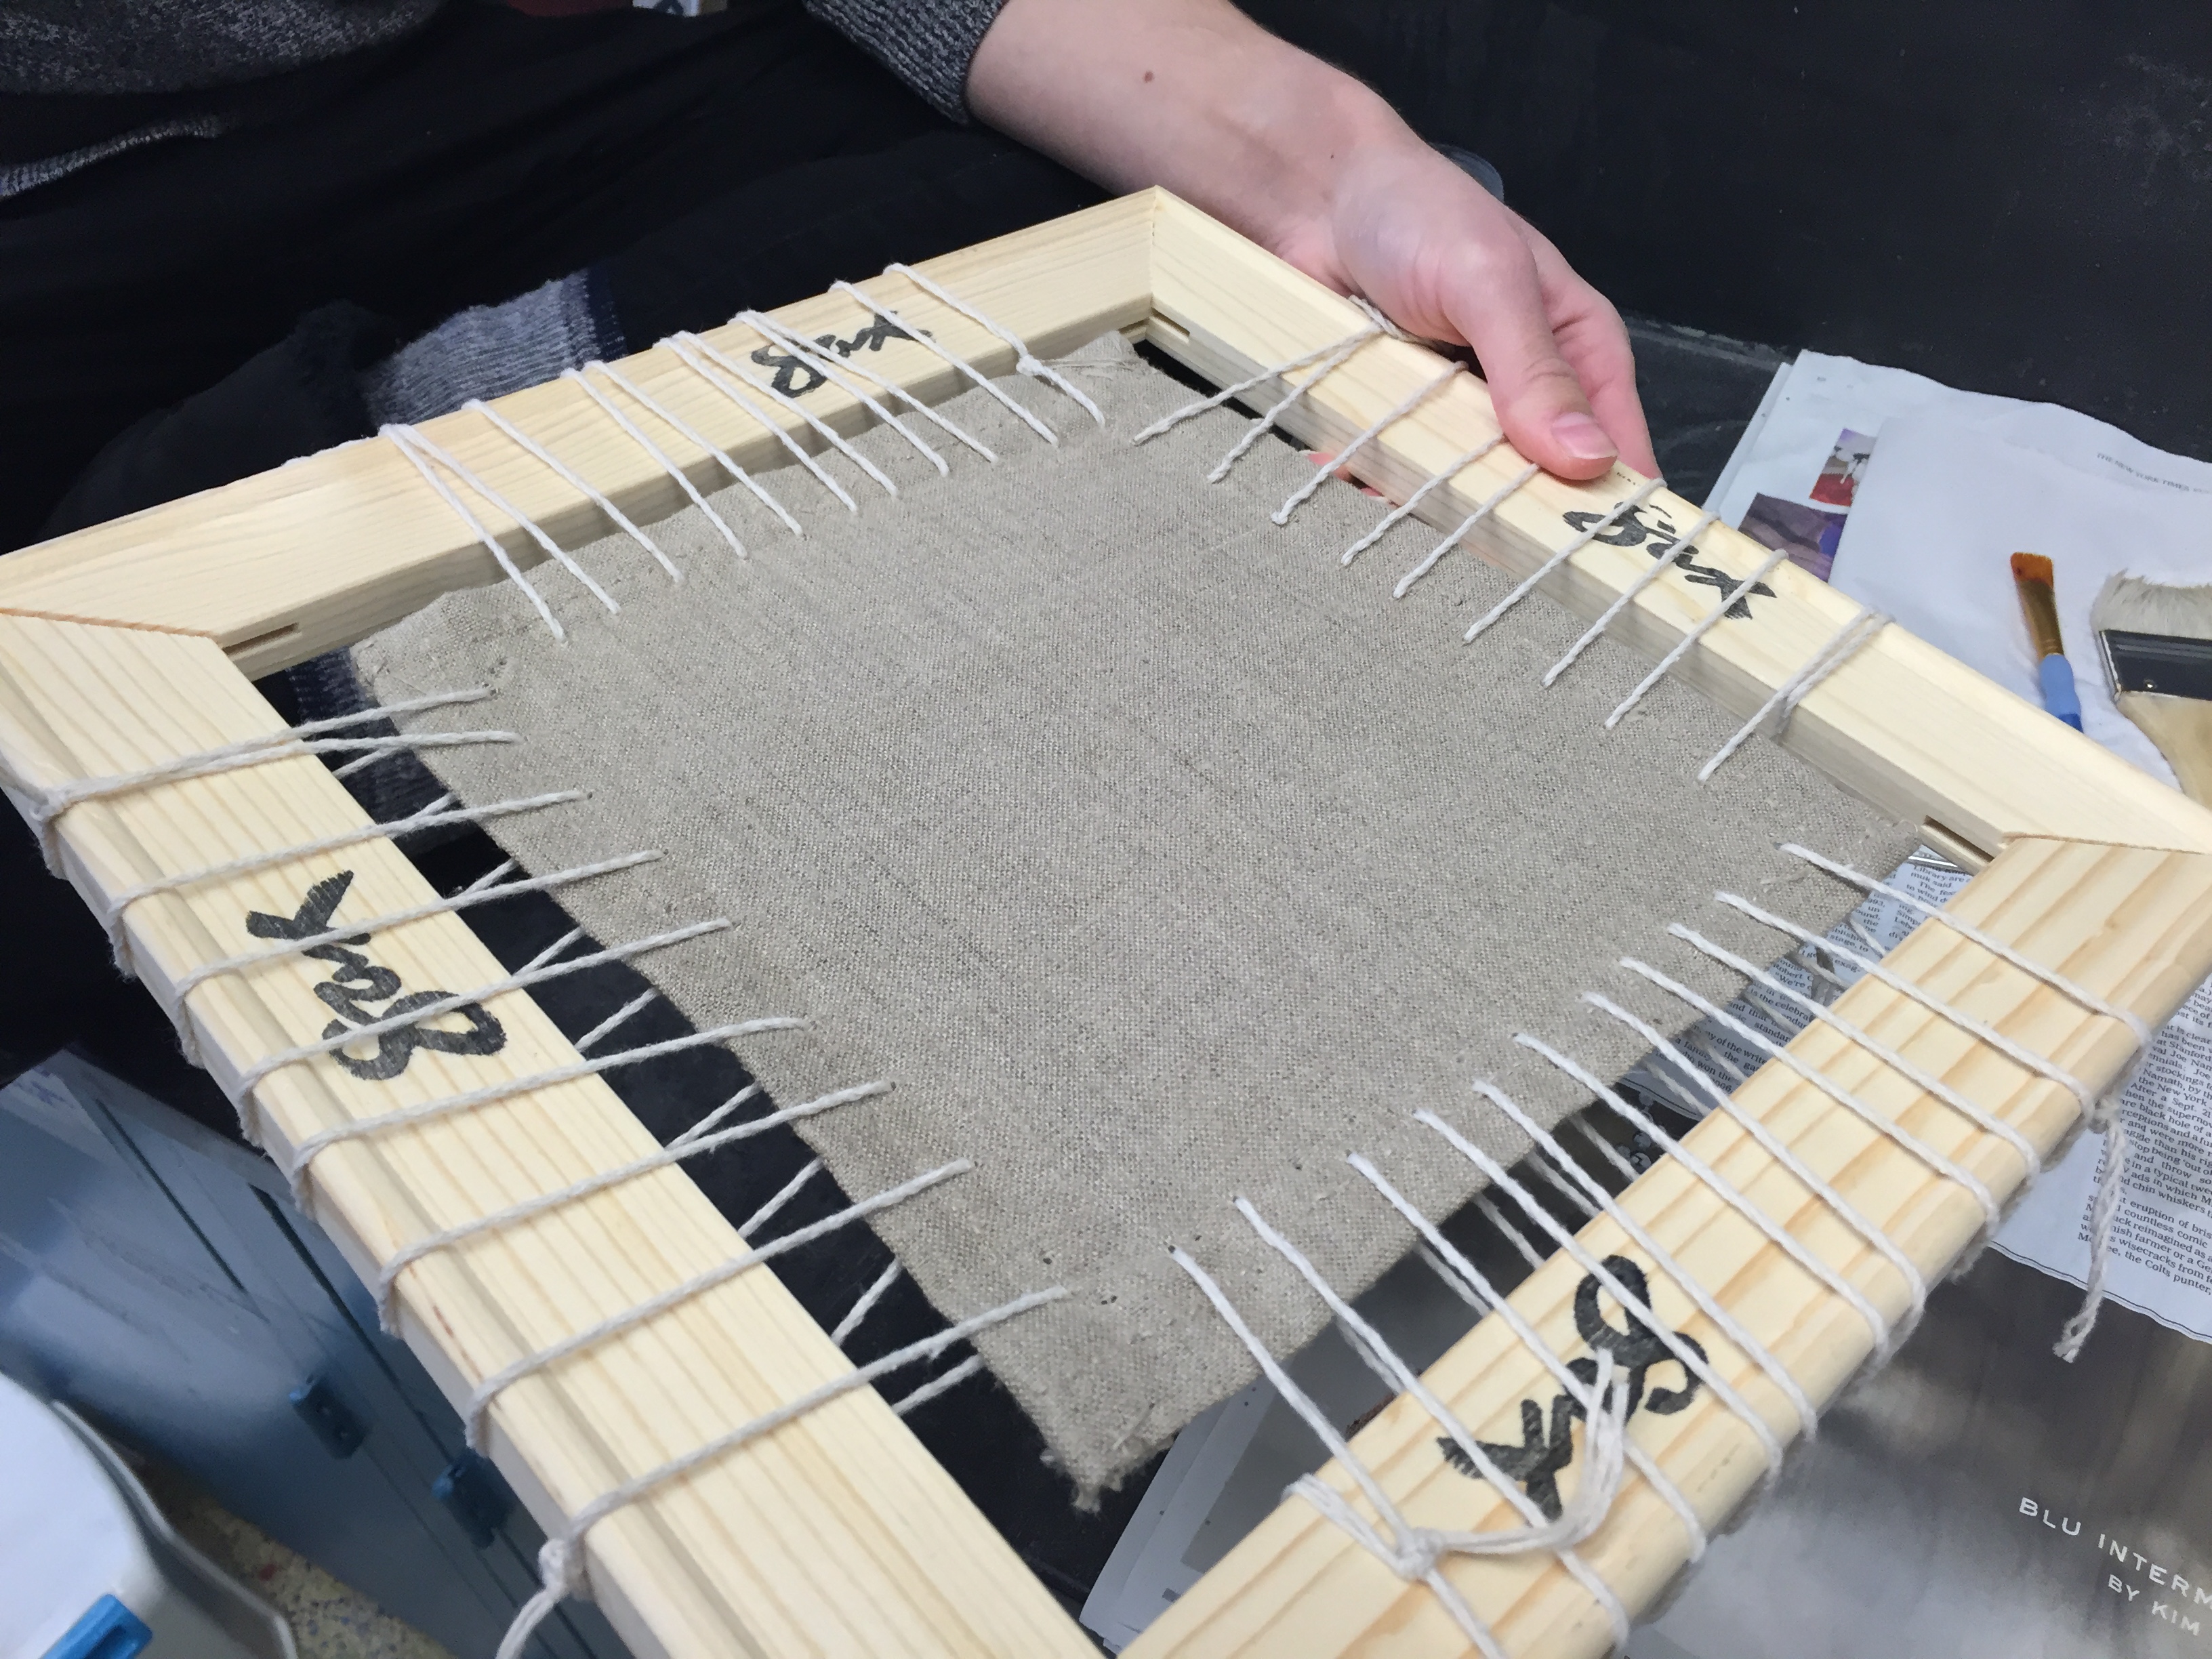
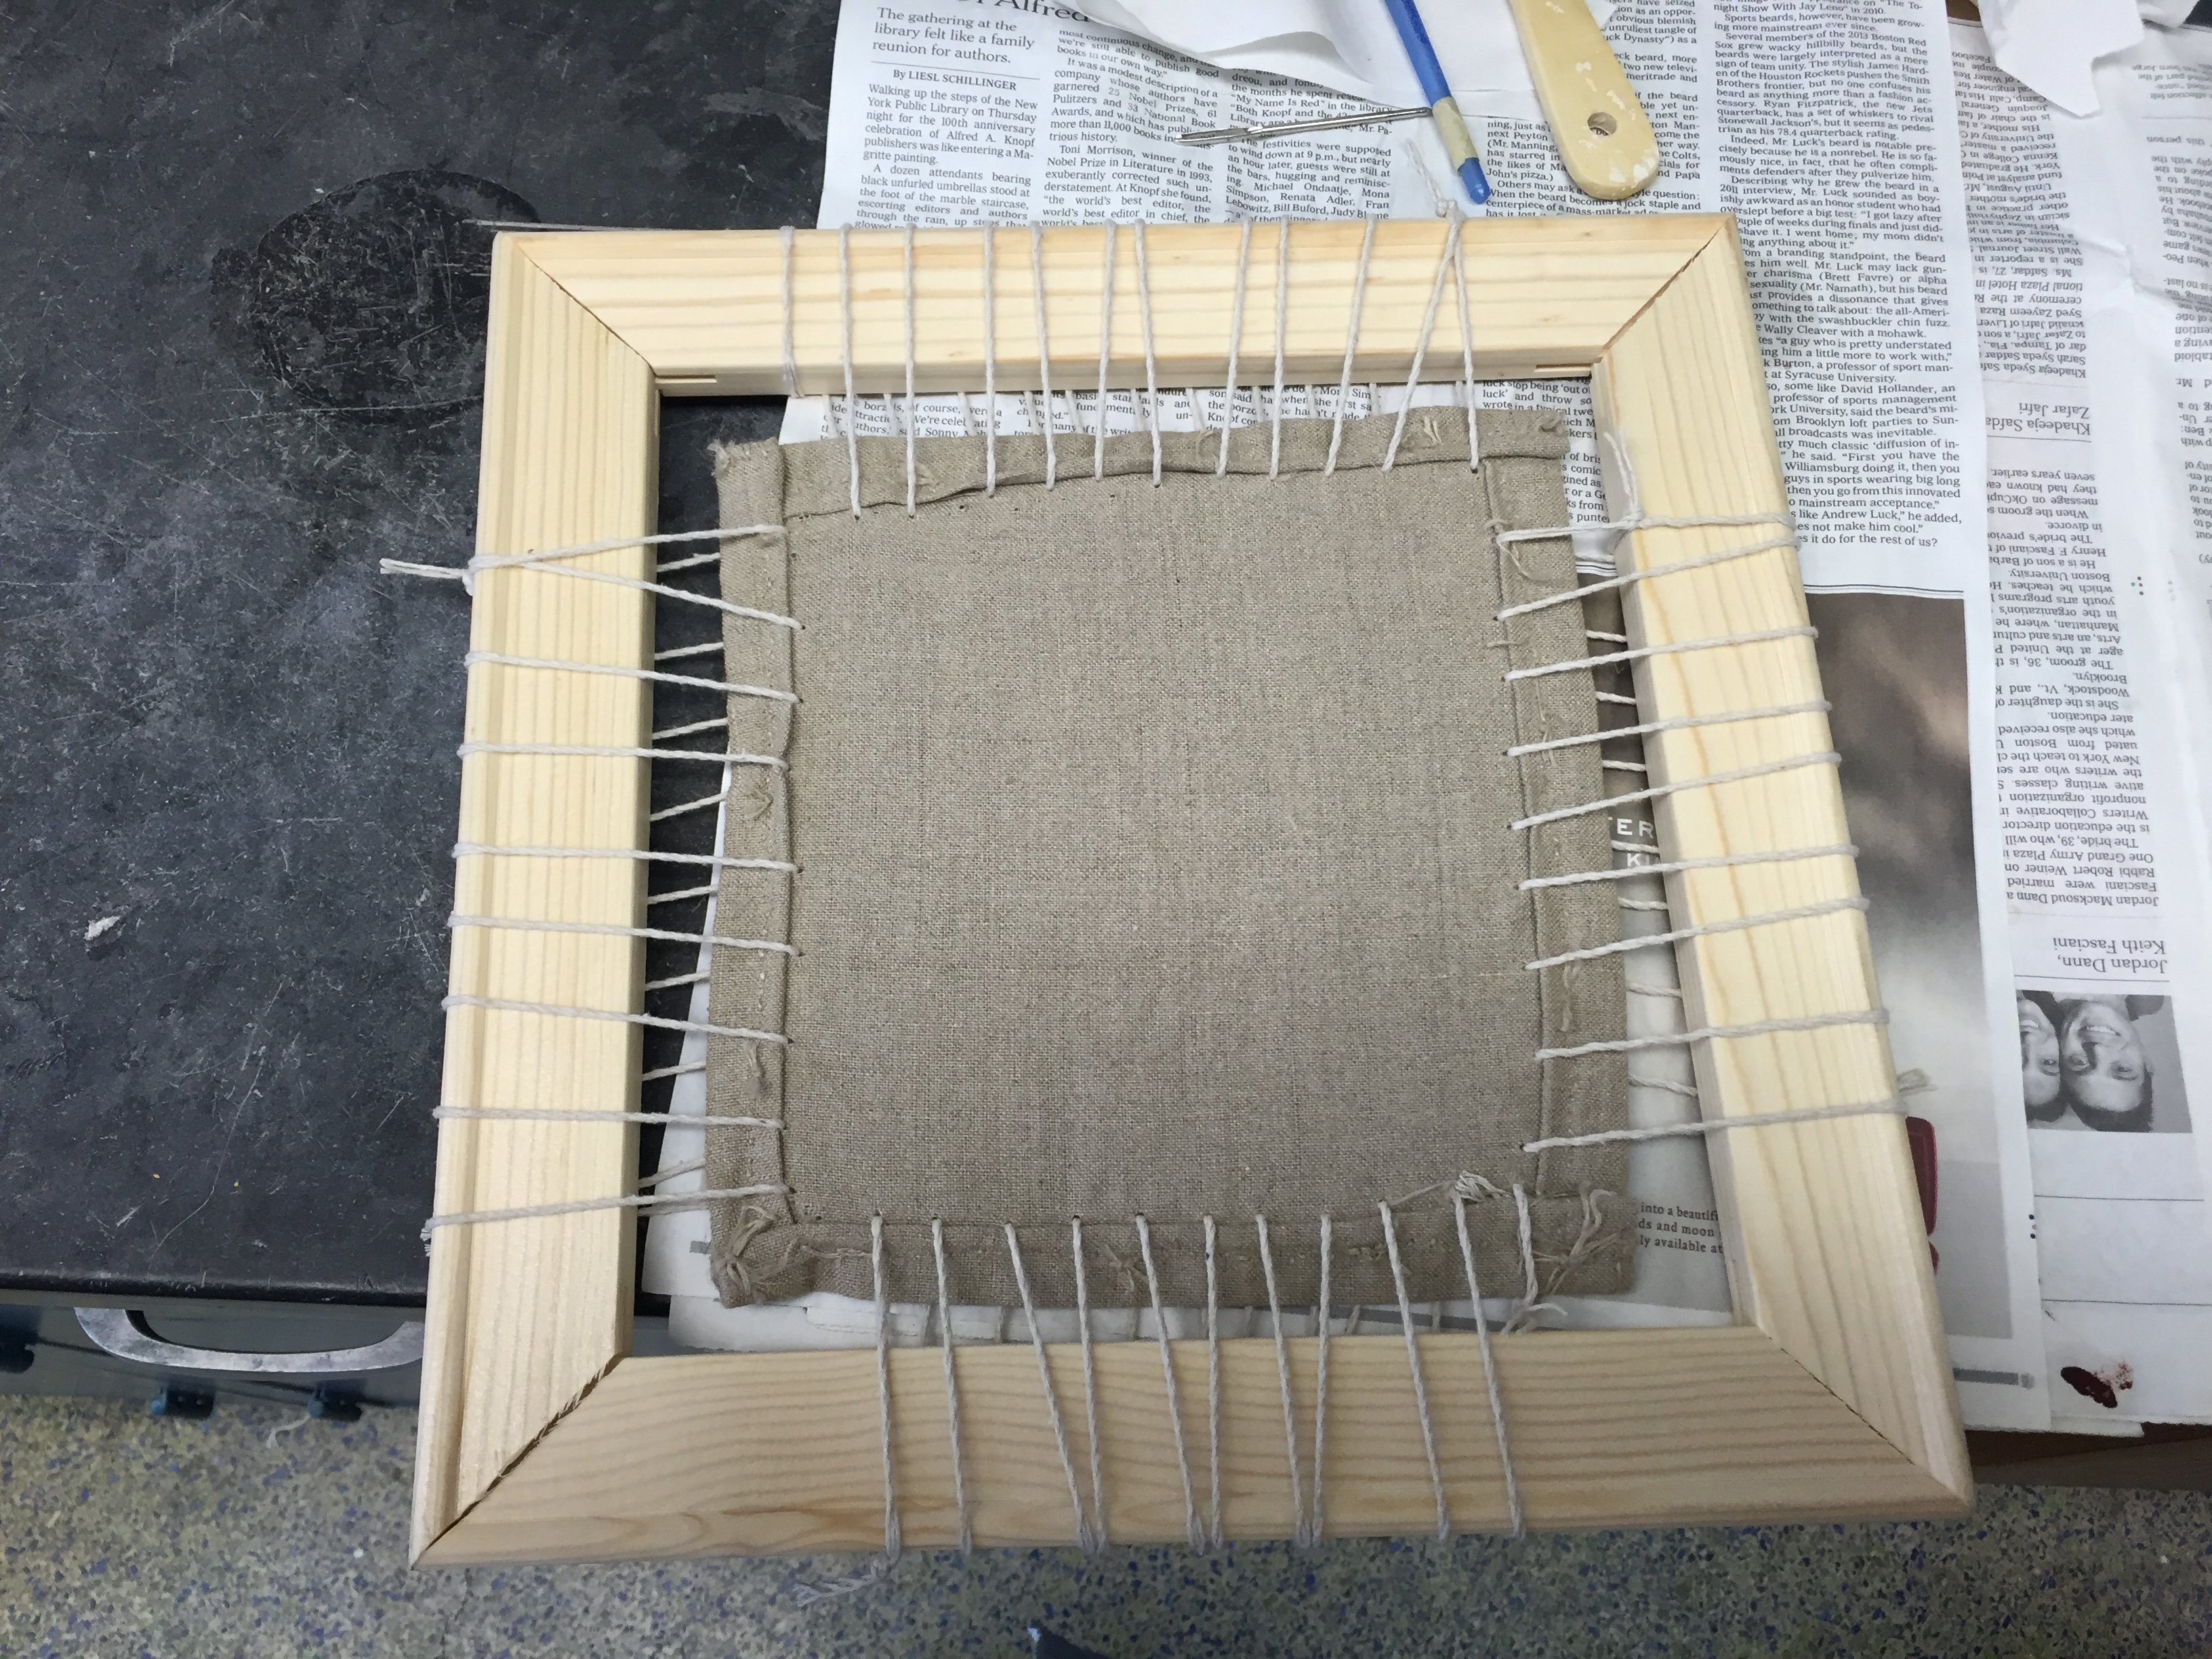
Then we went to disentangling the yarn and starting to re-frame the canvas... This time with a different procedure:
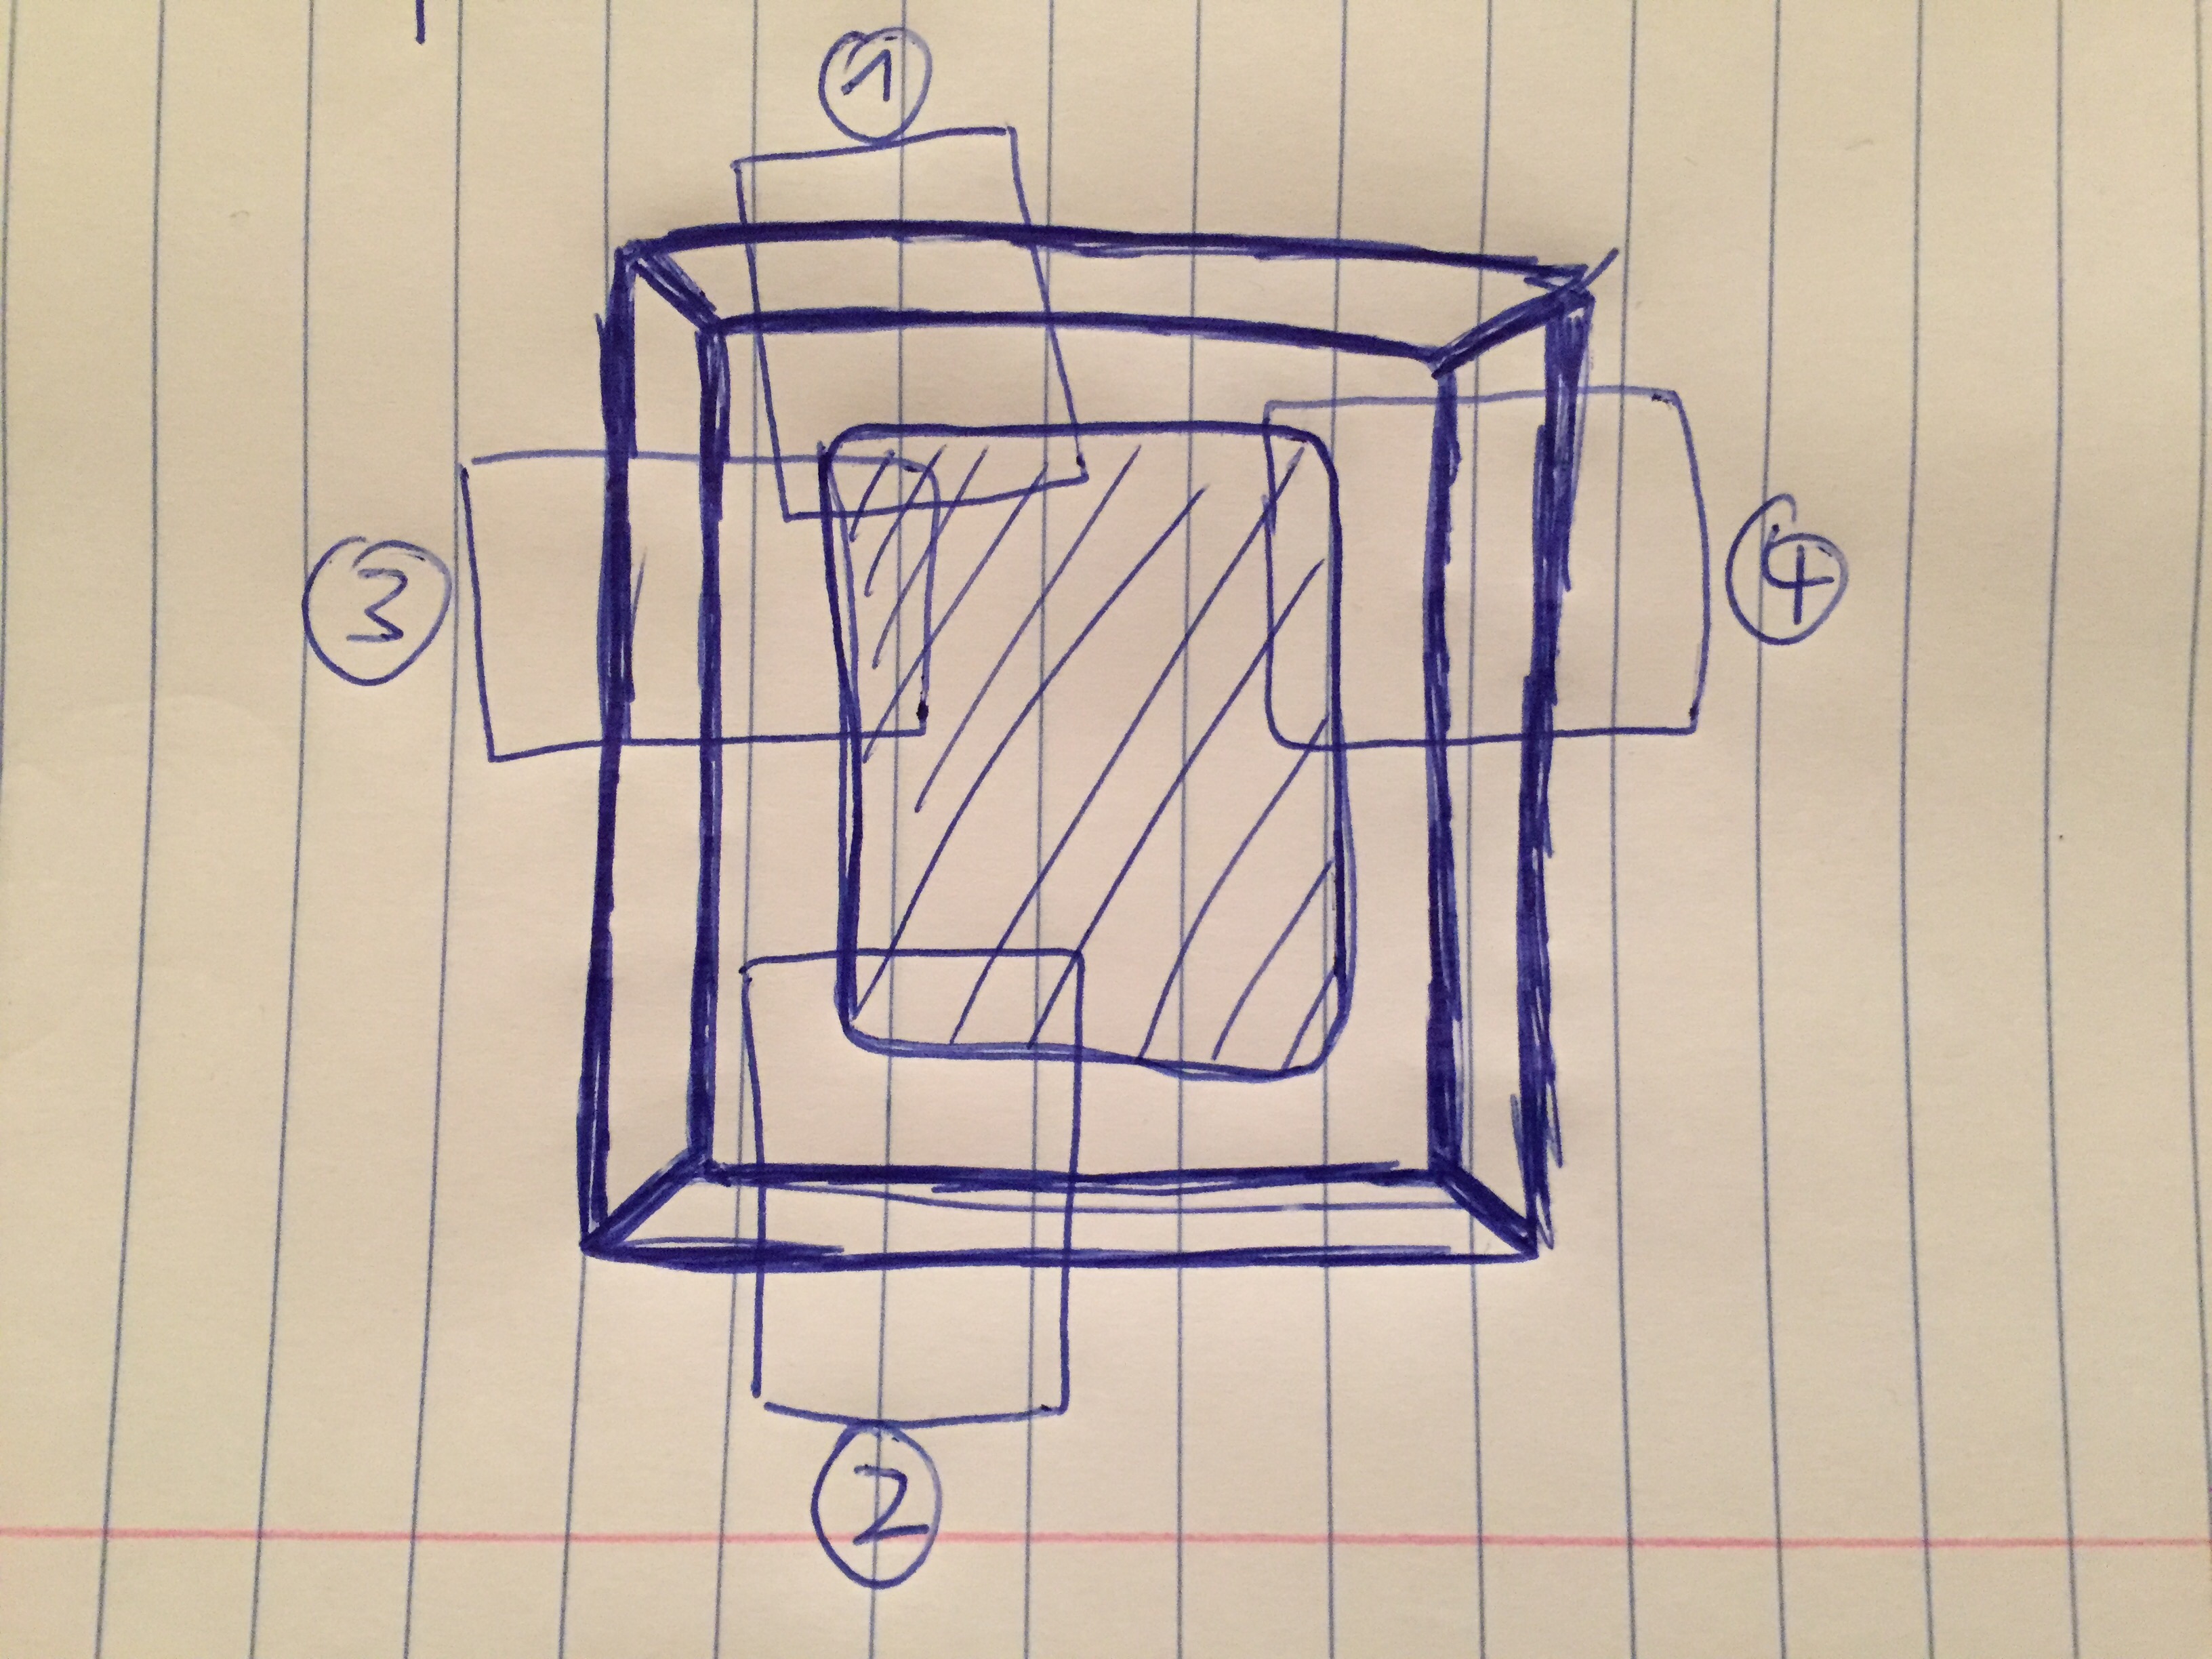
--> We fixed only half of of each side to get a general arrangement of the cloth as a start.
--> We proceeded by finishing the sides (in the order as indicated in the schema below).
--> we continuously tightened the string at all sides
Smaller "On the way" errors and revisions
--> at several times I laced incorrectly (schema below, comparison between wrong/left and correct/bottom), after two failures, I unconsciously started adjusting my technique (as Donna pointed out while observing): I put the surplus of string on the other side - opposite to my lacing direction and out of the way
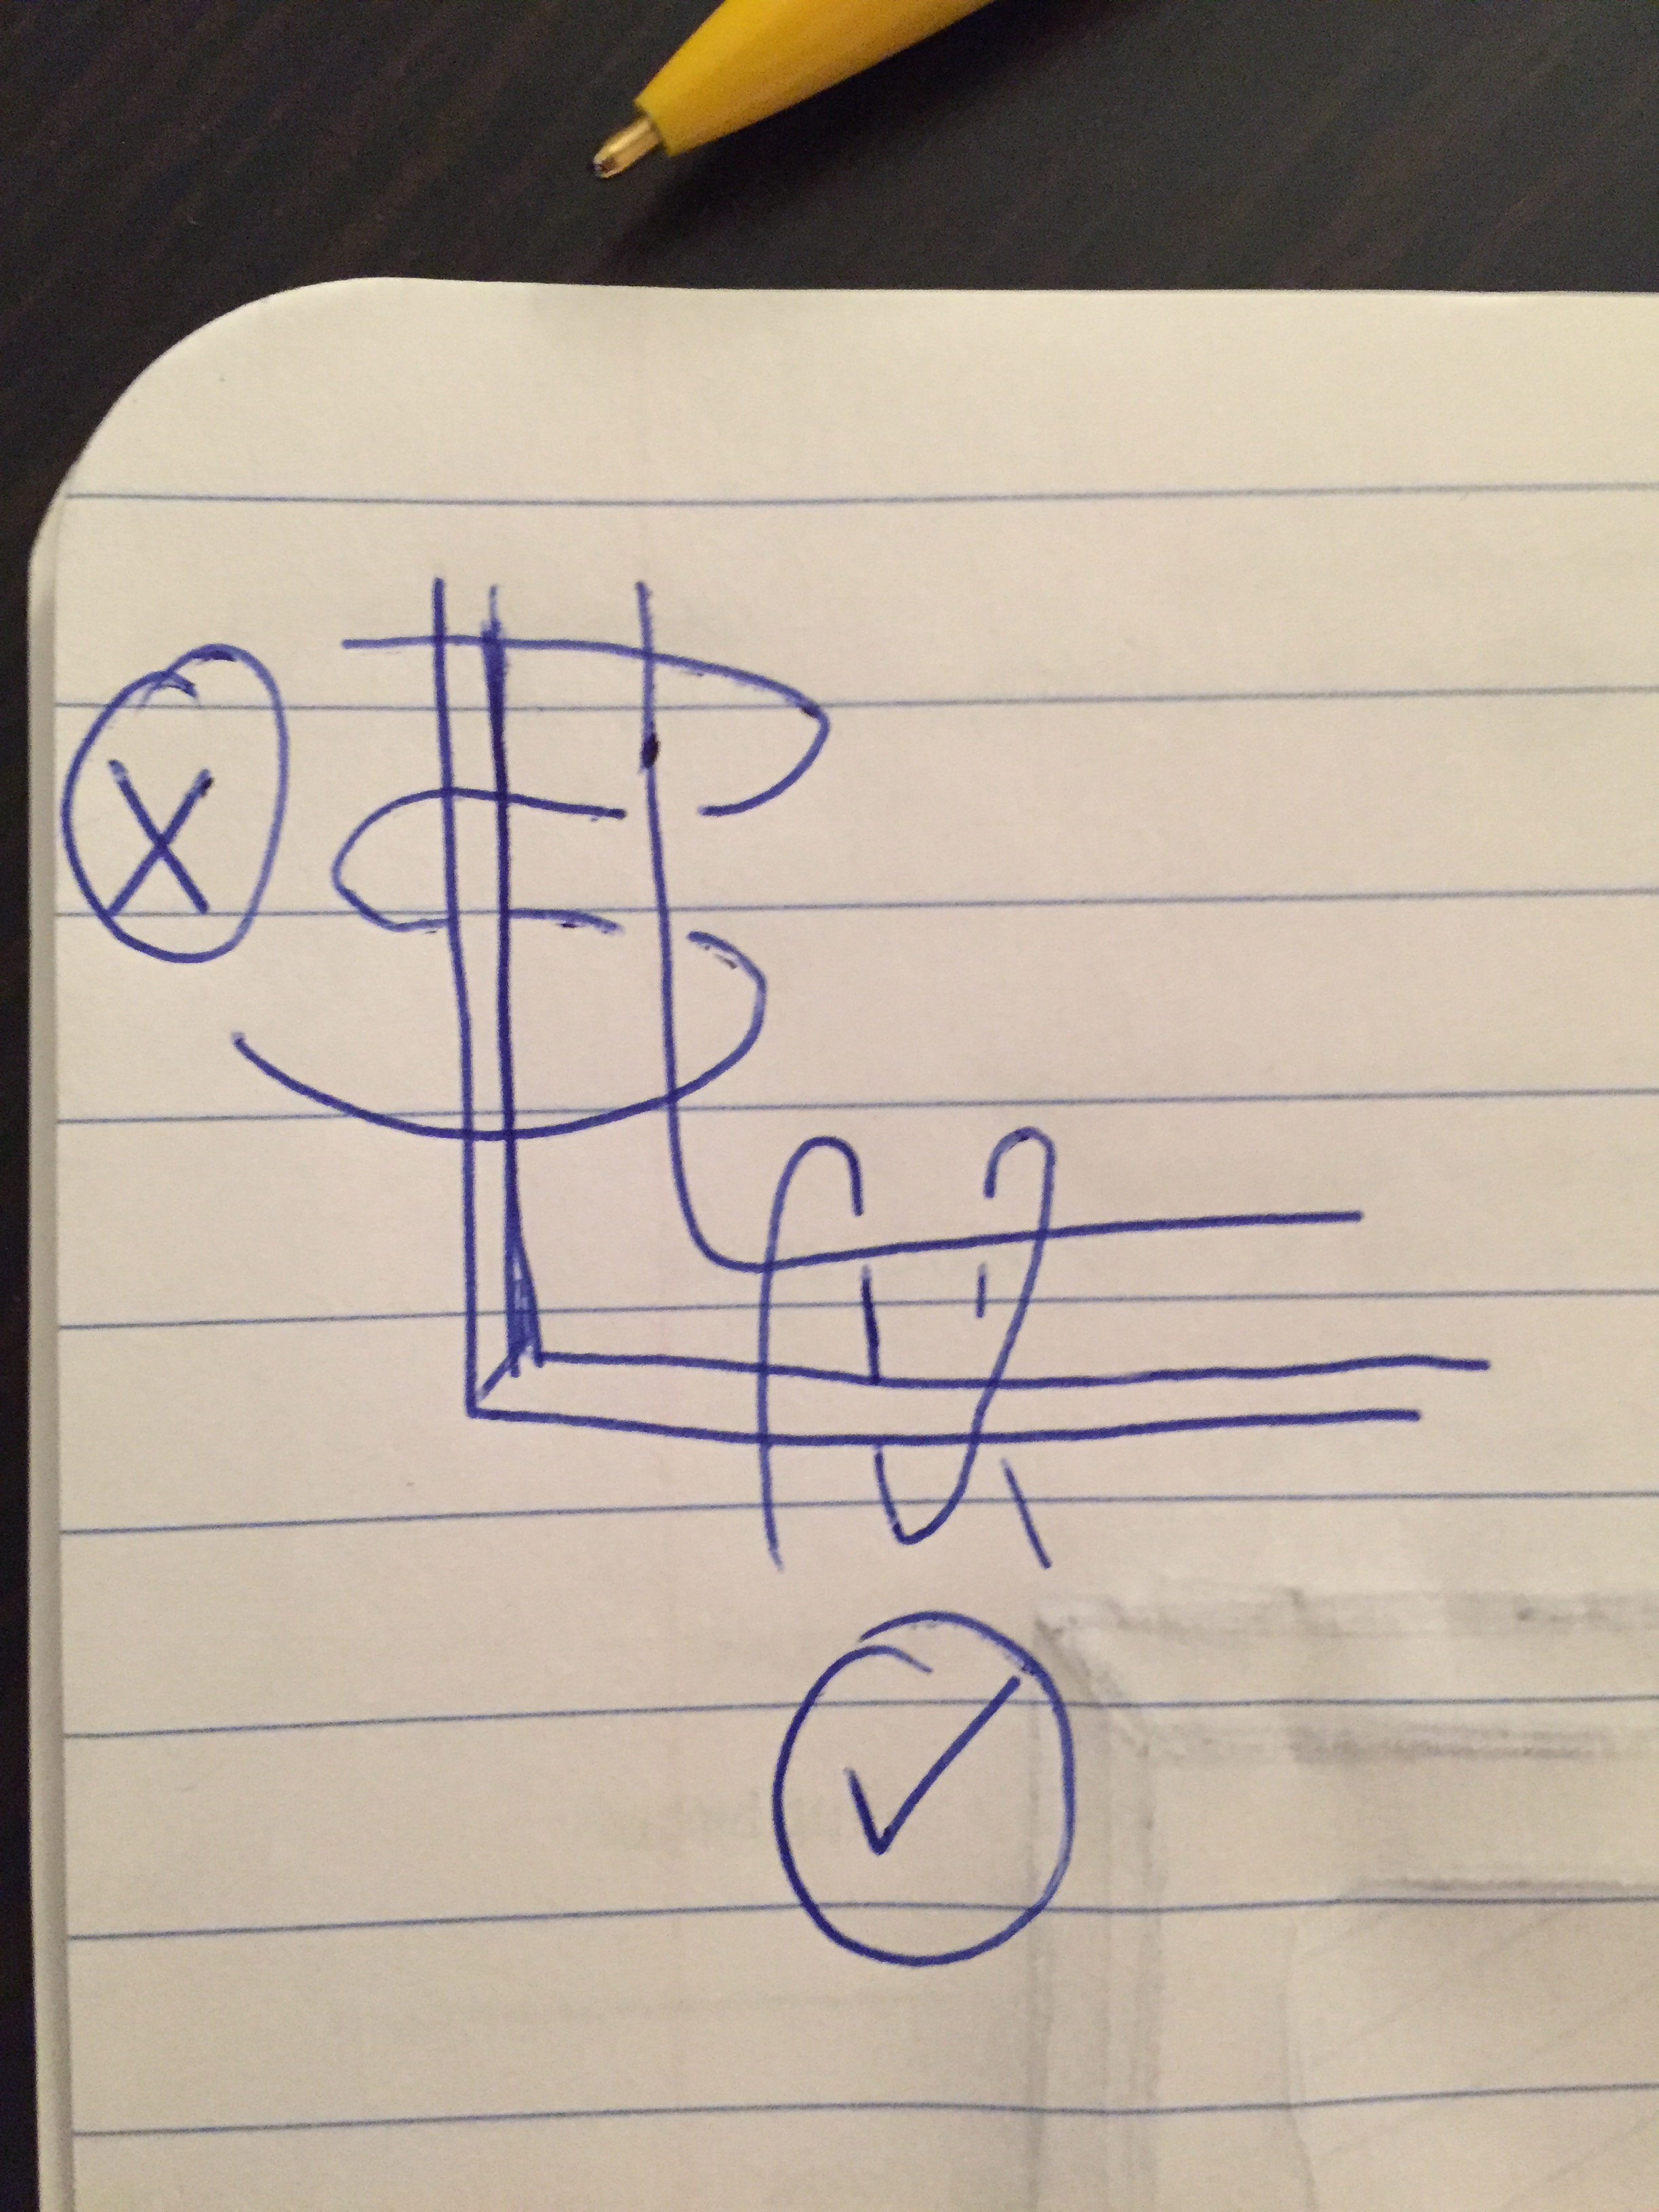
--> other times I did not fiddle the string fully into the eye of the needle and it curled up into a telephone string when I tried to get it through the canvas -- I had to cut the string several times as it started to get messy at the ends
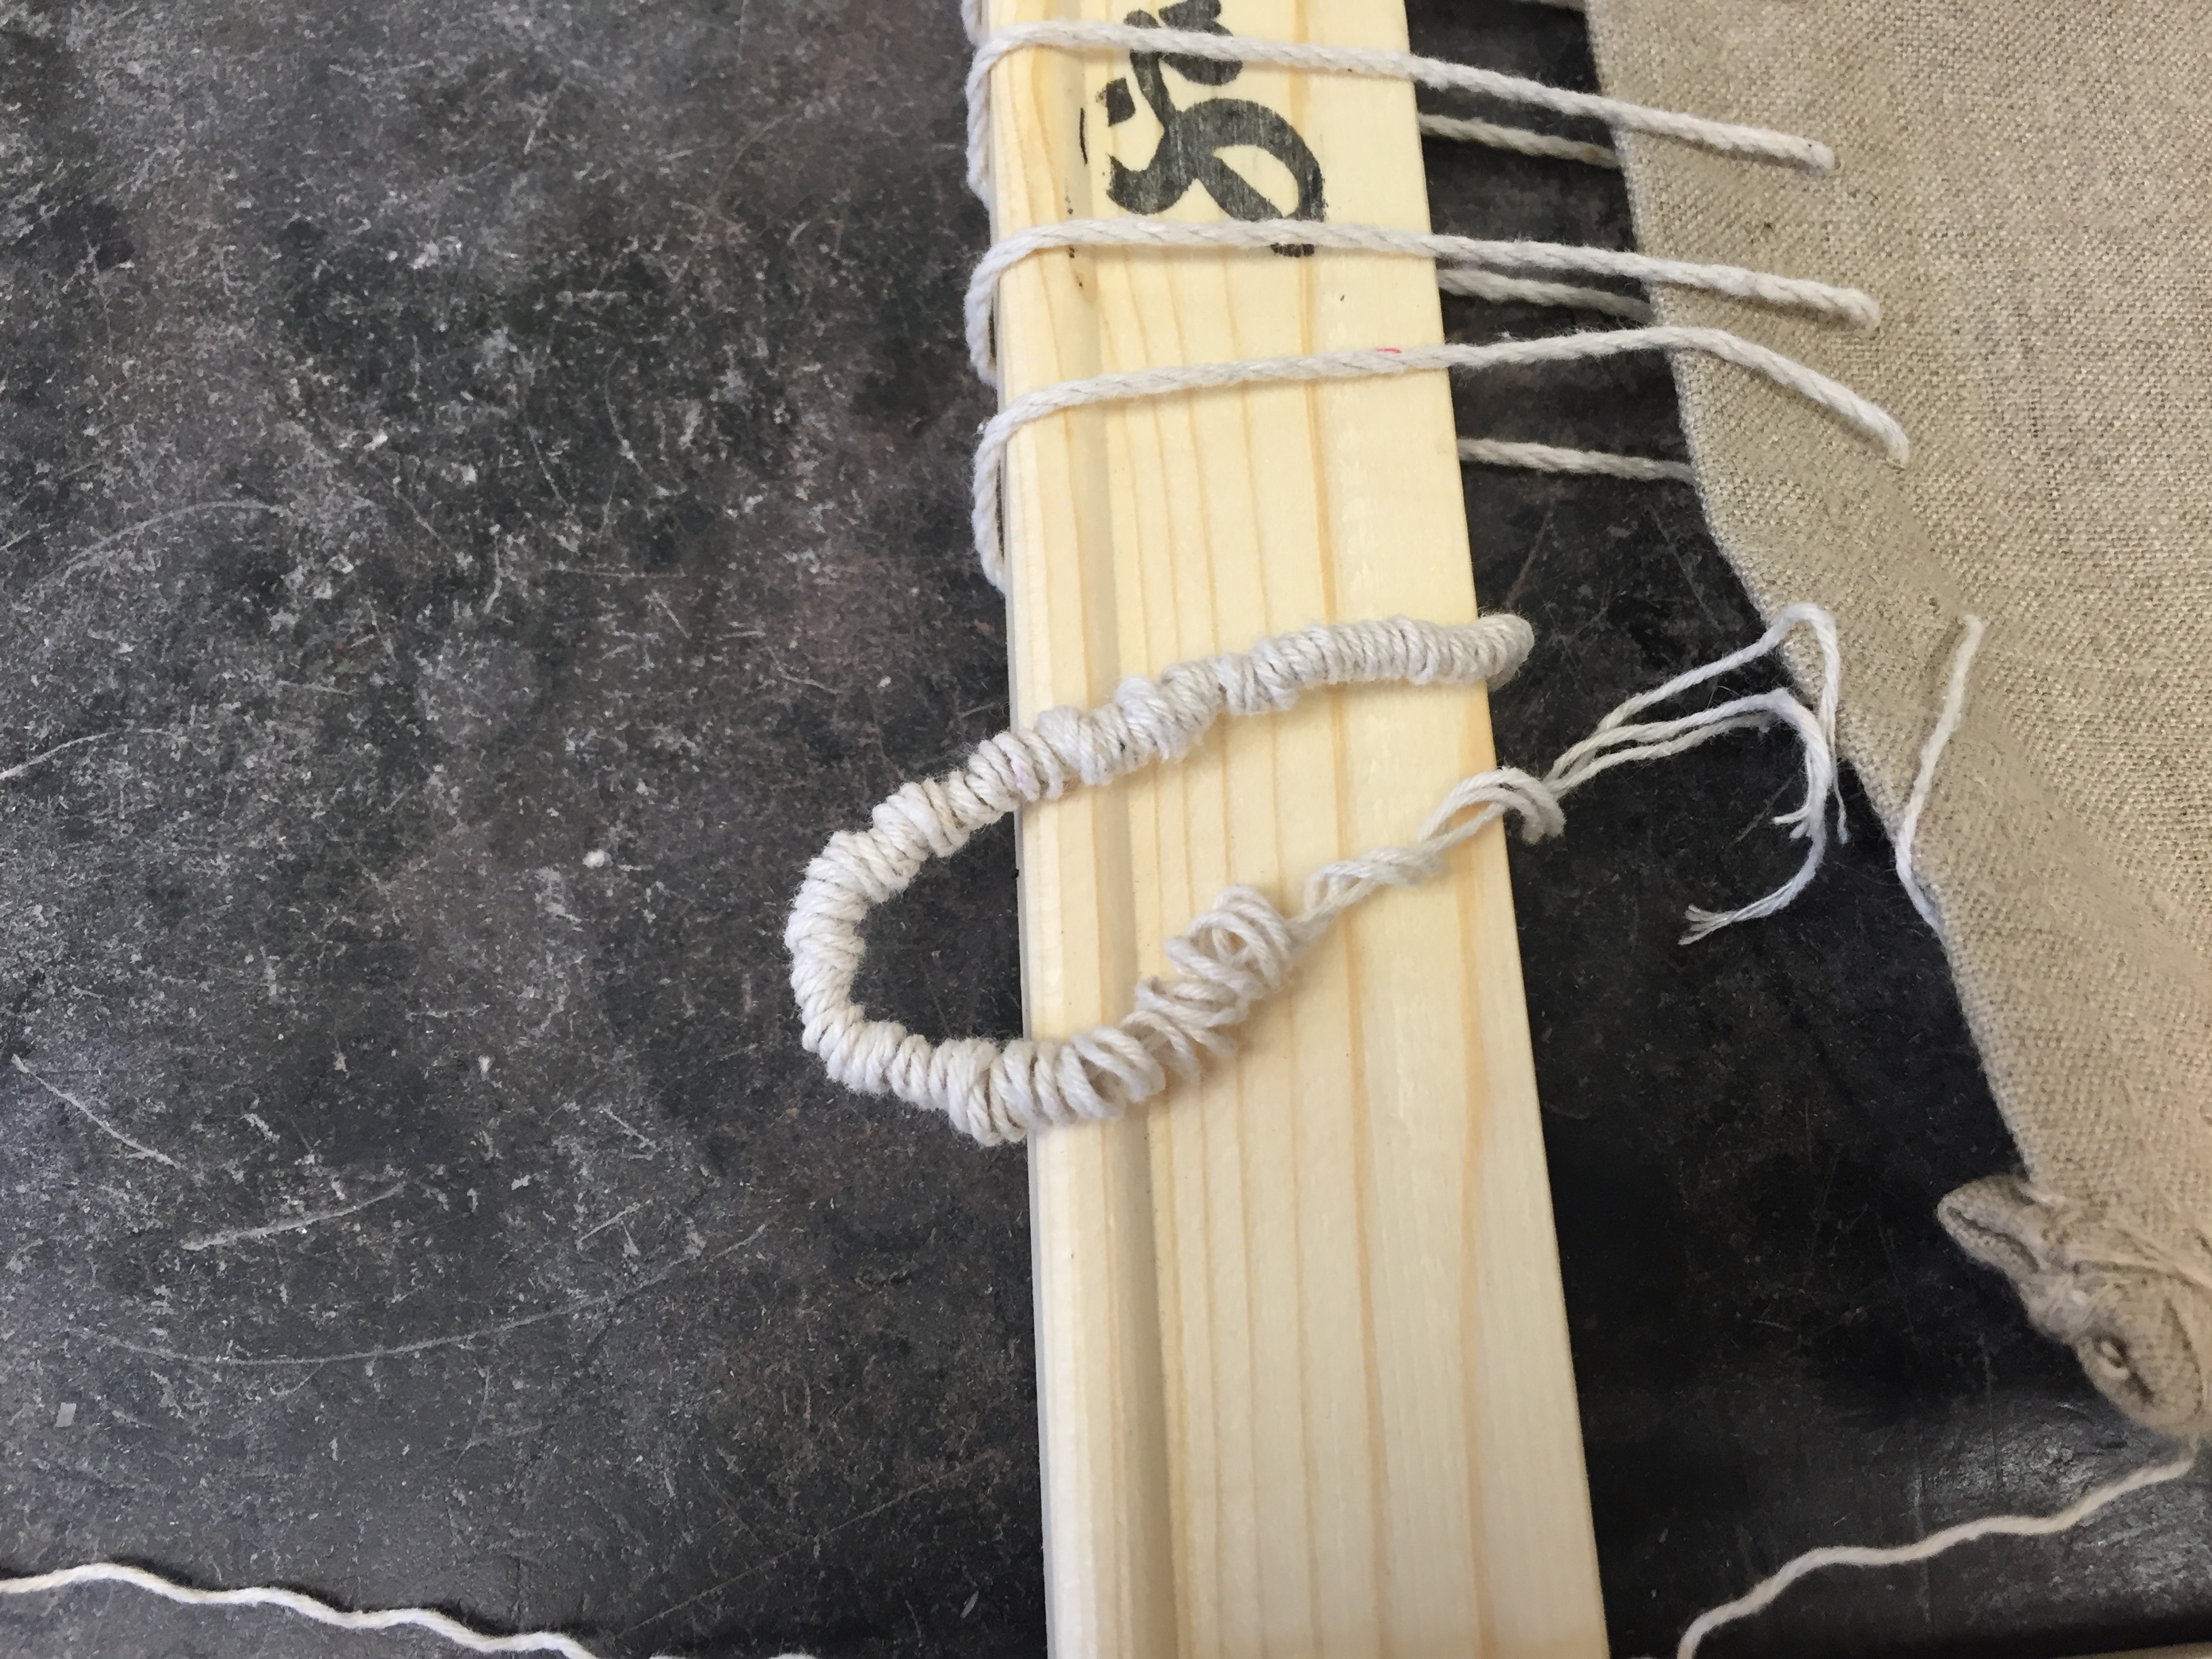
The Revised Knotting Method
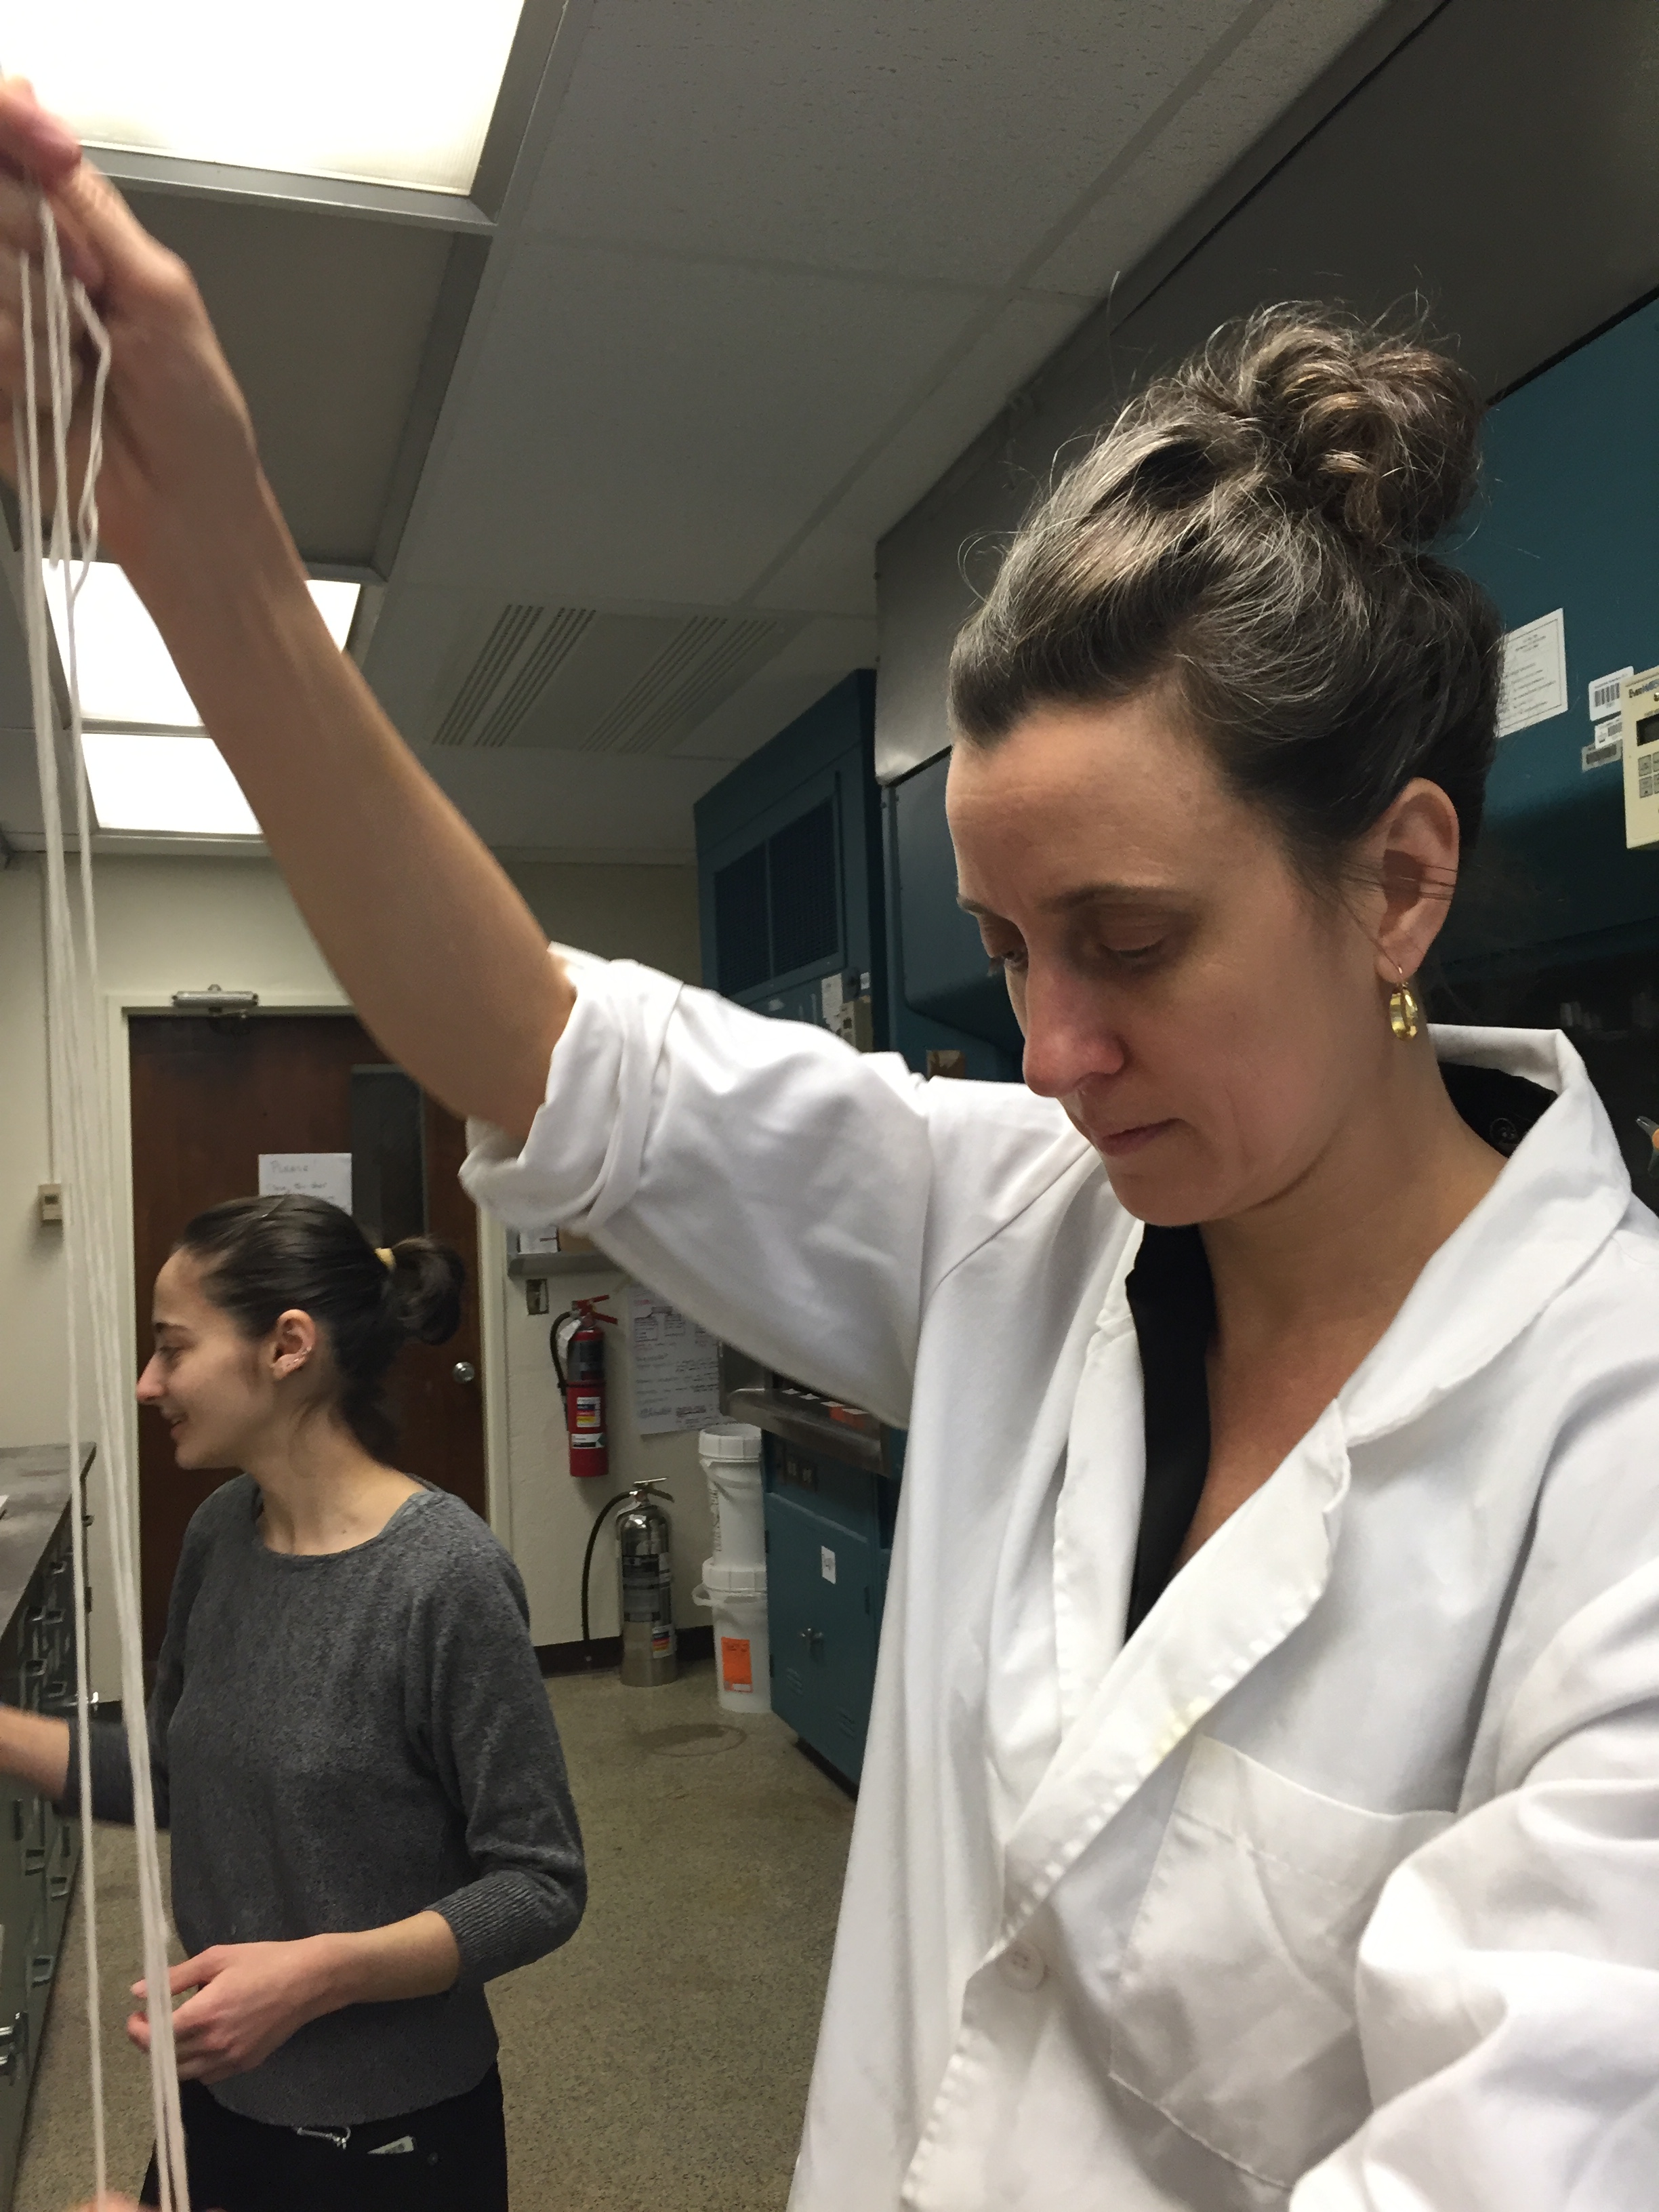
Donna had to leave at 12pm, Naomi was put in charge to prevent me from OCD knotting. Little did she know that this was a full time job. She was particularly intrigued by the fact that I tend to make knots around already existing knots (which, according to her, were perfectly fixed). She stopped me here and undid the knot. Meanwhile, she talked about friction of the strings...
So we realized: a biologists HAS to think of redundancy systems in case something fails... while physicists like to think in terms of material properties and fundamentals.
We fixed the knots at the stretcher not the canvas to avoid ripping of the lacing wholes due to the tightening of the strings.
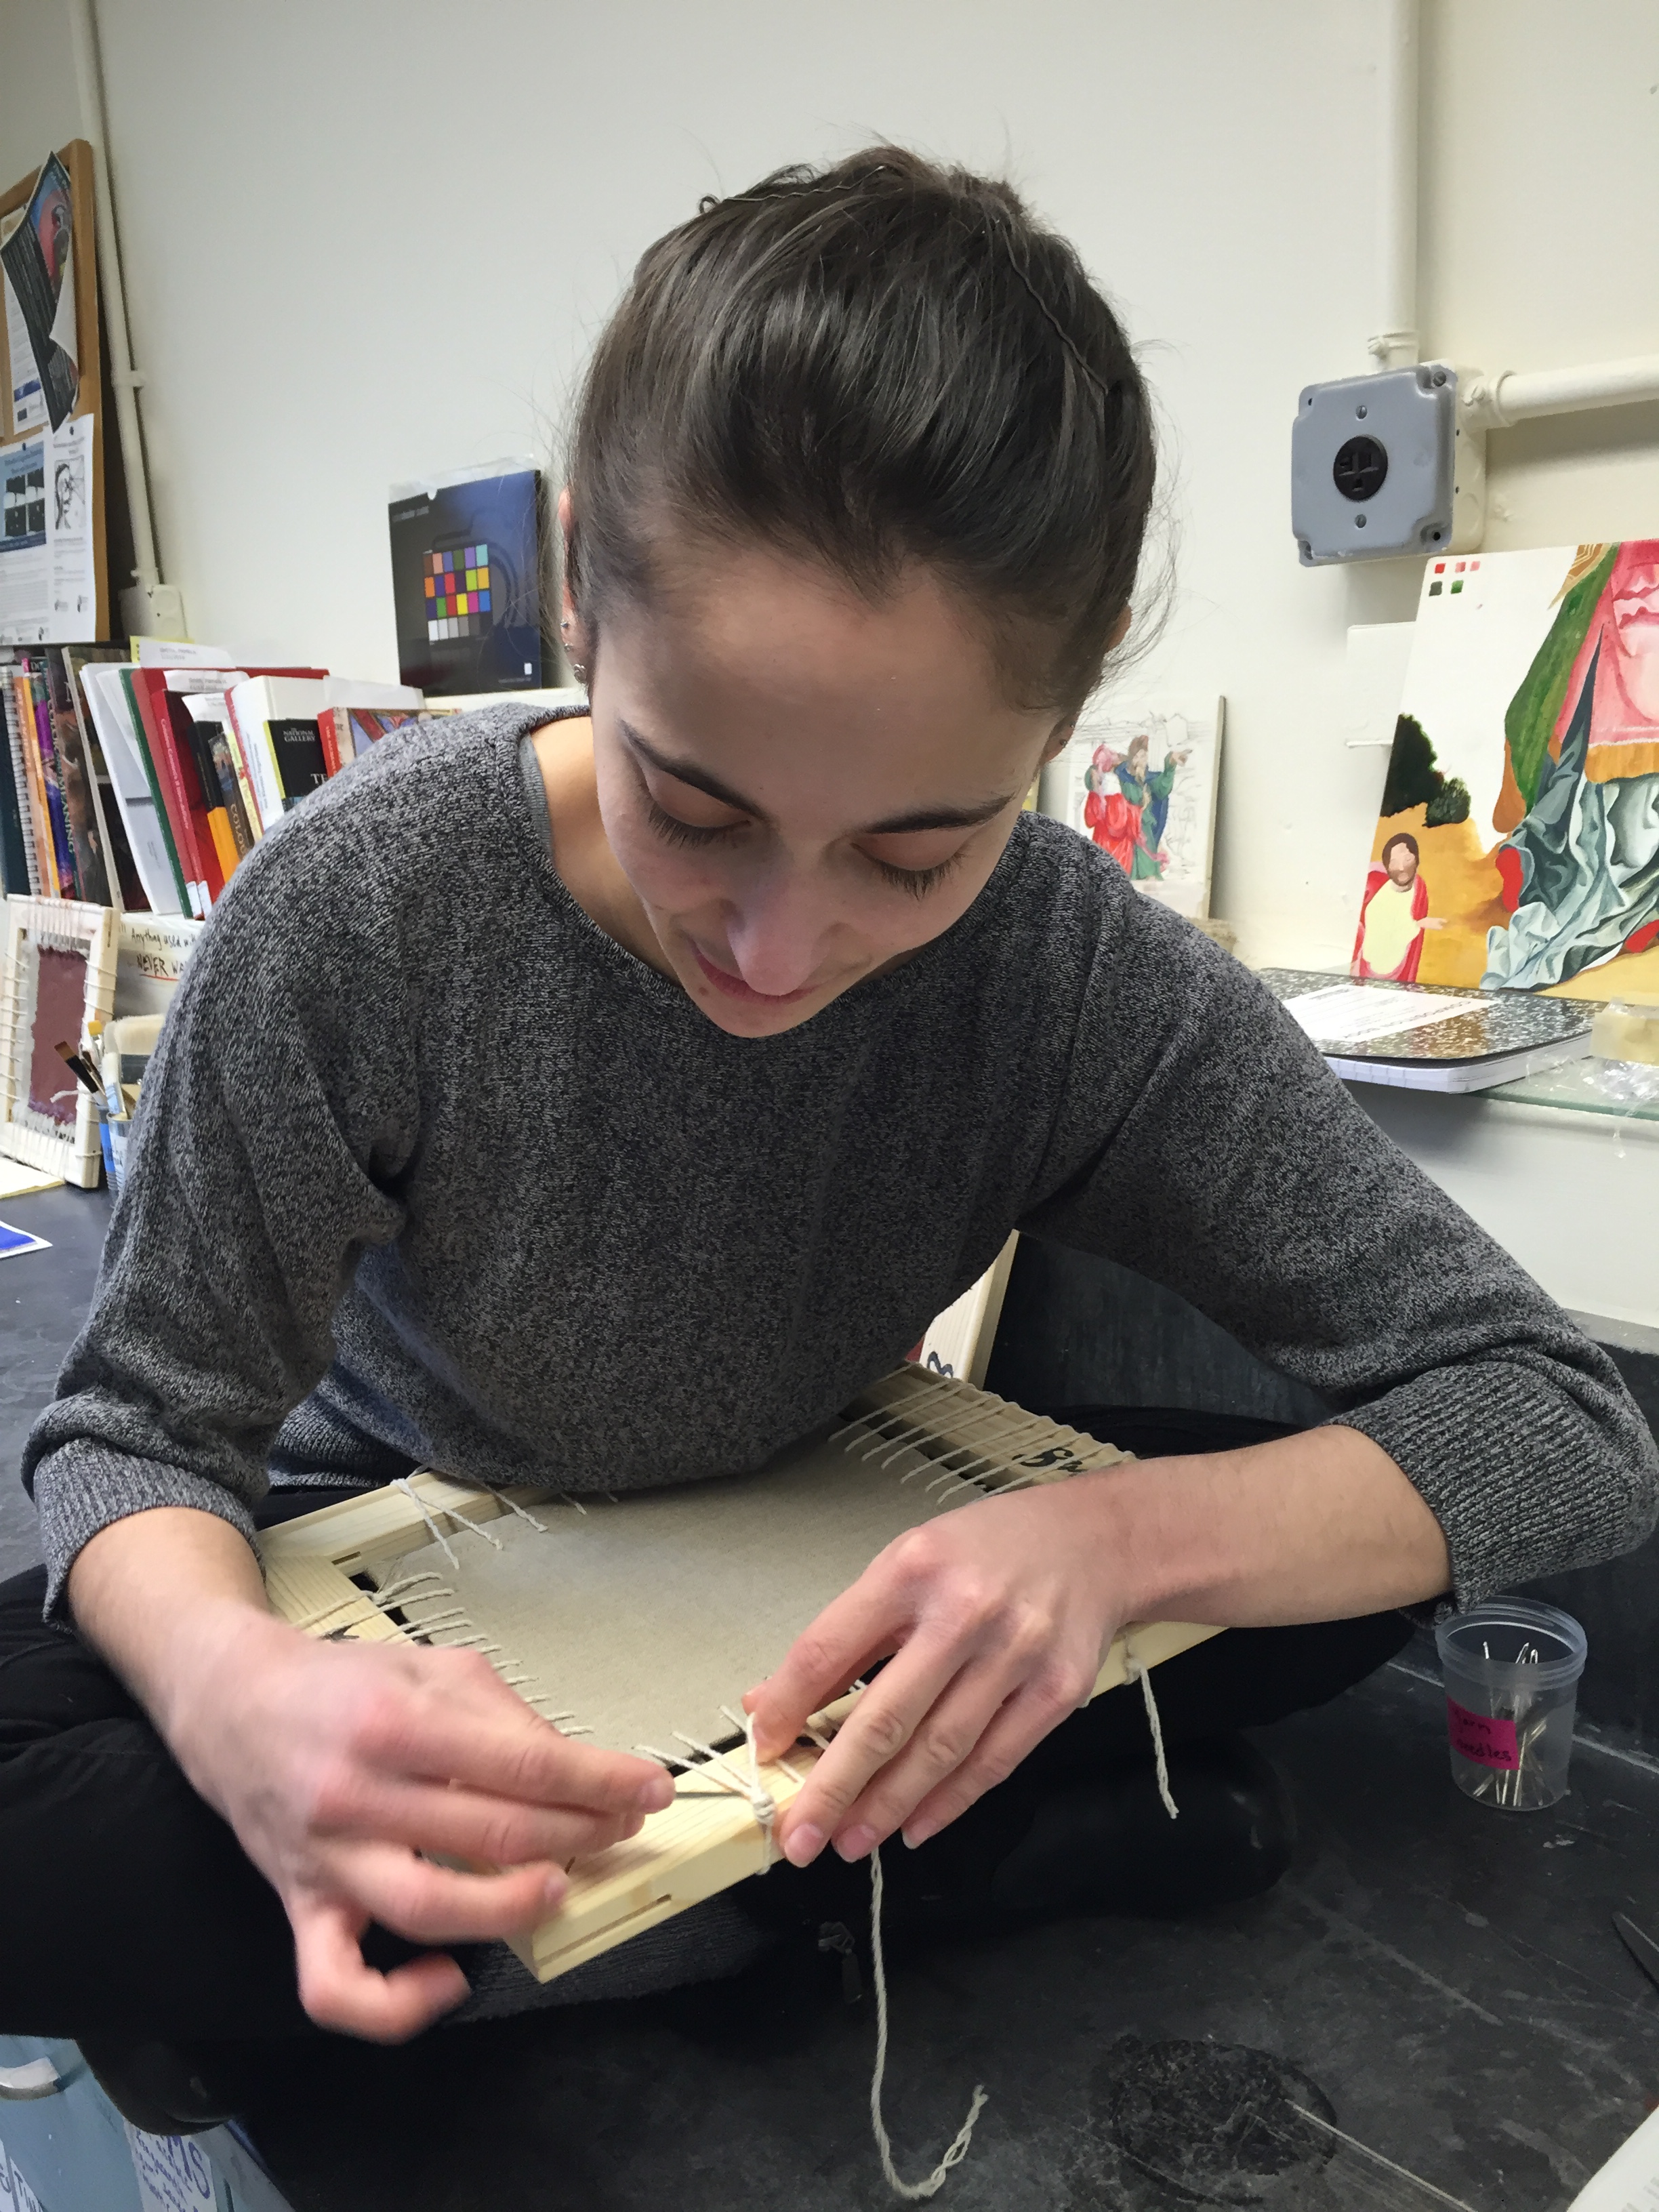
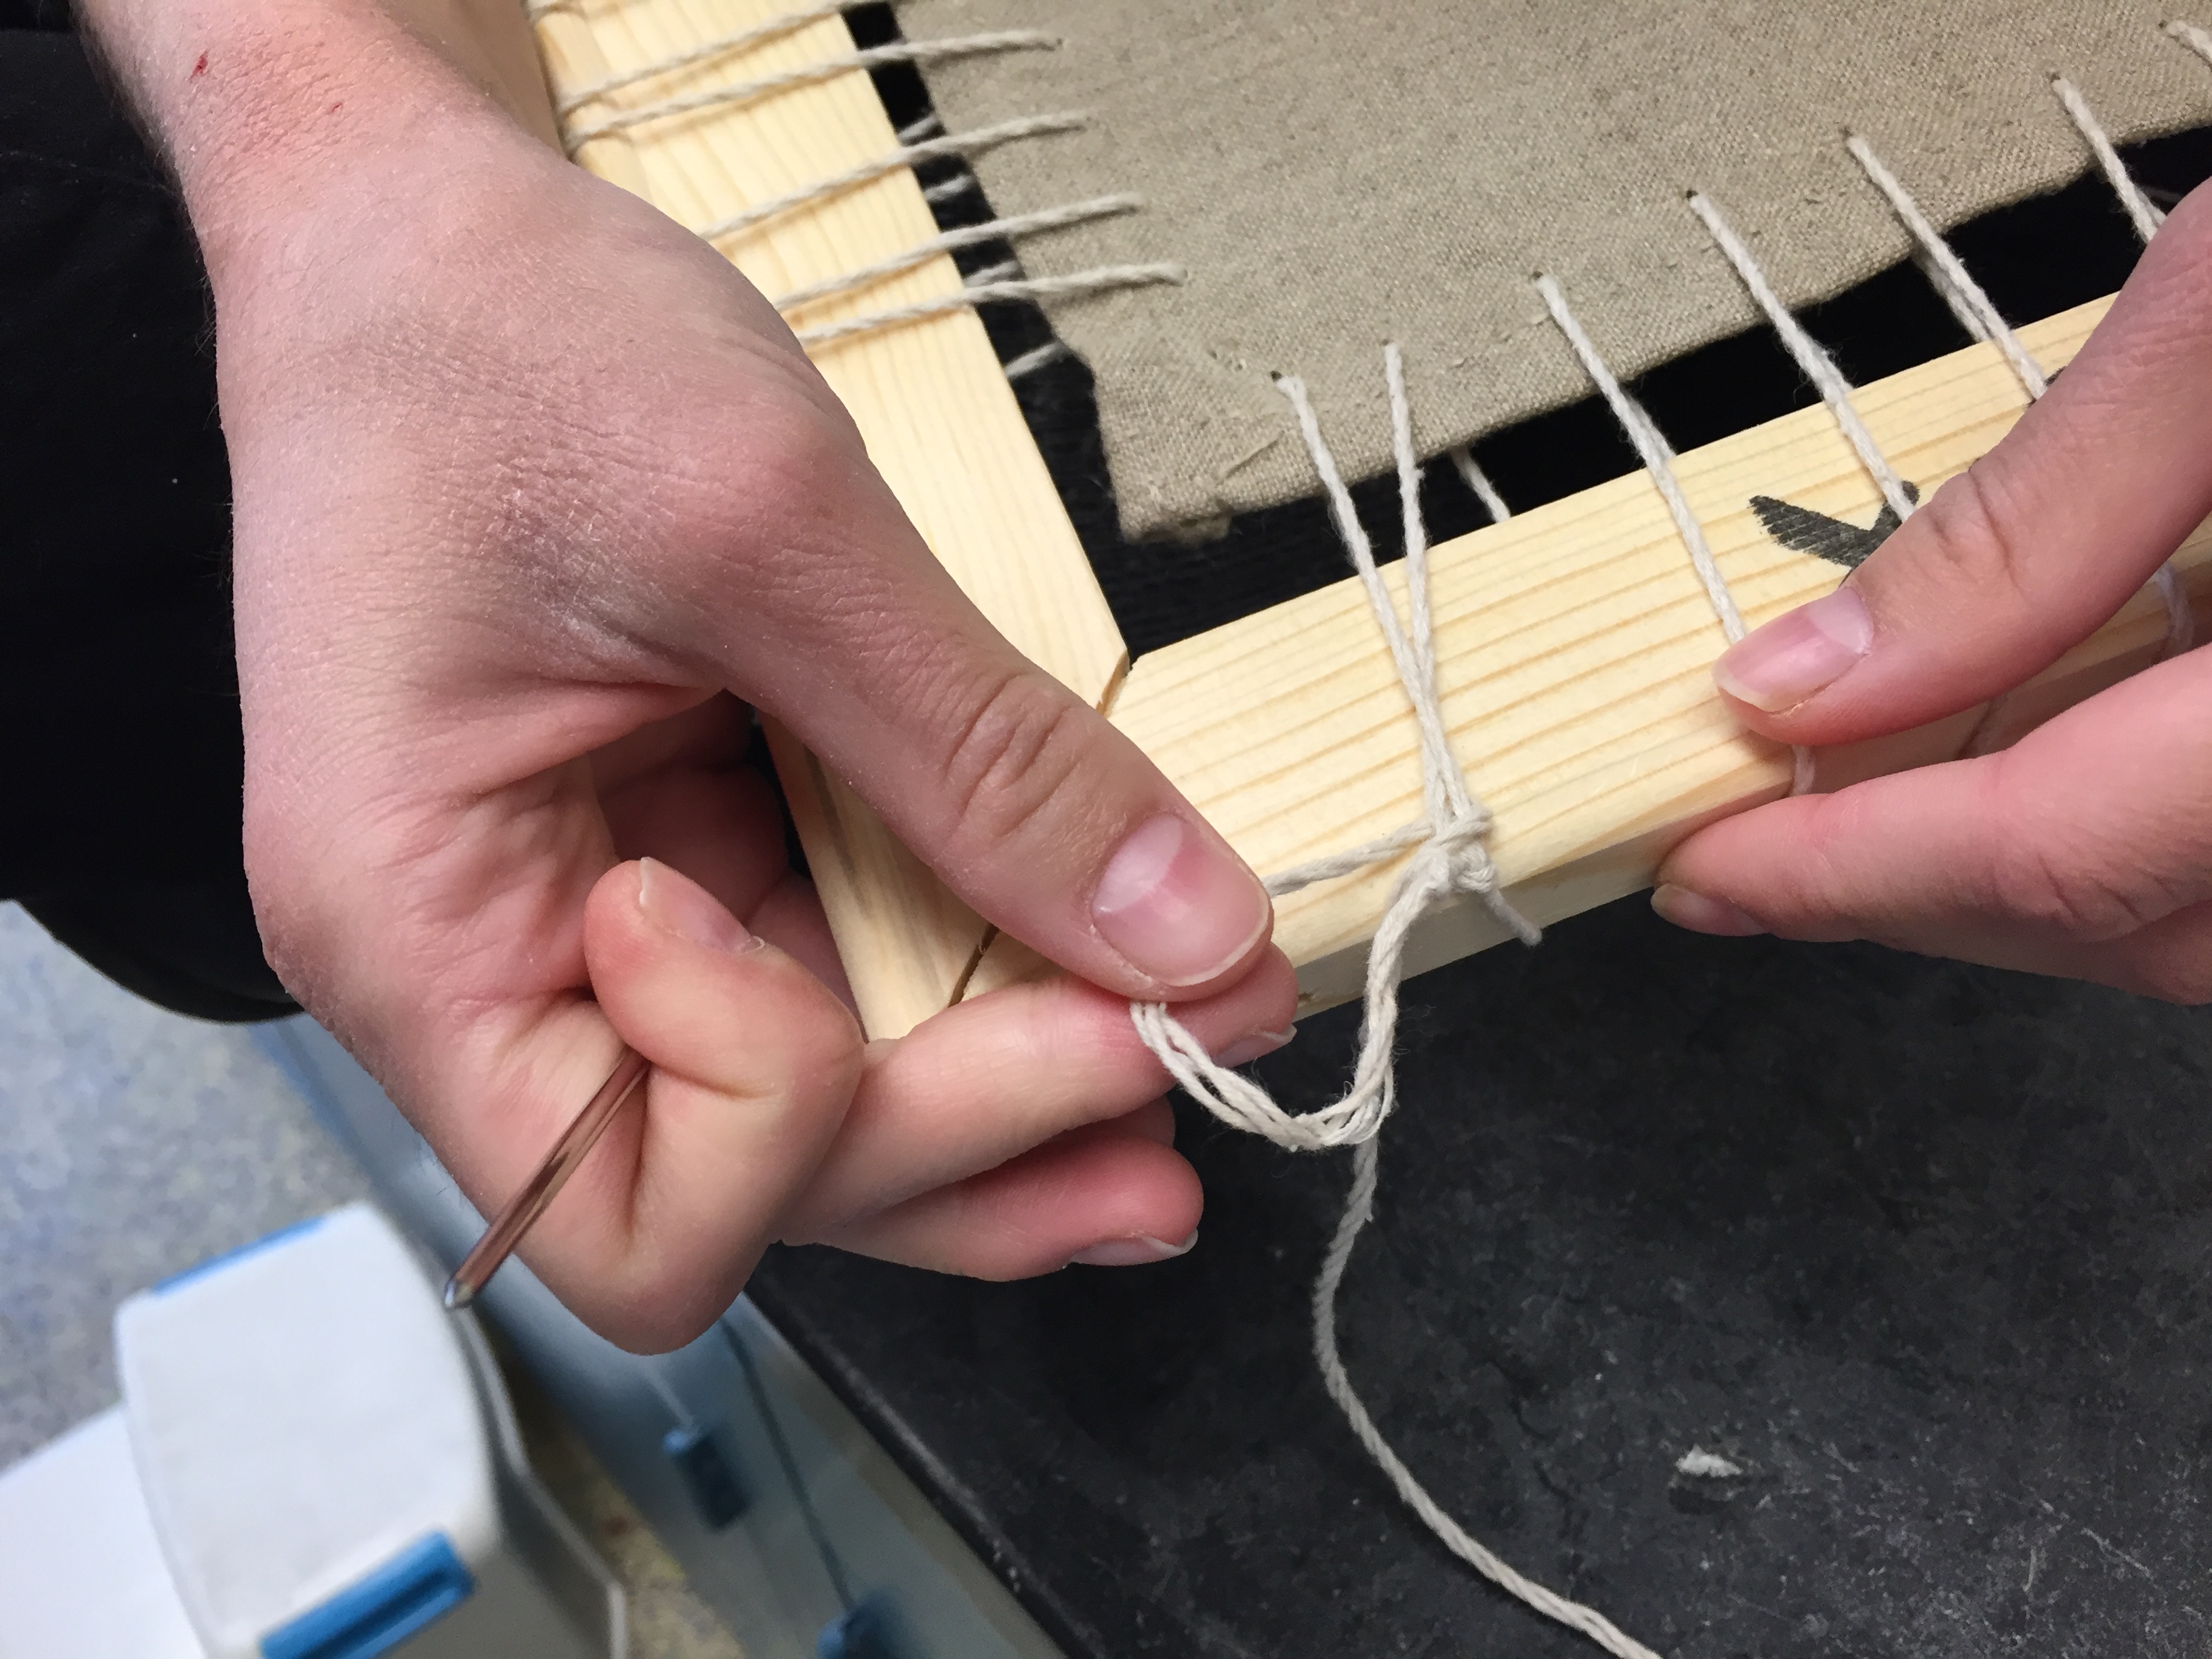
A knot around a knot (it did not stop there at my first trial on Tuesday 16)
THE FINAL FRAME!! After about 3 hours!!
The Gluing (Finally)
That was the easiest part.
Dip brush into liquidized rabbit glue ( we had to re-heat it, obviously), brush excess glue off at the beaker.
Brush on Canvas -- let it dry (45 mins) -- add second layer.
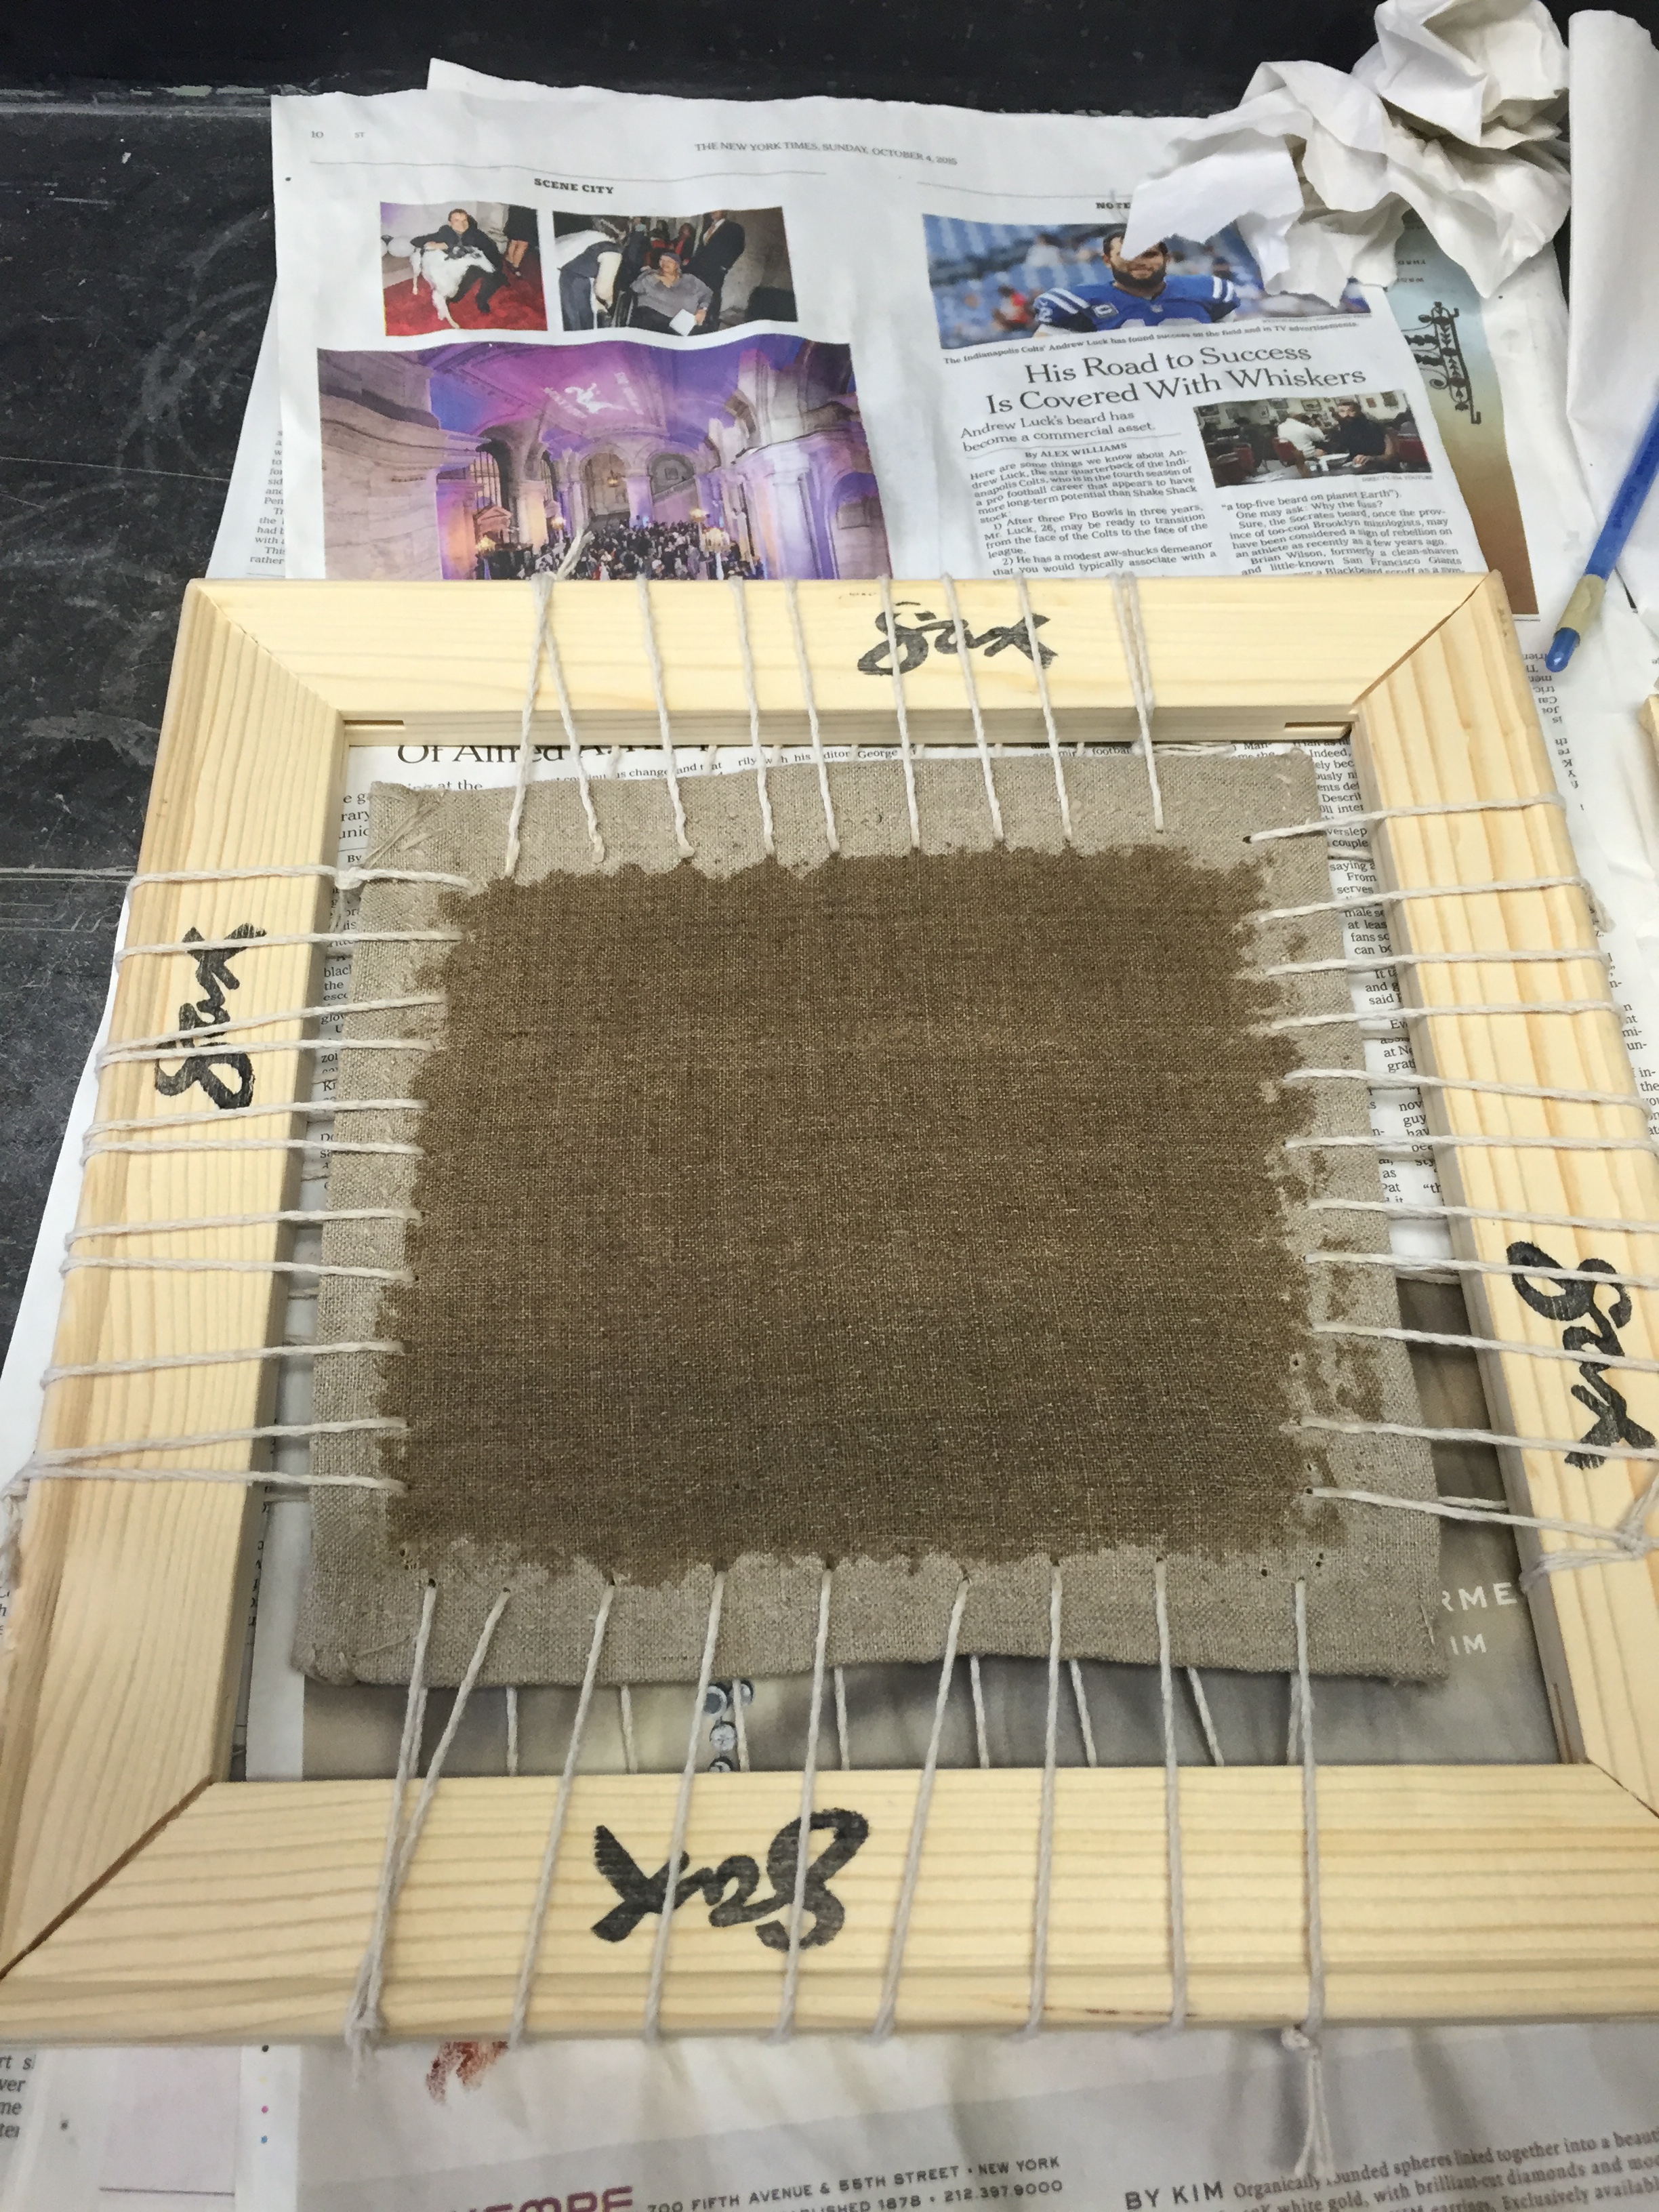
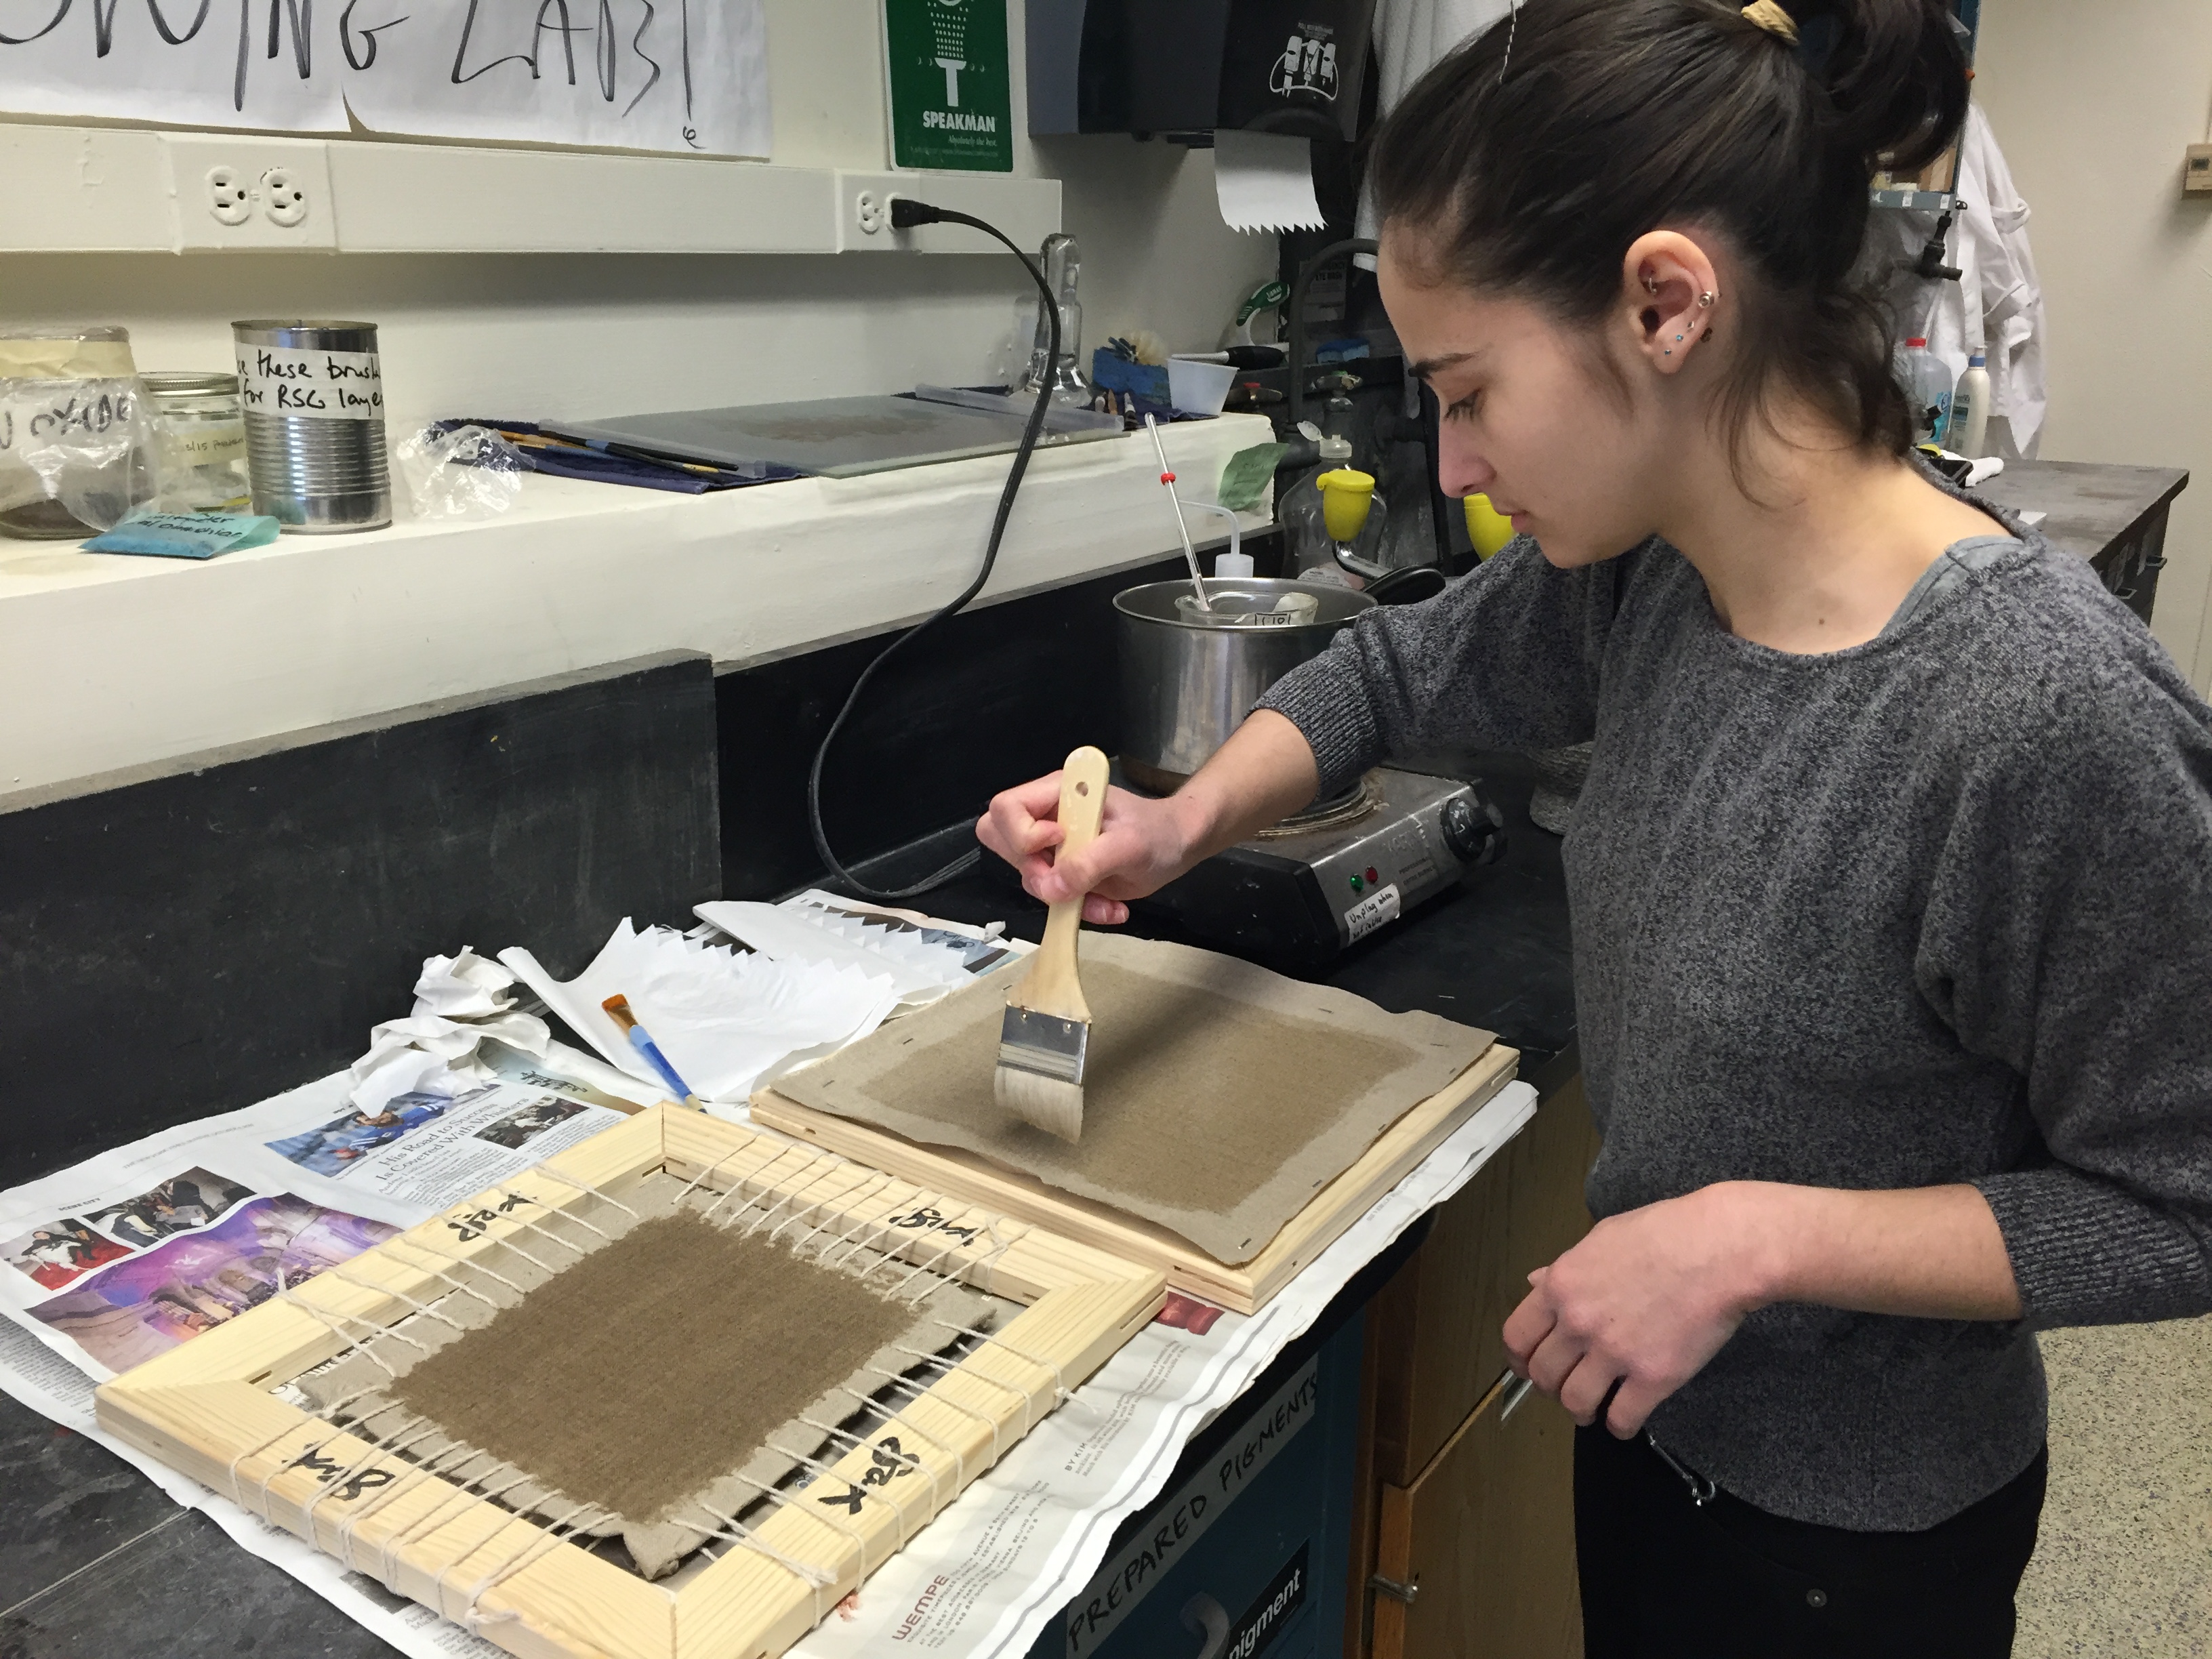
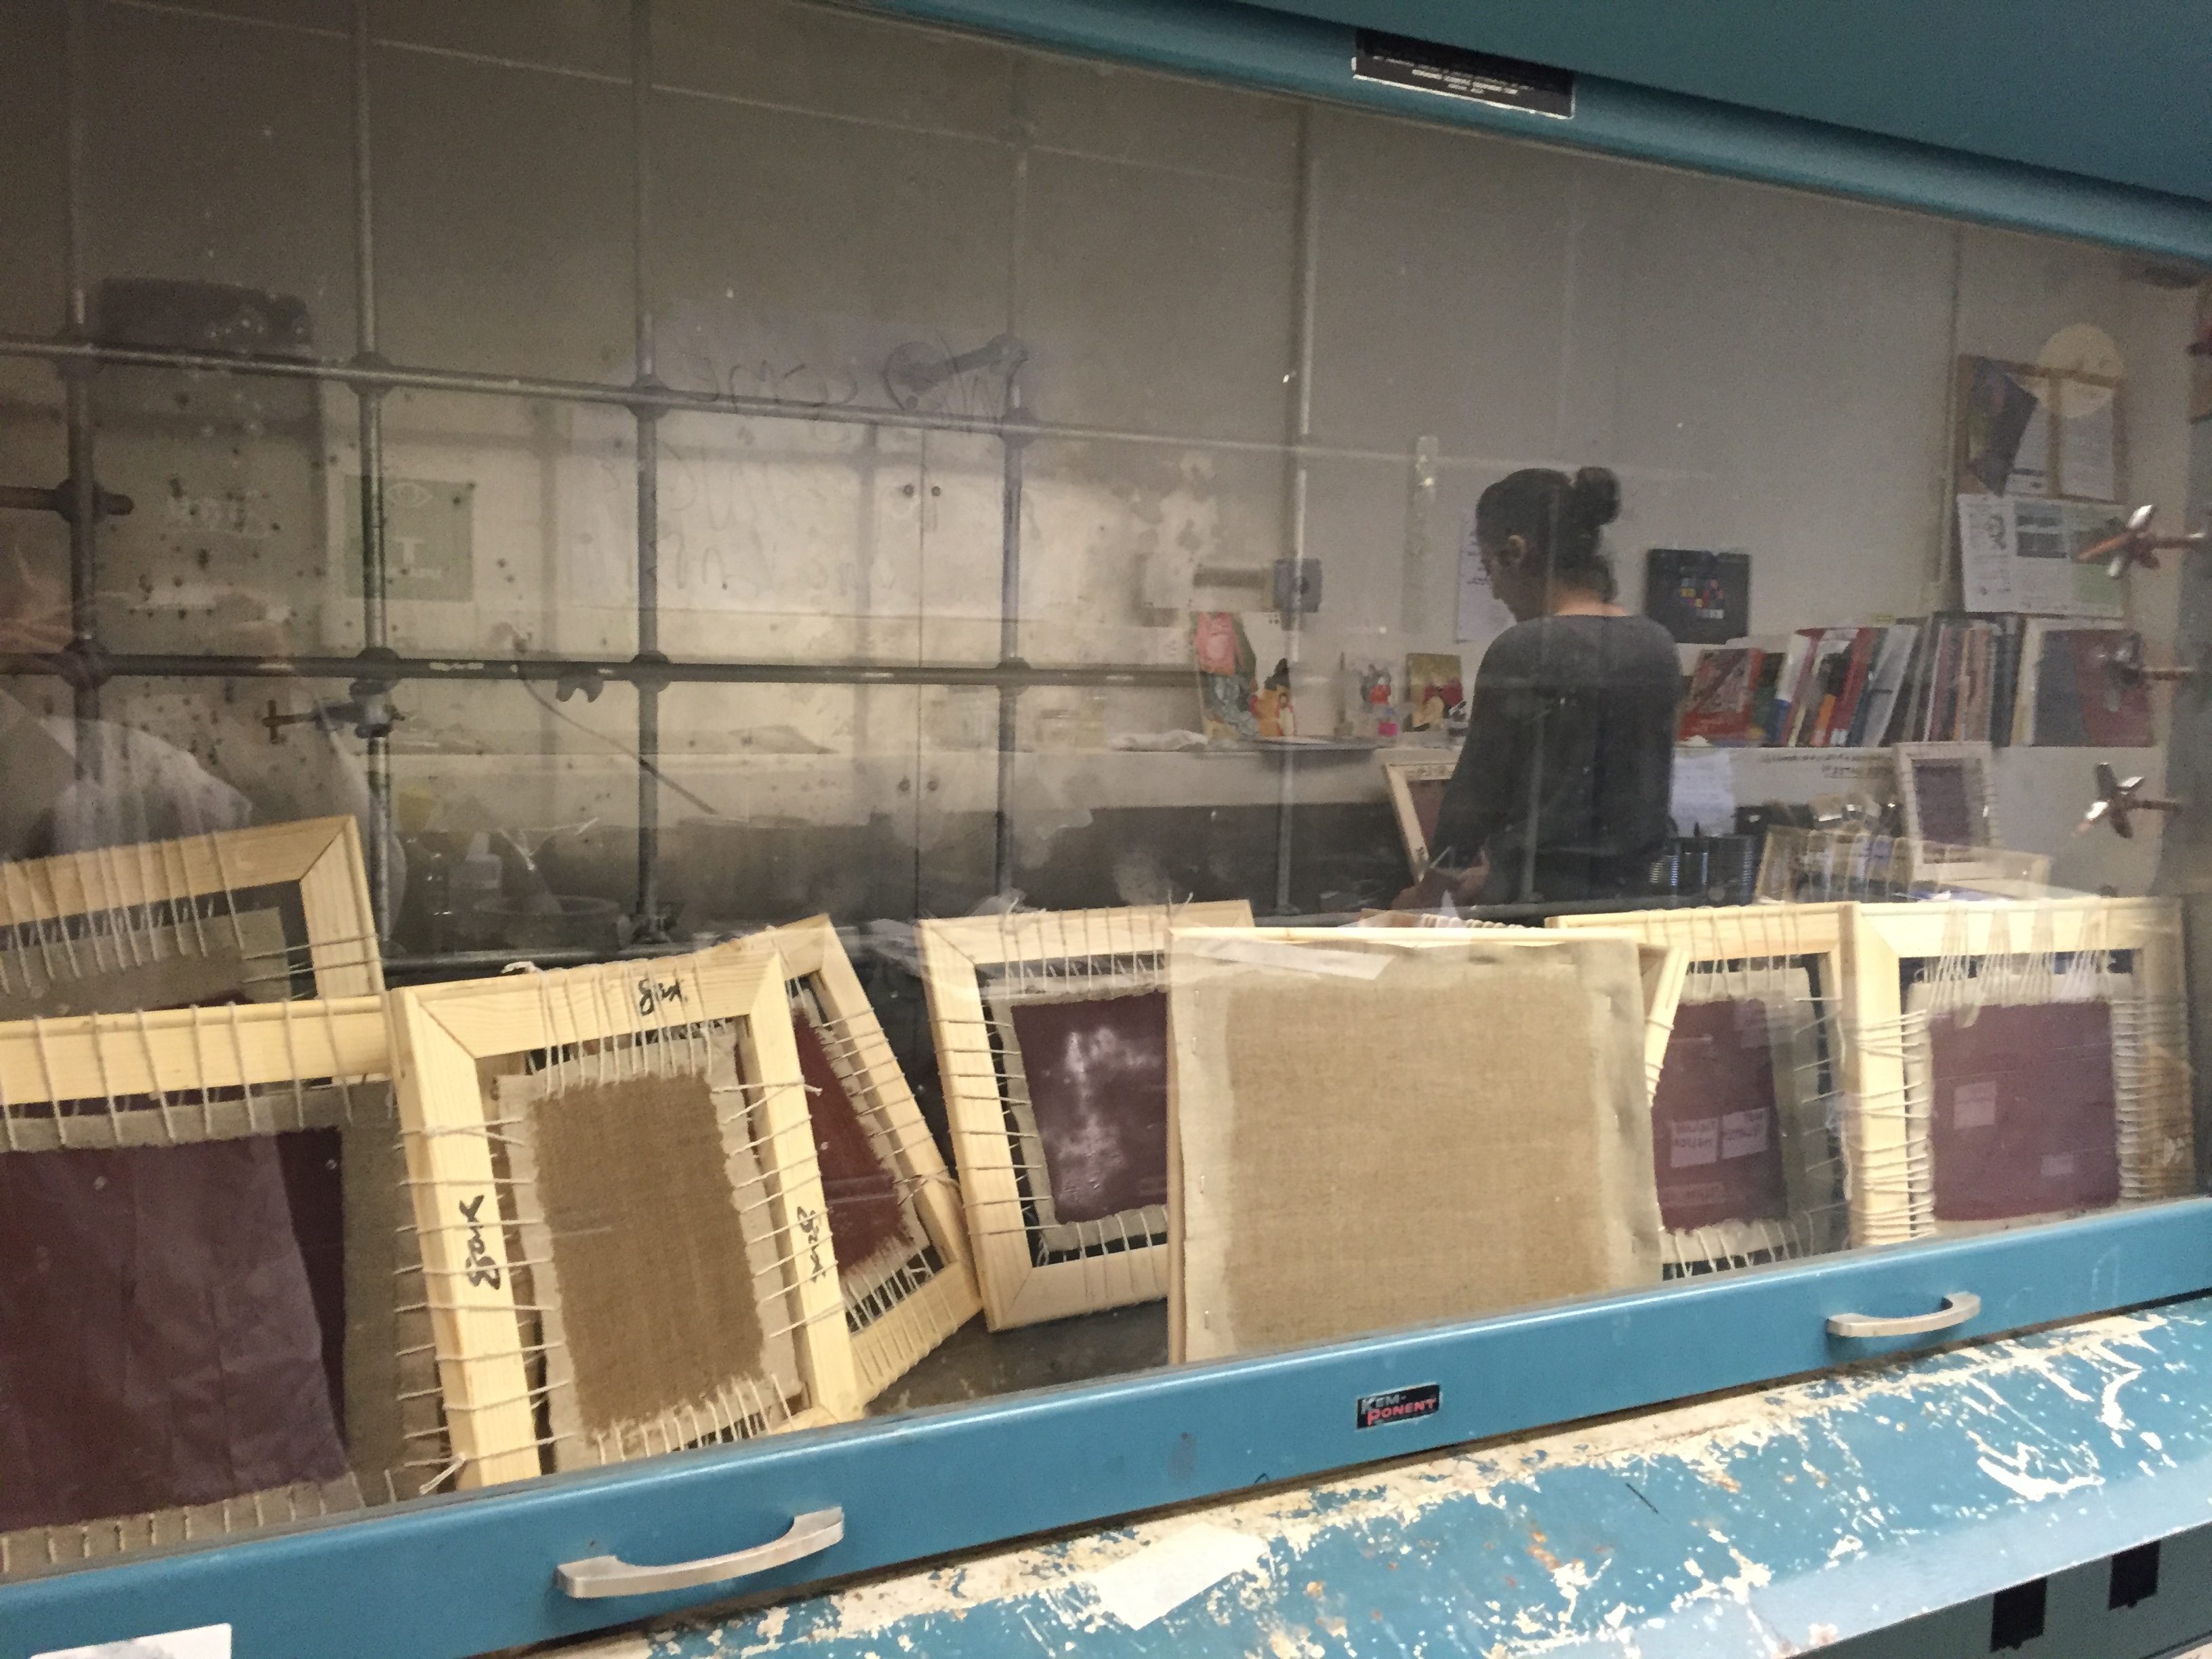
DONE!
ASPECTS TO KEEP IN MIND WHEN MAKING FIELD NOTES
- note time
- note (changing) conditions in the room
- note temperature of ingredients to be processed (e.g. cold from fridge, room temperature etc.)
- document materials, equipment, and processes in writing and with photographs
- notes on ingredients and equipment (where did you get them? issues of authenticity)
- note precisely the scales and temperatures you used (please indicate how you interpreted imprecise recipe instruction)
- see also our informal template for recipe reconstructions